Picture this: It’s Friday evening, and you’re yearning for that perfect slice of pizza—the kind with a crispy-yet-chewy crust that makes your taste buds dance. You know, the one that reminds you of that unforgettable dinner at Roberta’s in Brooklyn, where every bite transported you to pizza paradise. But here you are, miles away from that legendary pizzeria, wondering if you’ll ever taste that magic again.
What if I told you that you don’t need to book a flight to New York or wait in line for hours? The secret to Roberta’s world-famous pizza dough has been shared with the world, and today, you’re going to master it in your own kitchen. In just five straightforward steps, you’ll transform basic ingredients into the foundation of pizza perfection—the same dough that has made Roberta’s a Brooklyn institution.
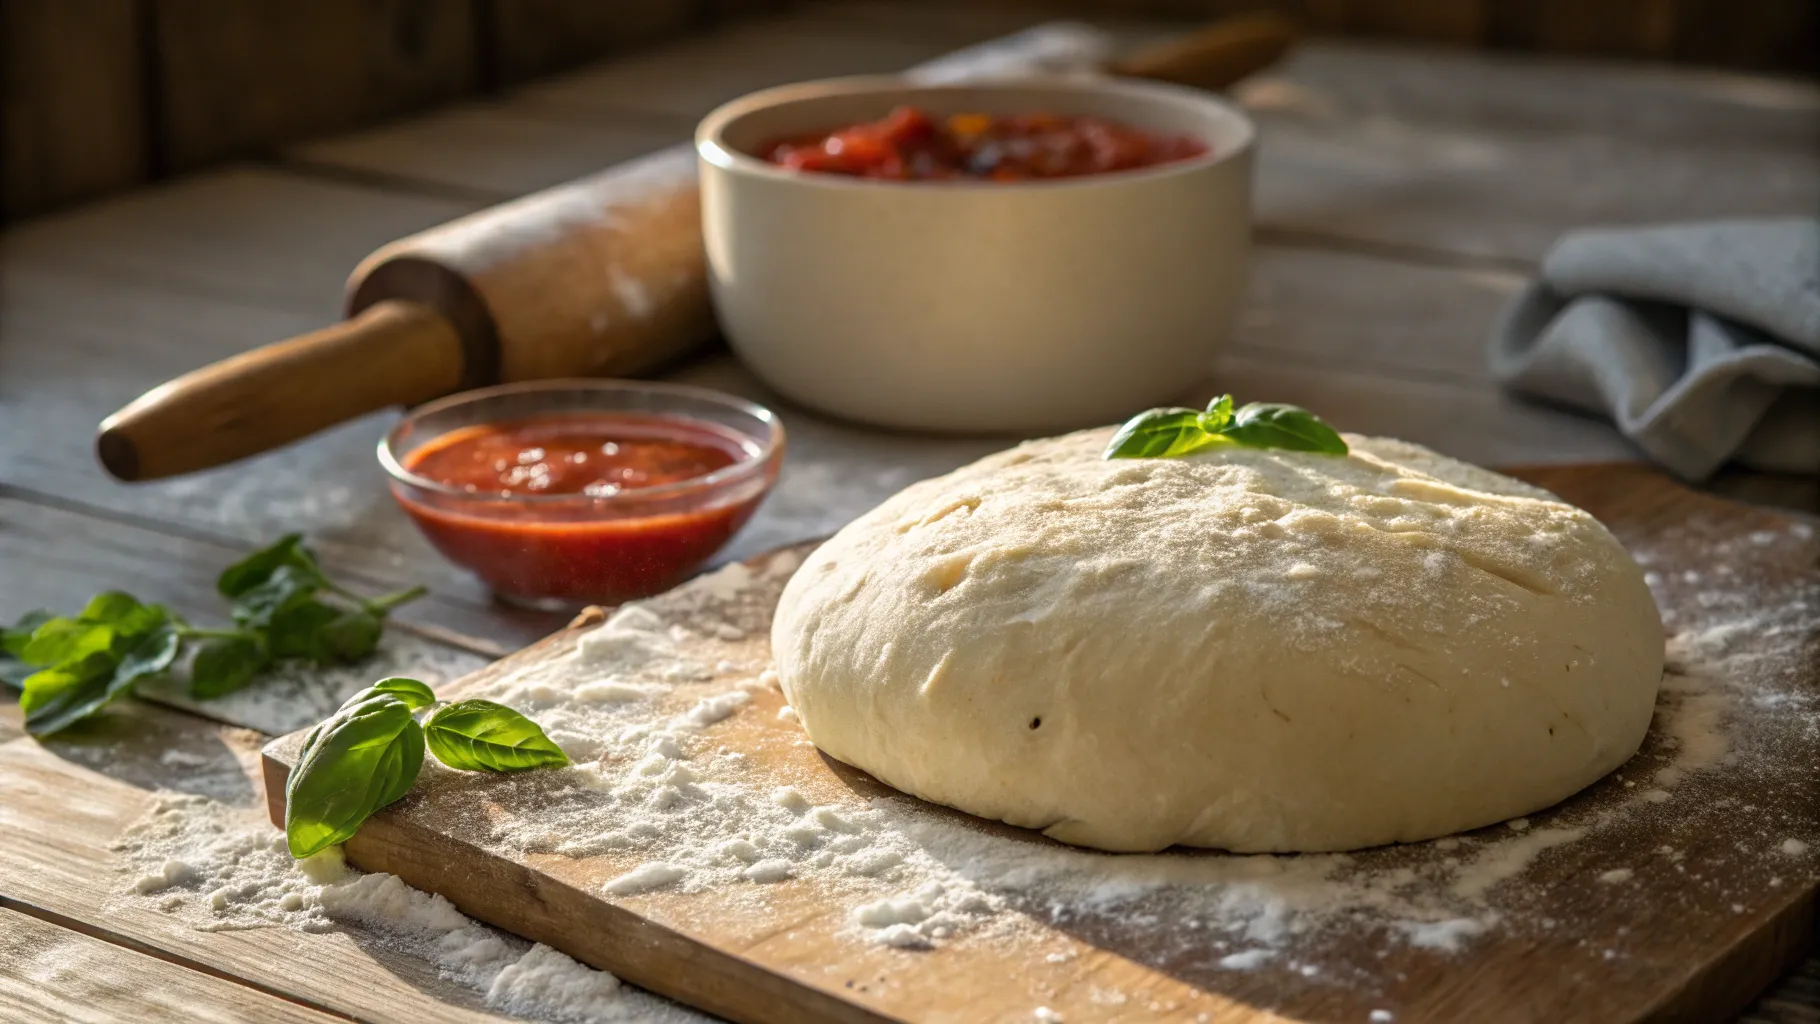
What Makes Roberta’s Pizza Dough So Special?
Since opening its doors in 2008, Roberta’s has revolutionized the pizza landscape with their distinctive approach to dough crafting. Their recipe creates a unique texture that balances the crispy exterior of Roman-style pizza with the chewy interior characteristic of traditional New York slices.
The magic lies in their specific hydration ratio and fermentation process. Unlike conventional pizza doughs that rely heavily on olive oil for texture, Roberta’s formula achieves its signature consistency through precise flour-to-water ratios and extended fermentation periods. This approach develops complex flavors while creating that coveted texture that pizza enthusiasts worldwide attempt to replicate.
What sets this dough apart from standard recipes is its versatility. Whether you’re crafting a classic Margherita or experimenting with creative toppings, this foundation provides the perfect canvas for your culinary artistry.
Essential Ingredients for Authentic Roberta’s Pizza Dough
Creating authentic Roberta’s pizza dough starts with sourcing quality ingredients. Each component plays a crucial role in achieving that distinctive taste and texture.
Complete Ingredients List

| Ingredient | Amount | Purpose | Quality Tips |
|---|---|---|---|
| Bread Flour | 500g (4 cups) | Provides structure and chew | Choose unbleached, high-protein flour |
| Warm Water | 325ml (1⅓ cups) | Activates yeast, hydrates flour | Use filtered water at 110°F |
| Active Dry Yeast | 1 tsp | Fermentation and rise | Check expiration date before use |
| Sea Salt | 2 tsp | Flavor enhancement | Fine sea salt works best |
| Extra Virgin Olive Oil | 2 tbsp | Texture and subtle flavor | Use high-quality, first-press oil |
Ingredient Selection Matters
Your flour choice significantly impacts the final product. Bread flour contains higher protein content than all-purpose flour, creating stronger gluten networks that produce the characteristic chewiness. If bread flour isn’t available, you can substitute all-purpose flour, though the texture will be slightly different.
Water temperature is critical for yeast activation. Too hot, and you’ll kill the yeast; too cold, and activation won’t occur properly. The ideal range sits between 105°F and 115°F—warm to the touch but not uncomfortably hot.
Step-by-Step Guide: How to Make Roberta’s Pizza Dough at Home
Step 1 – Activate Your Yeast (5 minutes)
Begin by combining your yeast with warm water in a small bowl. Add a pinch of sugar to feed the yeast and accelerate activation. Within five minutes, you should observe a foamy, bubbly reaction indicating healthy, active yeast.
If your yeast doesn’t foam, either the water temperature was incorrect, or the yeast has expired. Start over with fresh yeast and properly measured water temperature.
Step 2 – Create the Dough Base (10 minutes)
In a large mixing bowl, whisk together flour and salt, ensuring even distribution. Create a well in the center of your flour mixture—this prevents the salt from directly contacting the yeast, which could inhibit activation.
Pour your activated yeast mixture and olive oil into the flour well. Using a wooden spoon or your hands, gradually incorporate the flour into the liquid ingredients. Mix until a shaggy dough forms, with no dry flour remaining visible.
Step 3 – Knead to Perfection (8-10 minutes)
Transfer your dough onto a lightly floured surface. Begin kneading using the heel of your hand to push the dough away from you, then fold it back over itself. Rotate the dough 90 degrees and repeat.
Continue this process for 8-10 minutes until the dough becomes smooth, elastic, and slightly tacky but not sticky. Properly kneaded dough will spring back when gently poked and can be stretched thin enough to see light through without tearing.
Stand Mixer Alternative: If using a stand mixer, combine ingredients in the bowl and knead with the dough hook for 5-6 minutes on medium speed.
Step 4 – First Rise (1-2 hours)
Lightly oil a clean bowl and place your kneaded dough inside, turning it to coat all surfaces with oil. This prevents sticking and creates moisture retention during rising.
Cover the bowl with a damp kitchen towel or plastic wrap. Place in a warm, draft-free location for 1-2 hours, or until the dough doubles in size. During colder months, you can create a warm environment by placing the bowl on top of your refrigerator or near a heating vent.
Step 5 – Shape and Final Prep (15 minutes)
Once doubled, gently punch down the dough to release air bubbles. Transfer to a lightly floured surface and divide into portions based on your pizza size preferences—this recipe typically yields 2-3 individual pizzas.
Shape each portion into a smooth ball by tucking the edges underneath. Place on a floured baking sheet or plates, cover with a damp towel, and let rest for 15-30 minutes before stretching.
Expert Tips for Perfect Roberta’s Pizza Dough Every Time
Common Mistakes to Avoid
Over-kneading: While proper gluten development is essential, excessive kneading creates tough, dense dough. Watch for the visual cues of smooth, elastic texture rather than relying solely on time.
Incorrect water temperature: Using water that’s too hot kills yeast, while water that’s too cold fails to activate it properly. Invest in an instant-read thermometer for accuracy.
Rushing the process: Fermentation develops flavor and texture. Attempting to speed up rising times with excessive heat often results in inferior taste and texture.
Volume measurements: Flour settles and packs differently depending on humidity and storage conditions. Weighing ingredients ensures consistent results every time.
Professional Techniques
Windowpane test: Stretch a small piece of dough between your fingers. Properly developed gluten allows you to stretch it thin enough to see light through without tearing.
Cold fermentation: For enhanced flavor, refrigerate your dough for 24-72 hours after the initial rise. This slow fermentation develops complex flavors similar to sourdough.
Gentle handling: When shaping your final pizza, work from the center outward, allowing gravity to help stretch the dough rather than forcing it.
Troubleshooting Your Roberta’s Pizza Dough
Dough Too Sticky
Sticky dough often results from high humidity or measurement inconsistencies. Gradually incorporate small amounts of flour while kneading, but avoid adding too much, which creates dense texture.
Environmental factors significantly impact dough consistency. During humid weather, you may need slightly less water or more flour to achieve the proper texture.
Dough Won’t Rise
Several factors can prevent proper rising:
- Expired yeast: Always check expiration dates and test yeast activity before proceeding
- Temperature issues: Environments below 70°F slow fermentation significantly
- Salt contact: Direct salt-to-yeast contact can inhibit activation
Create an ideal rising environment by placing your bowl in a slightly warm oven (turned off) with the light on, or on top of your water heater.
Dense or Tough Results
Dense dough typically indicates insufficient gluten development or over-kneading. Proper kneading creates a smooth, elastic texture that springs back when pressed. Over-kneaded dough feels tight and resistant to stretching.
Storage and Make-Ahead Strategies
Short-Term Storage (1-3 days)
Refrigerated dough actually improves in flavor through slow fermentation. Place shaped dough balls in lightly oiled containers or wrap individually in plastic wrap. Bring to room temperature 30-60 minutes before stretching.
Long-Term Storage (Up to 3 months)
For extended storage, wrap individual dough portions tightly in plastic wrap, then place in freezer bags. Thaw overnight in the refrigerator, then bring to room temperature before use.
Frozen dough maintains quality for up to three months, making it perfect for meal planning and impromptu pizza nights.
Frequently Asked Questions About Making Roberta’s Pizza Dough at Home
How long does it take to make Roberta’s pizza dough at home?
Active preparation time requires about 25-30 minutes, but total time including rising spans 2-3 hours. Most of this involves hands-off waiting while the dough develops.
Can I make Roberta’s pizza dough without a stand mixer?
Absolutely! Hand kneading works perfectly and takes 8-10 minutes versus 5-6 minutes with a mixer. Many bakers prefer hand kneading for better texture control.
How do I know when my Roberta’s pizza dough is ready?
Properly risen dough doubles in size, feels smooth and elastic, and springs back when gently pressed. It should stretch thin enough to see light through without tearing.
What’s the secret to stretching Roberta’s pizza dough without tearing?
Allow dough to reach room temperature, work from the center outward, and let gravity assist the stretching process. Never use a rolling pin, as it eliminates the air bubbles that create texture.
Why doesn’t my homemade version taste like the restaurant?
Common issues include incorrect flour type, rushing fermentation, inadequate gluten development, or improper ingredient ratios. Practice and attention to detail improve results significantly.
Transform Your Kitchen Into Brooklyn’s Finest Pizzeria
Mastering Roberta’s pizza dough at home represents more than recreating a restaurant experience—it’s about bringing culinary adventure and satisfaction into your own kitchen. With these five straightforward steps, you possess the knowledge to create pizza magic whenever cravings strike.
Remember, perfection comes through practice and patience. Quality ingredients, proper technique, and adequate fermentation time are your keys to success. Each attempt builds your understanding of texture, timing, and the subtle techniques that separate good pizza from extraordinary pizza.
The versatility of this recipe extends beyond traditional pizza applications. Use it for focaccia, calzones, or even artisanal breadsticks. You’re not just learning a recipe—you’re developing fundamental bread-making skills that will enhance your entire culinary repertoire.
Ready to start your pizza journey? Gather your ingredients, clear your schedule for a relaxing afternoon of dough-making, and prepare to impress family and friends with authentic Brooklyn-style pizza dough. Share your results on social media and tag us—we’d love to see your homemade creations!
Don’t let another Friday night pass without the satisfaction of pulling a perfectly crafted pizza from your own oven. Your taste buds—and anyone fortunate enough to share your culinary masterpiece—will thank you for embarking on this delicious adventure into authentic pizza craftsmanship.
