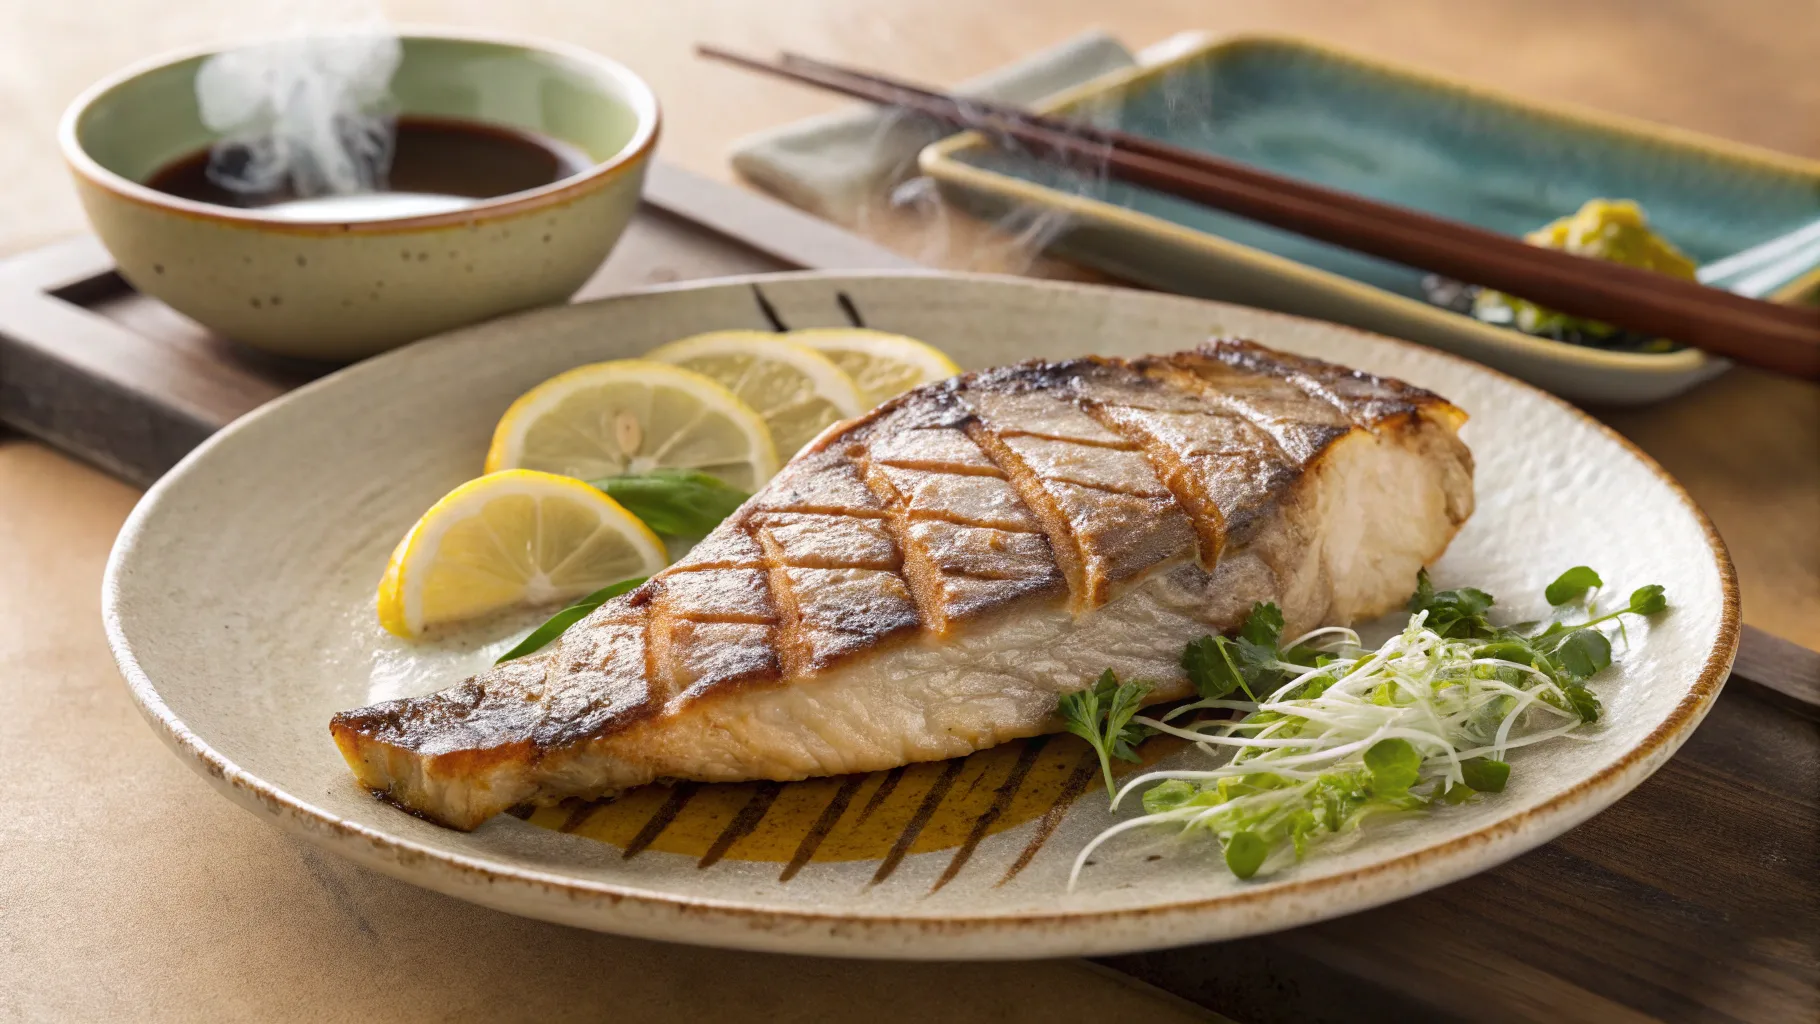
Picture this: you’re seated at a cozy Japanese restaurant, watching steam rise from a beautifully bronzed piece of fish that looks almost too elegant to eat. The server explains it’s hamachi kama, and with your first bite, you discover meat so tender it practically melts on your tongue. That transformative moment doesn’t have to remain a restaurant memory. Today, you’ll learn how to cook hamachi kama in the oven using three straightforward steps that bring this exquisite dish directly to your kitchen.
What Makes Hamachi Kama Special
Hamachi kama represents one of Japan’s most treasured culinary secrets. This yellowtail collar cut comes from the area between the fish’s head and body, containing some of the richest, most flavorful meat you’ll find in any seafood. Unlike typical fish fillets, this section boasts natural marbling and a texture that transforms completely when cooked properly.
Your local fish market might not always carry hamachi kama, but specialty Japanese grocers and online seafood retailers stock this delicacy regularly. When selecting your collar, look for bright, clear skin without any fishy odor. Fresh hamachi kama should feel firm to the touch and display a natural sheen.
The nutritional profile makes this dish particularly appealing. Each serving delivers substantial omega-3 fatty acids, complete proteins, and essential minerals like selenium. Unlike many restaurant preparations that rely on heavy sauces, the oven method allows these natural flavors to shine.
Essential Equipment and Ingredients
Before diving into the cooking process, gather these fundamental items:
Kitchen Tools:
- Large baking sheet or oven-safe dish
- Parchment paper for easy cleanup
- Sharp knife for proper scoring
- Pastry brush for oil application
- Instant-read thermometer (optional but recommended)
Core Ingredients:
| Item | Quantity | Purpose |
|---|---|---|
| Hamachi Kama | 2-4 pieces (6-8 oz each) | Main ingredient |
| Coarse Sea Salt | 2 tablespoons | Moisture extraction |
| Neutral Oil | 2 tablespoons | Skin crisping |
| Fresh Lemon | 1 whole | Serving accent |
Optional Flavor Enhancers:
| Ingredient | Amount | Effect |
|---|---|---|
| Soy Sauce | 3 tablespoons | Umami depth |
| Mirin | 2 tablespoons | Sweet balance |
| Fresh Ginger | 1 teaspoon, grated | Aromatic lift |
| Sake | 1 tablespoon | Flavor complexity |
Step 1: Preparation and Salt Curing
Remove your hamachi kama from refrigeration thirty minutes before cooking. This temperature adjustment ensures even cooking throughout the thick collar meat. Pat each piece completely dry using paper towels, removing any surface moisture that could prevent proper browning.
Score the skin using your sharp knife, creating a crosshatch pattern approximately one-quarter inch deep. This technique serves multiple purposes: it prevents the skin from curling during cooking, allows seasonings to penetrate deeper, and creates attractive presentation lines.
Apply coarse sea salt generously across all surfaces of the hamachi kama. This curing process draws out excess moisture while beginning to break down proteins for improved texture. Allow the salt to work for exactly fifteen minutes, then rinse thoroughly under cold water and pat dry again.
Step 2: Seasoning and Oven Setup

Preheat your oven to 425°F (220°C) while completing the seasoning process. This relatively high temperature creates the perfect environment for achieving crispy skin while maintaining moist interior meat.
Line your baking sheet with parchment paper, ensuring easy removal and cleanup. Brush each hamachi kama piece with neutral oil on both sides, paying special attention to the scored skin areas. This oil application promotes even browning and prevents sticking.
For enhanced flavor, combine soy sauce, mirin, and sake in a small bowl, then brush this mixture lightly over the flesh side of each collar. Avoid oversaturating, as excess liquid can interfere with the browning process.
Position the hamachi kama skin-side up on your prepared baking sheet, leaving adequate space between pieces for proper air circulation.
Step 3: Baking and Finishing
Place the baking sheet in your preheated oven and bake for fifteen minutes initially. During this time, the skin begins developing its characteristic golden-brown color while the interior meat cooks gently.
After fifteen minutes, check the skin’s progress. You should see attractive browning and slight crisping around the edges. Continue baking for an additional five to ten minutes, monitoring closely to prevent overcooking.
The internal temperature should reach 145°F (63°C) when measured at the thickest part of the collar. If you don’t have a thermometer, look for meat that flakes easily when tested with a fork and skin that appears golden-brown and crispy.
Remove from the oven and allow the hamachi kama to rest for five minutes before serving. This resting period allows juices to redistribute throughout the meat, ensuring maximum flavor and texture.
Pro Tips for Perfect Results
Temperature control represents the most critical factor in achieving restaurant-quality hamachi kama. Your oven’s high heat creates the necessary environment for skin crisping while the thick collar meat cooks evenly throughout.
Avoid these common mistakes that can compromise your results:
- Skipping the salt curing step reduces moisture control
- Cooking directly from refrigerator temperature creates uneven results
- Overcrowding the baking sheet prevents proper air circulation
- Rushing the resting period affects final texture
For enhanced flavor development, consider marinating your hamachi kama for up to two hours before cooking. A simple mixture of soy sauce, rice wine, and fresh ginger creates deeper taste complexity without overwhelming the fish’s natural character.
Serving and Presentation
Traditional Japanese presentation emphasizes simplicity and natural beauty. Arrange your cooked hamachi kama on individual plates with fresh lemon wedges and a small mound of grated daikon radish. Steamed rice and miso soup complete the authentic experience.
For modern fusion approaches, consider pairing with roasted vegetables, quinoa pilaf, or mixed greens dressed with sesame oil and rice vinegar. The rich, buttery flavor of hamachi kama complements both traditional and contemporary accompaniments beautifully.
Frequently Asked Questions
How long does it take to cook hamachi kama in the oven? Total cooking time ranges from 20-25 minutes at 425°F, including preparation time of approximately 25 minutes for salt curing and setup.
Can I cook frozen hamachi kama in the oven? Always thaw hamachi kama completely before cooking. Thaw overnight in your refrigerator and bring to room temperature 30 minutes before following the oven cooking steps.
What temperature should I cook hamachi kama in the oven? Cook hamachi kama at 425°F (220°C) for optimal results. This temperature ensures crispy skin while maintaining moist, flaky meat.
How do I know when hamachi kama is done cooking in the oven? Hamachi kama finishes cooking when it reaches an internal temperature of 145°F (63°C), displays golden-brown crispy skin, and flakes easily when tested with a fork.
Your Culinary Journey Starts Now
Mastering how to cook hamachi kama in the oven transforms an intimidating restaurant specialty into an achievable home cooking triumph. These three straightforward steps unlock the rich, buttery flavors that make yellowtail collar such a prized dish in Japanese cuisine.
The beauty of this oven method lies in its consistency and forgiving nature. Unlike grilling or pan-searing, oven cooking provides controlled heat that delivers restaurant-quality results every time. Your patience during the salt curing process and attention to proper temperature will reward you with perfectly crispy skin and succulent meat.
Ready to elevate your dinner table with this Japanese delicacy? Head to your local fish market, gather your ingredients, and experience the satisfaction of creating restaurant-quality hamachi kama in your own kitchen. Share your cooking results and variations in the comments below – your fellow home cooks would love to hear about your hamachi kama adventures!
