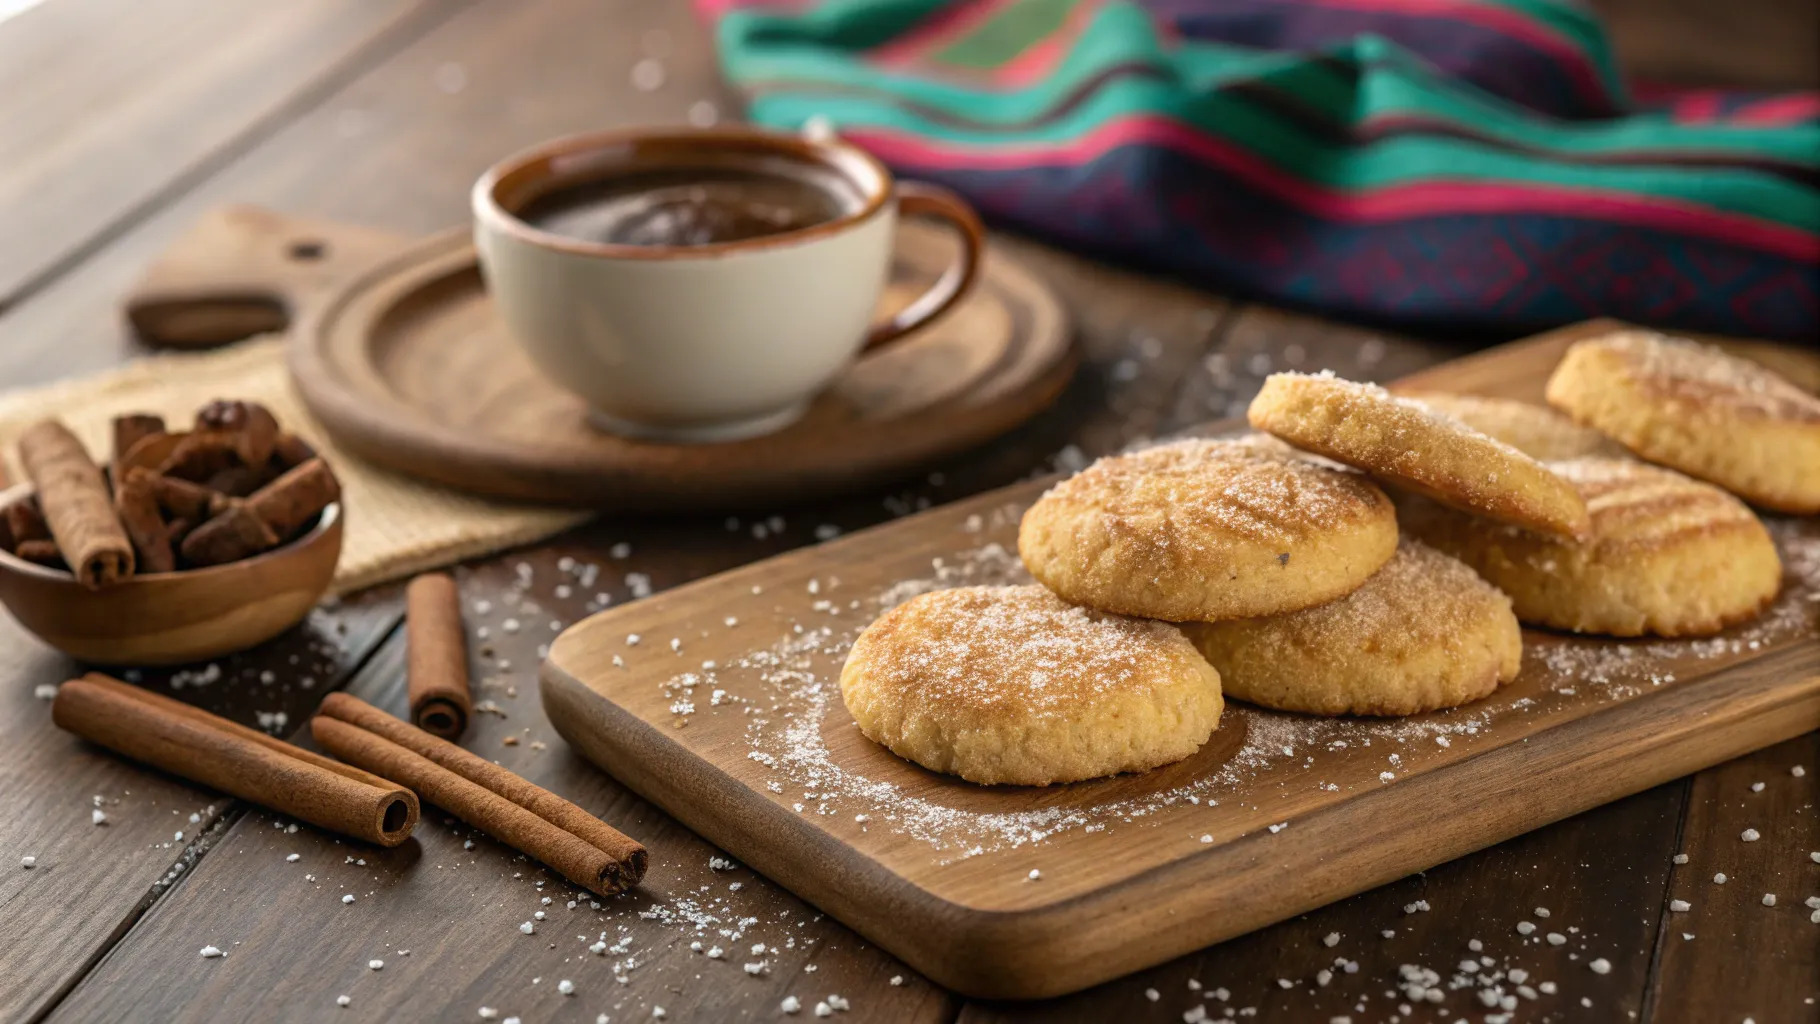
Picture yourself biting into a perfectly golden, crunchy tortilla topped with fresh vegetables and drizzled with tangy, spicy sauce. That unmistakable sound of the crisp breaking between your teeth, followed by an explosion of authentic Mexican flavors – this is the magic of chilindrinas. Perhaps you’ve experienced this delight at your favorite taqueria, or maybe you’re searching for a way to recreate childhood memories of enjoying this iconic street food with family.
The good news? You don’t need to visit Mexico or hunt down specialized restaurants to experience authentic chilindrinas. With just five straightforward steps and readily available ingredients, you’ll transform your kitchen into a Mexican street food haven. This comprehensive guide will walk you through creating restaurant-quality crispy chilindrinas that will have everyone asking for your secret recipe.
What Are Chilindrinas? Understanding This Mexican Street Food Classic
The Cultural Heart of Mexican Cuisine
Chilindrinas represent more than just another snack – they embody the vibrant spirit of Mexican street food culture. Originating from various regions across Mexico, these delightful creations have evolved from simple roadside treats into beloved comfort food enjoyed worldwide. Each bite tells a story of tradition, creativity, and the Mexican philosophy of transforming humble ingredients into something extraordinary.
The genius of chilindrinas lies in their perfect balance of textures and flavors. At their core, they feature a crispy wheat flour tortilla base that serves as the foundation for an array of fresh toppings. This contrast between the crunchy base and tender vegetables creates a satisfying eating experience that keeps people coming back for more.
Essential Components That Define Authentic Chilindrinas
Understanding the key elements helps you appreciate why chilindrinas have captured hearts across cultures:
- Crispy tortilla foundation: The star of the show, providing essential crunch and structural integrity
- Fresh vegetable medley: Typically including lettuce, tomatoes, and onions for brightness and texture
- Signature sauce blend: A harmonious combination of tangy, spicy, and creamy elements
- Protein additions: Often featuring shredded chicken, beans, or other savory components
- Cheese finishing touch: Usually queso fresco or cotija for authentic Mexican flavor
Essential Ingredients for Homemade Crispy Chilindrinas
Complete Ingredients Breakdown

| Component | Ingredient | Quantity | Purpose |
|---|---|---|---|
| Base | Large wheat flour tortillas | 4-6 pieces | Creates crispy foundation |
| Vegetables | Iceberg lettuce | 2 cups, shredded | Adds freshness and crunch |
| Roma tomatoes | 2 medium, diced | Provides juicy sweetness | |
| White onion | 1/2 medium, minced | Delivers sharp flavor accent | |
| Ripe avocado | 1 large, sliced | Contributes creamy richness | |
| Protein | Cooked chicken breast | 1 cup, shredded | Adds satisfying substance |
| Cheese | Queso fresco | 1/2 cup, crumbled | Provides authentic Mexican taste |
| Sauce | Fresh lime juice | 1/4 cup | Essential for tangy brightness |
| Quality hot sauce | 2-3 tablespoons | Adjustable heat element | |
| Mayonnaise | 1/4 cup | Creates creamy base | |
| Cooking | Vegetable oil | For frying | Achieves perfect crispiness |
Sourcing Quality Ingredients
Your success in creating authentic chilindrinas begins with ingredient selection. Visit local Mexican markets for the most authentic flavors – they often carry superior queso fresco and specialized hot sauces that make a noticeable difference. If authentic ingredients aren’t accessible, focus on freshness over specific brands. Fresh lime juice outperforms bottled versions, and crisp lettuce maintains better texture than wilted alternatives.
How to Make Crispy Chilindrinas at Home: Step-by-Step Guide
Step 1: Creating Your Crispy Tortilla Foundation
The secret to exceptional chilindrinas starts with achieving the perfect tortilla crispiness. Heat your oil to precisely 350°F (175°C) – this temperature ensures rapid crisping without excessive oil absorption.
Critical frying technique:
- Gently lower each tortilla into the hot oil using tongs
- Watch for immediate bubbling around the edges
- Fry for 90 seconds on the first side until golden brown
- Flip carefully and fry another 60 seconds
- Look for consistent golden color and audible crackling sounds
Remove the tortilla and immediately place it on paper towels arranged in a single layer. The residual heat will continue crisping the surface while excess oil drains away. This step cannot be rushed – properly crispy tortillas form the backbone of your chilindrinas.
Step 2: Preparing Fresh Vegetable Components
Lettuce preparation mastery: Your lettuce technique directly impacts the final texture. Wash leaves thoroughly under cold running water, then spin dry completely using a salad spinner. Any remaining moisture will create sogginess that destroys the crispy contrast you’ve worked to achieve. Shred lettuce into uniform pieces roughly one inch in length.
Tomato handling expertise: Remove seeds and excess juice from tomatoes by cutting them in half and gently squeezing. This prevents your chilindrinas from becoming soggy. Dice the flesh into small, uniform pieces and lightly salt them, allowing them to drain in a colander for ten minutes before use.
Onion preparation technique: Mince your onion finely to distribute flavor evenly without overwhelming any single bite. Soak minced onion in cold water for five minutes, then drain thoroughly. This reduces the harsh bite while maintaining the essential onion flavor.
Step 3: Seasoning Your Protein Elements
Chicken preparation method: If starting with raw chicken, simmer breasts in seasoned water containing bay leaves, garlic, and onion for twenty minutes. This infuses flavor while ensuring tender, easily shredded meat. Shred the warm chicken using two forks, working with the grain to create appealing strands.
Season your shredded chicken with salt, pepper, and a squeeze of lime juice. The lime brightens the flavor and complements the tangy sauce you’ll add later.
Alternative protein options:
- Seasoned black beans provide vegetarian protein
- Carnitas offer rich, traditional Mexican flavors
- Chorizo adds spicy, smoky notes
- Grilled shrimp creates an elegant variation
Step 4: Crafting the Signature Sauce
Perfect sauce formula: The sauce makes or breaks your chilindrinas. In a small bowl, whisk together mayonnaise and fresh lime juice until completely smooth. Add hot sauce gradually, tasting as you go. The goal is balanced heat that enhances rather than overwhelms the other flavors.
Flavor balancing secrets:
- Start with less hot sauce than you think you need
- Add a pinch of salt to brighten all flavors
- Include a tiny amount of garlic powder for depth
- Adjust consistency with additional lime juice if needed
The finished sauce should coat the back of a spoon but flow easily when drizzled. Make this sauce fresh for each batch – it doesn’t store well and loses its vibrant flavor quickly.
Step 5: Assembly for Maximum Impact
Strategic layering approach: Proper assembly order ensures each component maintains its intended texture and flavor contribution:
- Place your crispy tortilla on the serving plate
- Spread a thin layer of sauce across the surface
- Create a lettuce bed covering the entire tortilla
- Distribute tomatoes and onions evenly
- Add your protein in an appealing mound
- Sprinkle crumbled cheese generously
- Arrange avocado slices artfully on top
- Finish with a final drizzle of sauce
Timing considerations: Assemble chilindrinas immediately before serving. The crispy tortilla begins losing its texture within minutes of contact with moist ingredients. For parties, set up an assembly station where guests create their own chilindrinas for optimal freshness.
Pro Tips for Restaurant-Quality Results
Achieving Consistent Crispiness
Temperature control mastery: Invest in a reliable cooking thermometer to maintain consistent oil temperature. Fluctuating temperatures result in unevenly cooked tortillas that either absorb too much oil or fail to achieve proper crispiness.
Common mistakes to avoid:
- Never overcrowd your frying pan – this drops oil temperature
- Don’t flip tortillas more than once during frying
- Avoid assembling chilindrinas too far in advance
- Never skimp on draining excess oil after frying
Customization for Different Preferences
Heat level adjustments: Control spiciness by varying your hot sauce choice and quantity. Mild hot sauces work well for sensitive palates, while habanero-based options satisfy heat seekers. Remember that you can always add more heat, but you cannot remove it once added.
Dietary modifications:
- Use corn tortillas for gluten-free versions
- Substitute Greek yogurt for mayonnaise to reduce fat
- Replace dairy cheese with nutritional yeast for vegan options
- Bake tortillas instead of frying for healthier preparation
Storage and Serving Strategies
Ingredient Preparation Timeline
Make-ahead components:
- Fry tortillas up to 4 hours in advance, storing in airtight containers
- Prepare vegetables the morning of serving, keeping them refrigerated separately
- Cook and season proteins up to 2 days ahead
- Mix sauce just before assembly for best flavor
Perfect Serving Occasions
Chilindrinas excel as:
- Appetizers for Mexican-themed gatherings
- Quick weeknight dinners requiring minimal cooking
- Game day snacks that satisfy hungry crowds
- Interactive party food where guests customize their own
Nutritional Benefits of Homemade Chilindrinas
Creating chilindrinas at home allows you to control ingredients and maximize nutritional value. Fresh vegetables provide essential vitamins and fiber, while lean proteins contribute to satiety. By controlling oil quantity and choosing quality ingredients, you create a more balanced version than typical restaurant offerings.
Health-conscious modifications:
- Increase vegetable ratios for more nutrients
- Use whole wheat tortillas for added fiber
- Incorporate beans for plant-based protein
- Reduce sauce quantities to control sodium
Frequently Asked Questions About Making Crispy Chilindrinas at Home
How do I keep chilindrinas crispy after making them?
Assembly timing is crucial for maintaining crispiness. Prepare all components separately, then assemble immediately before serving. Keep wet ingredients well-drained and never prepare chilindrinas more than ten minutes before eating.
Can I make crispy chilindrinas without frying the tortillas?
Absolutely! Brush tortillas lightly with oil and bake at 400°F for 8-10 minutes, flipping once. While the texture differs slightly from traditional fried versions, you’ll still achieve satisfying crunchiness with reduced oil content.
What’s the best way to make chilindrinas at home for a large group?
Set up a DIY assembly station with all components prepared separately. Provide multiple sauce options and let guests customize their chilindrinas. This approach ensures maximum freshness while accommodating different preferences.
How to make crispy chilindrinas at home without traditional Mexican ingredients?
Focus on achieving the essential flavor balance rather than specific authentic ingredients. Substitute feta for queso fresco, use your favorite hot sauce, and replace Mexican crema with sour cream mixed with lime juice.
Why do my homemade chilindrinas become soggy quickly?
Excess moisture from improperly drained vegetables typically causes sogginess. Remove tomato seeds, thoroughly dry lettuce, and drain any excess liquid from ingredients before assembly.
Transform Your Kitchen Into a Mexican Street Food Paradise
Mastering crispy chilindrinas at home opens doors to authentic Mexican flavors while providing complete control over ingredients and preparation methods. These five simple steps – creating crispy tortillas, preparing fresh vegetables, seasoning proteins, crafting signature sauce, and strategic assembly – will consistently produce restaurant-quality results that impress family and friends.
The beauty of homemade chilindrinas extends beyond their incredible taste. You can customize spice levels, accommodate dietary restrictions, and share genuine Mexican culinary traditions with loved ones. Whether you’re satisfying personal cravings or entertaining guests, these crispy delights represent the perfect fusion of simplicity and sophistication.
Ready to start your chilindrina adventure? Gather your ingredients, heat that oil, and prepare to create magic in your kitchen. Your taste buds – and everyone lucky enough to share your homemade chilindrinas – will thank you for bringing this authentic Mexican street food experience home. Don’t wait another day to master this beloved recipe that transforms ordinary ingredients into extraordinary memories.
