Picture this: It’s 3 PM, your energy is crashing, and you’re staring at the vending machine filled with processed snacks that’ll leave you feeling worse than before. What if I told you there’s a better way? A snack that’s not only incredibly satisfying but also packed with protein, low in calories, and takes just minutes to prepare?
I discovered salmon onigiri during a particularly stressful period when I was juggling work deadlines and trying to eat healthier. These little Japanese rice balls became my saving grace – portable, nutritious, and surprisingly comforting. Today, I’m sharing the exact method that transformed my snacking habits and helped me maintain steady energy throughout even the busiest days.
What Makes Salmon Onigiri the Perfect Healthy Snack?
Salmon onigiri stands apart from typical grab-and-go options for several compelling reasons. These triangular treasures deliver an impressive 12 grams of protein per serving while maintaining a modest calorie count of just 165 calories. Unlike energy bars loaded with artificial ingredients, your homemade salmon onigiri contains only recognizable, wholesome components.
The omega-3 fatty acids in salmon support brain function and heart health, while the complex carbohydrates from Japanese rice provide sustained energy release. This combination prevents the blood sugar spikes and crashes associated with processed snacks. Research from the Japanese Ministry of Health indicates that traditional onigiri consumption correlates with better weight management and cardiovascular health outcomes.
Beyond nutrition, these rice balls offer unmatched convenience. You can prepare a week’s worth in under an hour, making them ideal for busy professionals, students, or anyone seeking nutritious options without extensive meal preparation time.
Essential Ingredients for Low-Calorie Salmon Onigiri
Success with salmon onigiri begins with selecting quality ingredients. Here’s what you’ll need for perfect results:
Core Ingredients

| Ingredient | Quantity | Calories | Purpose |
|---|---|---|---|
| Short-grain Japanese rice | 1 cup (uncooked) | 242 | Base structure |
| Canned salmon (in water) | 5 oz can | 154 | Protein filling |
| Nori (seaweed sheets) | 4 sheets | 10 | Wrapper & umami |
| Salt | 1 tsp | 0 | Seasoning |
| Rice vinegar | 1 tbsp | 3 | Flavor enhancement |
Optional Flavor Enhancers
Your salmon onigiri can benefit from these additional ingredients:
- Low-sodium soy sauce (5 calories per teaspoon)
- Toasted sesame seeds (52 calories per tablespoon)
- Cucumber slices for crunch (2 calories per slice)
- Fresh scallions for brightness (1 calorie per tablespoon)
When shopping, seek out Japanese short-grain rice varieties like Koshihikari or Calrose. These varieties provide the sticky texture essential for proper onigiri formation. Asian markets typically offer the best selection and prices for these specialty ingredients.
Step-by-Step Salmon Onigiri Recipe Guide
Step 1: Preparing Perfect Sushi Rice
Your rice forms the foundation of exceptional salmon onigiri. Begin by rinsing one cup of short-grain rice under cold water until the water runs clear – typically requiring five to six rinses. This removes excess starch that could make your onigiri mushy.
Combine the rinsed rice with 1.2 cups of water in a heavy-bottomed pot. Bring to a boil, then reduce heat to low, cover, and simmer for 18 minutes. Remove from heat and let stand for 10 minutes without lifting the lid.
Transfer the cooked rice to a large bowl and gently fold in one tablespoon of rice vinegar and half a teaspoon of salt. Allow the rice to cool to room temperature before proceeding. This cooling step prevents the rice from becoming overly sticky and difficult to handle.
Step 2: Creating the Salmon Filling
Drain your canned salmon thoroughly, pressing out excess liquid with paper towels. This prevents soggy onigiri that fall apart during eating. Flake the salmon into small, uniform pieces using a fork.
Season the salmon with a pinch of salt and, if desired, a few drops of low-sodium soy sauce. Some practitioners add finely minced scallions or a sprinkle of sesame seeds for extra flavor and texture. Taste and adjust seasoning as needed – the filling should be flavorful but not overpowering.
Step 3: Mastering the Shaping Technique
Prepare a small bowl of lightly salted water for your hands. This prevents the rice from sticking to your palms during shaping. Wet your hands, then take approximately one-third cup of cooled rice and form it into a loose ball.
Create a small indentation in the center and add one tablespoon of salmon filling. Carefully fold the rice over the filling, ensuring it’s completely enclosed. Gently shape the rice into a triangle by cupping your hands and applying light, even pressure.
The key lies in finding the right balance – too little pressure results in loose, crumbly onigiri, while excessive pressure creates dense, unpleasant textures. Practice makes perfect, so don’t worry if your first attempts lack professional appearance.
Step 4: Proper Nori Application
Cut your nori sheets into strips approximately one inch wide and four inches long. These strips should be large enough to wrap around the bottom portion of your onigiri while leaving the top exposed.
Place the shaped onigiri on the nori strip and wrap it around the base, pressing gently to ensure adhesion. The nori provides structural support and adds a pleasant oceanic flavor that complements the salmon beautifully.
Step 5: Final Assembly and Presentation
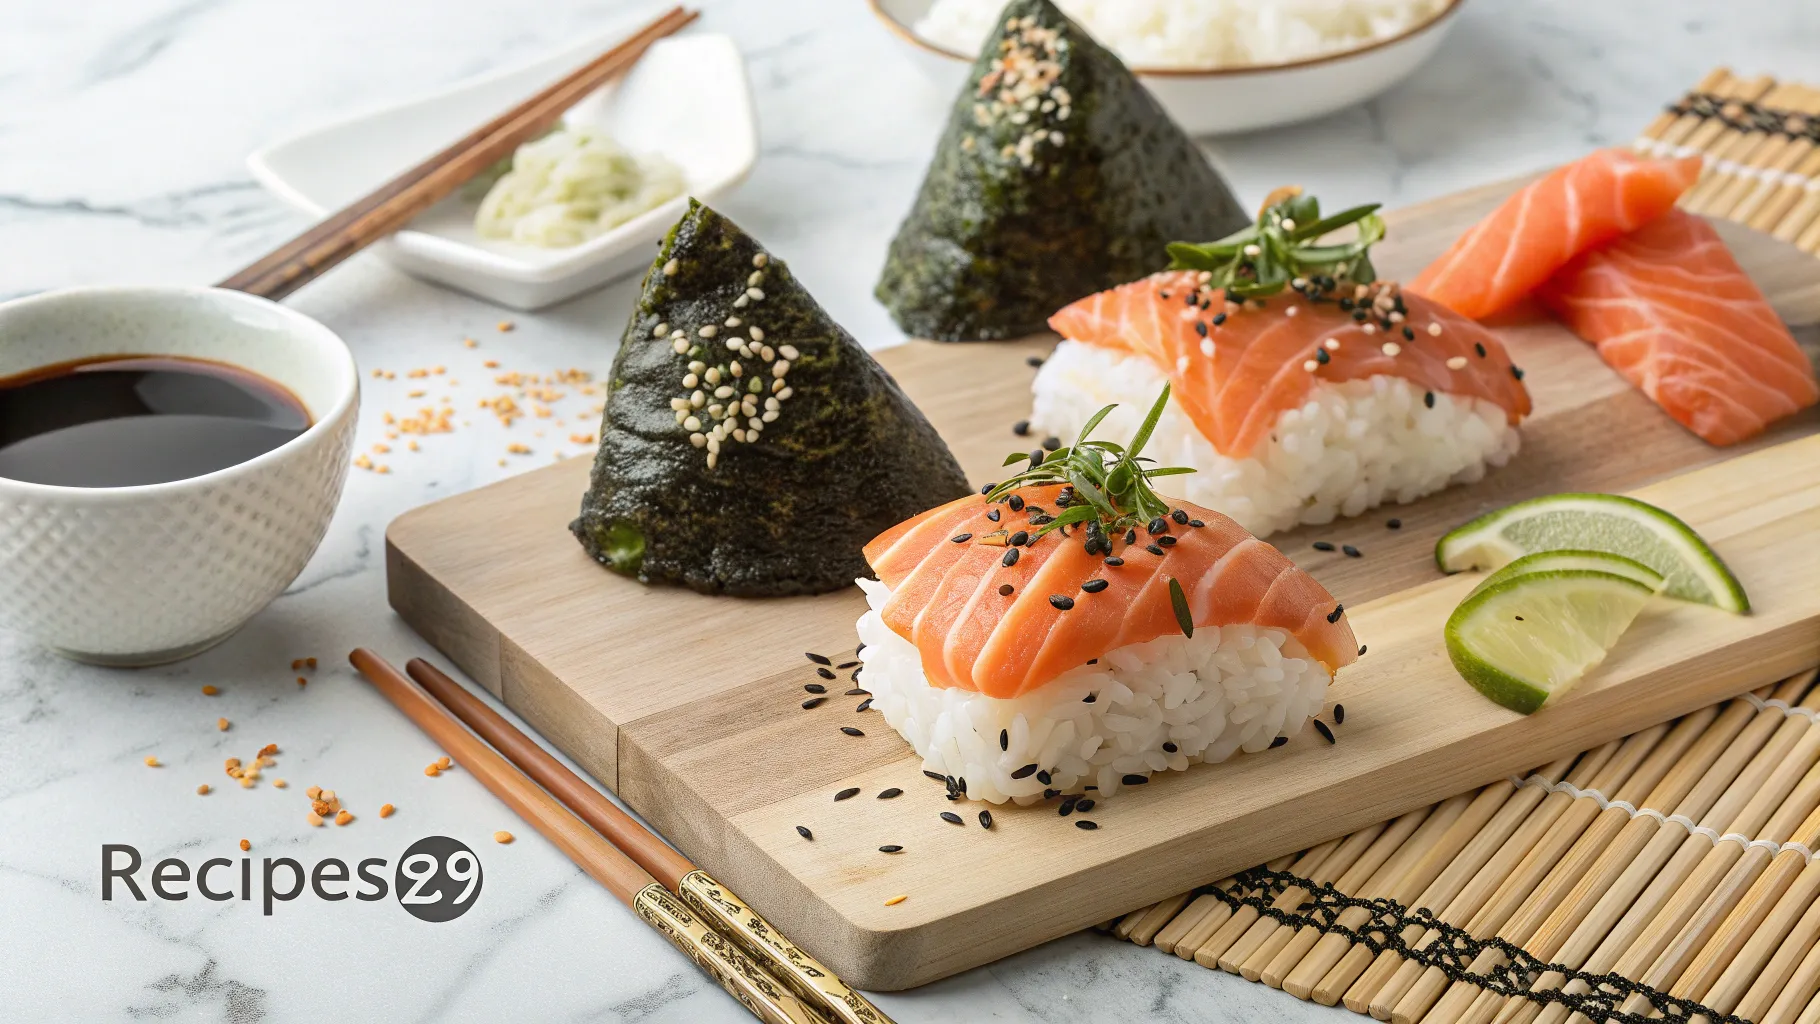
Your completed salmon onigiri should feel firm but not compressed, with the nori securely attached and the filling completely enclosed. Arrange them on a plate with the triangular points facing upward for traditional presentation.
For enhanced visual appeal, garnish with thin cucumber slices, a sprinkle of sesame seeds, or small pieces of pickled radish. These additions provide color contrast and additional nutritional value.
Nutritional Breakdown and Health Benefits
Understanding the nutritional profile of your salmon onigiri helps you make informed dietary choices:
Complete Nutritional Profile
| Nutrient | Per Onigiri | % Daily Value |
|---|---|---|
| Calories | 165 | 8% |
| Protein | 12g | 24% |
| Carbohydrates | 28g | 9% |
| Fat | 2g | 3% |
| Omega-3 fatty acids | 350mg | 22% |
| Sodium | 380mg | 16% |
| Fiber | 1g | 4% |
Key Health Benefits
Weight Management Support: The high protein content promotes satiety, helping you feel full longer and reducing overall calorie consumption. The complex carbohydrates provide steady energy without triggering cravings for additional snacks.
Heart Health: Salmon’s omega-3 fatty acids support cardiovascular function, while the low saturated fat content makes these snacks heart-friendly. The potassium in nori helps regulate blood pressure.
Brain Function: DHA and EPA from salmon support cognitive function and memory. The B-vitamins present contribute to neurological health and energy metabolism.
Expert Tips for Perfect Salmon Onigiri Every Time
Pro Techniques from Japanese Chefs
Temperature control proves crucial for successful onigiri preparation. Your rice should feel slightly warm to the touch – hot rice becomes mushy, while cold rice won’t hold together properly. Many professional chefs recommend letting rice cool for exactly 15 minutes before shaping.
Salt distribution requires attention to detail. Rather than adding salt directly to rice, many experts prefer the salted-hands method, which provides more even seasoning and prevents over-salting.
Common Mistakes and Solutions
Rice too wet or dry: Adjust your water ratio gradually. Different rice varieties may require slight modifications to the standard 1:1.2 ratio. Keep notes on what works best with your preferred brand.
Filling leakage: Overstuffing causes structural failure. Limit filling to one tablespoon per onigiri and ensure complete enclosure before final shaping.
Nori becoming soggy: Apply nori just before serving, or store separately and add when ready to eat. Moisture from refrigeration can compromise nori’s crispy texture.
Storage and Meal Prep Strategies
Proper storage extends the life of your salmon onigiri while maintaining food safety standards. Wrap individual onigiri in plastic wrap and refrigerate for up to three days. For longer storage, freeze wrapped onigiri for up to one month.
When meal prepping, consider preparing components separately. Cook and season rice in large batches, prepare salmon filling in advance, and assemble onigiri as needed. This approach maintains optimal texture and prevents premature spoilage.
For grab-and-go convenience, pack onigiri in insulated containers with ice packs. This maintains proper temperature during transport and ensures food safety compliance.
Frequently Asked Questions About Salmon Onigiri
Can I use fresh salmon instead of canned for my salmon onigiri?
Absolutely! Fresh salmon offers superior flavor and texture. Grill, bake, or pan-sear fresh salmon fillets, then flake and season as you would canned salmon. Fresh salmon increases preparation time but elevates the overall quality significantly.
How long does homemade salmon onigiri last?
Properly stored salmon onigiri maintains quality for three days in the refrigerator. Signs of spoilage include off odors, slimy texture, or visible mold. When in doubt, discard questionable onigiri to prevent foodborne illness.
Is salmon onigiri suitable for weight loss?
Yes! Each onigiri contains only 165 calories while providing substantial protein and complex carbohydrates. This combination promotes satiety and helps control overall calorie intake. Replace high-calorie snacks with salmon onigiri for effective weight management support.
Can I make gluten-free salmon onigiri?
Traditional salmon onigiri using rice, salmon, nori, and salt is naturally gluten-free. Exercise caution with seasonings like soy sauce, which typically contains wheat. Use tamari or coconut aminos as gluten-free alternatives.
Conclusion
Creating perfect salmon onigiri isn’t just about following a recipe – it’s about embracing a healthier approach to snacking that doesn’t compromise on flavor or satisfaction. These protein-packed, low-calorie rice balls prove that nutritious eating can be both convenient and delicious.
With just five simple steps and minimal ingredients, you now possess the knowledge to create restaurant-quality salmon onigiri in your own kitchen. Whether you’re meal prepping for busy weekdays, seeking post-workout nutrition, or exploring authentic Japanese cuisine, this recipe delivers exceptional results.
The beauty of salmon onigiri lies in its versatility and simplicity. As you become more comfortable with basic techniques, experiment with different seasonings, add favorite vegetables, or create signature variations that reflect your personal tastes.
Remember, perfecting onigiri requires practice and patience. Your initial attempts might not achieve Instagram-worthy appearance, but the flavors will be there, and your technique will improve with each batch you create.
Ready to transform your snacking habits? Start your salmon onigiri journey today and discover how this traditional Japanese treat can revolutionize your approach to healthy eating. Gather your ingredients, follow these steps, and experience the satisfaction of creating nutritious, delicious food with your own hands. Your taste buds – and your waistline – will thank you for making this positive change.
