Picture this: you’re sitting at your favorite Japanese restaurant, savoring that first heavenly bite of gyoza. The golden-brown bottom crackles between your teeth while savory juices burst across your palate. Fast-forward to your kitchen last Tuesday evening – soggy wrappers, escaped filling, and dumplings that looked nothing like those gorgeous crescents you’ve been craving.
If this scenario hits close to home, you’re certainly not alone. Countless home cooks struggle with achieving that perfect balance of crispy exterior and tender filling that defines exceptional gyoza. After experimenting with countless techniques and enduring more kitchen failures than I care to admit, I’ve finally unlocked the secrets to creating restaurant-quality dumplings in your own space.
Today, you’ll discover the exact five-step method that transforms ordinary ingredients into extraordinary results. No more disappointment – just consistently crispy, flavorful gyoza that rivals anything you’d order at your go-to Japanese spot.
What Makes Perfect Crispy Fried Gyoza? Understanding the Basics
The Science Behind Crispy Gyoza
Creating exceptional gyoza relies on mastering the steam-fry technique, known as “yaki-gyoza” in Japanese cuisine. This method combines initial high-heat frying with controlled steaming, followed by final crisping. The Maillard reaction occurs during the frying phases, creating those appealing golden-brown surfaces and complex flavors.
Your success depends on three critical factors: proper oil temperature, precise timing, and wrapper selection. Unlike regular steaming or frying alone, this dual-cooking approach creates the signature textural contrast that makes gyoza irresistible.
Common Mistakes That Ruin Homemade Gyoza
Most home cooking disasters stem from these frequent errors:
- Overstuffing wrappers leads to bursting during cooking
- Incorrect oil temperature causes either burning or soggy results
- Poor pleating technique creates weak seals that leak filling
- Wrong water amounts during steaming disrupts the cooking process
- Moving dumplings prematurely prevents proper browning
Essential Ingredients for Homemade Crispy Fried Gyoza
Gyoza Wrapper Selection Guide
Your wrapper choice significantly impacts final results. Fresh wrappers from Asian markets offer superior texture and flexibility compared to frozen alternatives. Look for round wrappers approximately 3.5 inches in diameter with medium thickness – too thin tears easily, while overly thick wrappers become chewy.
Store-bought options work perfectly well, though some dedicated cooks prefer making wrappers from scratch using flour, water, and salt.
Perfect Gyoza Filling Ingredients
| Ingredient Category | Recommended Options | Purpose | Quantity (for 30 gyoza) |
|---|---|---|---|
| Protein | Ground pork, chicken, or plant-based alternative | Main flavor base | 1 lb (450g) |
| Vegetables | Napa cabbage, garlic chives, green onions | Texture and freshness | 2 cups chopped |
| Aromatics | Fresh ginger, garlic, sesame oil | Flavor enhancement | 2 tbsp minced each |
| Seasonings | Soy sauce, rice wine, white pepper | Umami and depth | 2-3 tbsp total |
| Binding | Cornstarch, egg white | Filling cohesion | 1 tbsp + 1 egg white |
Ground pork with approximately 20% fat content delivers optimal flavor and moisture. However, ground chicken, turkey, or plant-based proteins work excellently for dietary preferences.
Napa cabbage provides essential crunch and freshness, but requires proper preparation to prevent excess moisture. Always salt chopped cabbage, let it drain for ten minutes, then squeeze thoroughly using clean kitchen towels.
Step-by-Step Guide: How to Make Crispy Fried Gyoza at Home in 5 Simple Steps
Step 1 – Prepare the Perfect Gyoza Filling
Time Required: 15-20 minutes

Begin by preparing your vegetables properly. Finely chop napa cabbage, then sprinkle with salt and set aside in a colander. This draws out excess moisture that would otherwise create soggy dumplings.
While cabbage drains, mince your aromatics. Fresh ginger and garlic should be chopped extremely fine – consider using a microplane grater for best results. Slice green onions thinly, including both white and green portions.
After ten minutes, squeeze salted cabbage firmly in clean kitchen towels until no more liquid emerges. This step is crucial for achieving proper texture.
Combine your protein with drained vegetables in a large mixing bowl. Add minced aromatics, seasonings, and binding agents. Mix everything in one direction for 2-3 minutes until the mixture becomes slightly sticky and cohesive.
Pro tip: Test your seasoning by cooking a small portion in a skillet. Adjust salt, soy sauce, or other flavors as needed before assembling dumplings.
Step 2 – Master the Pleating Technique
Time Required: 20-30 minutes
Proper pleating creates both attractive appearance and secure sealing. Place one tablespoon of filling in each wrapper’s center – resist the urge to overfill.
Lightly moisten half the wrapper’s edge with water using your finger. Fold the wrapper in half, then create 5-6 small pleats along one side only. Press firmly to seal, ensuring no air pockets remain trapped inside.
The finished gyoza should stand upright with a flat bottom and pleated, curved top. Practice makes perfect – your first few might look imperfect, but technique improves quickly with repetition.
Work efficiently to prevent wrappers from drying out. Cover completed dumplings with damp towels while assembling remaining ones.
Step 3 – Set Up Your Pan for Perfect Frying
Time Required: 2-3 minutes
Select a wide, heavy-bottomed non-stick or well-seasoned pan. Cast iron works exceptionally well due to superior heat retention. Heat two tablespoons of neutral oil (vegetable, canola, or peanut) over medium-high heat.
Test oil temperature by dropping a small amount of water into the pan – it should sizzle immediately without violent spattering. Proper temperature ensures browning without burning.
Arrange gyoza in a single layer with pleated sides facing up. Avoid overcrowding, which reduces temperature and creates uneven cooking. Leave small spaces between each dumpling for best results.
Step 4 – Execute the Steam-Fry Technique
Time Required: 8-10 minutes
This step requires precise timing and attention. Allow gyoza to fry undisturbed for 3-4 minutes until bottoms develop golden-brown color. Resist the temptation to move or check them prematurely.
Listen for consistent, gentle sizzling – silence indicates insufficient heat, while aggressive popping suggests excessive temperature.
Once bottoms achieve proper browning, carefully add one-third cup hot water around (not directly onto) the dumplings. Immediately cover with a tight-fitting lid to trap steam.
Steam for 4-5 minutes until water completely evaporates. You’ll hear the sizzling resume as moisture disappears. Remove the lid and continue cooking for 1-2 additional minutes to re-crisp the bottoms.
Perfect gyoza will release easily from the pan when properly cooked. If they stick, continue cooking briefly until they lift cleanly.
Step 5 – Serve with Authentic Dipping Sauce
Time Required: 5 minutes
While gyoza finish cooking, prepare traditional dipping sauce:
| Ingredient | Amount | Purpose |
|---|---|---|
| Soy sauce | 3 tablespoons | Salty umami base |
| Rice vinegar | 1 tablespoon | Tangy brightness |
| Chili oil | 1-2 teaspoons | Heat and flavor |
| Sesame oil | Few drops | Aromatic finish |
| Green onions | 1 tablespoon chopped | Fresh garnish |
Combine all ingredients in a small bowl, adjusting quantities to taste preferences. Some prefer extra heat, while others enjoy more vinegar brightness.
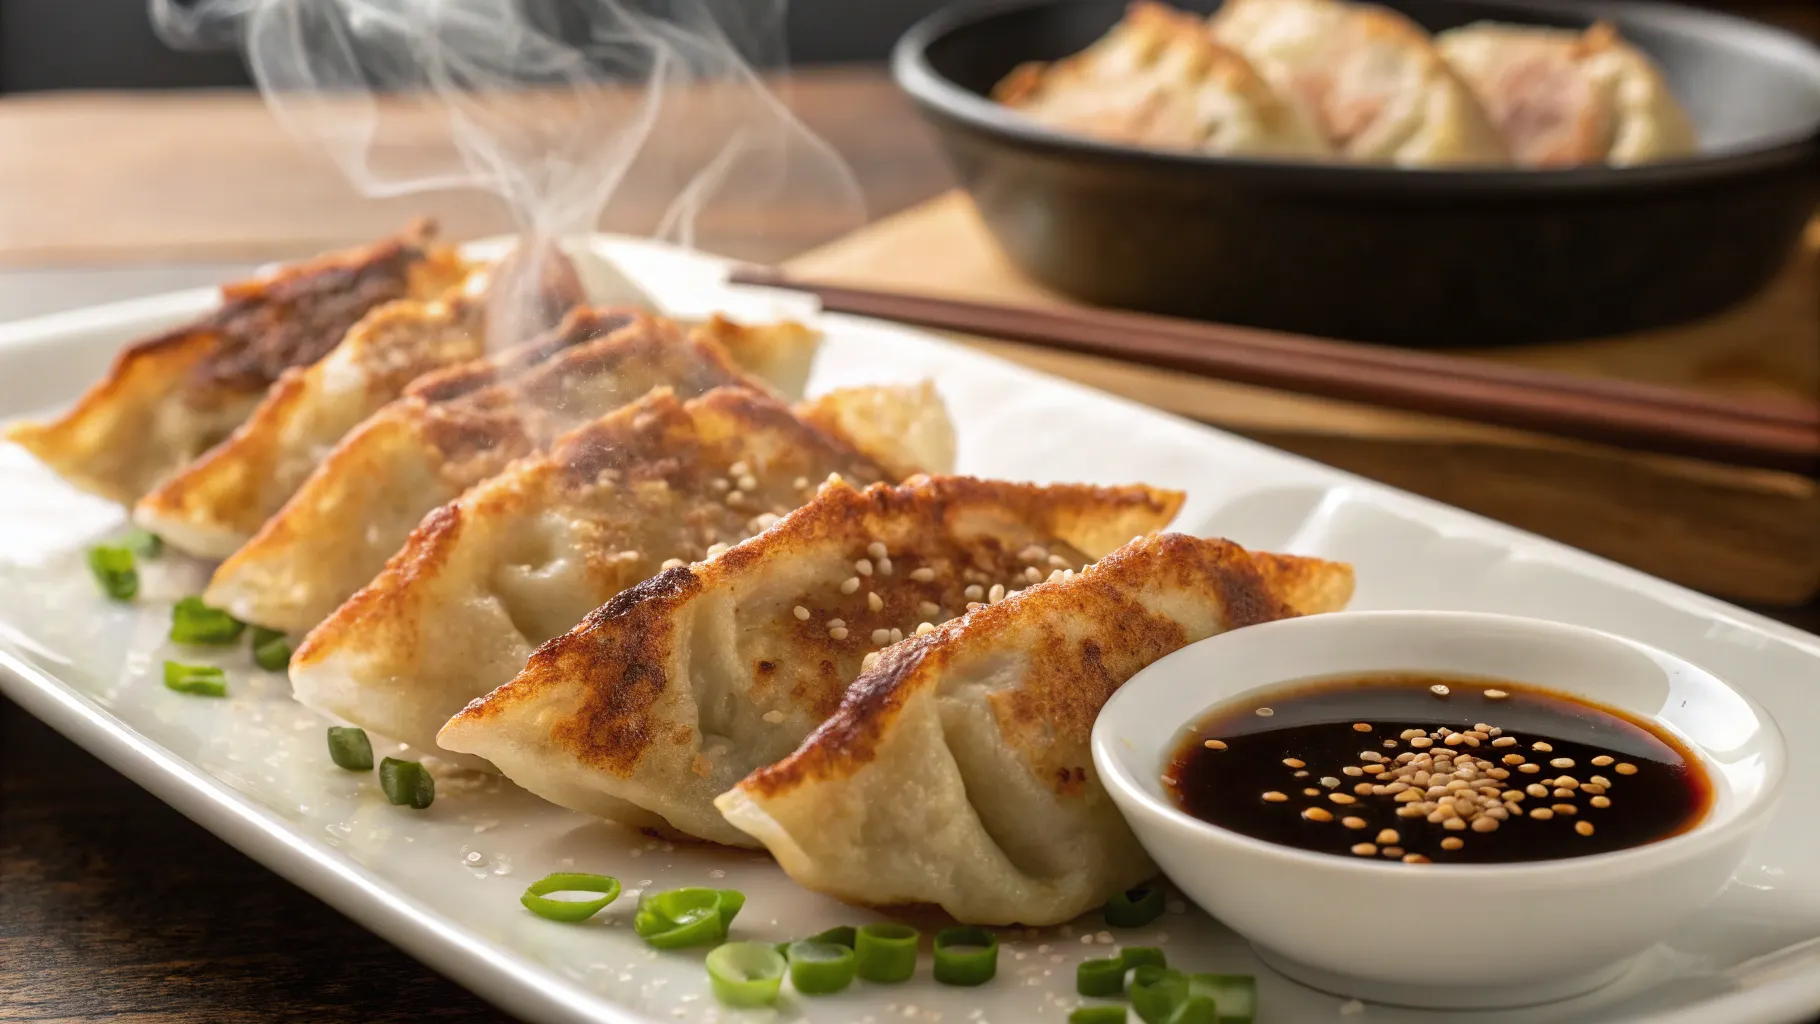
Transfer cooked gyoza to serving plates with crispy sides facing up. Garnish with additional sliced green onions and serve immediately alongside dipping sauce.
Pro Tips for Restaurant-Quality Results
Temperature Control Mastery
Successful gyoza cooking demands careful heat management throughout the process. Start with medium-high heat for initial browning, reduce to medium during steaming, then return to medium-high for final crisping.
Visual cues help more than thermometers – properly heated oil shimmers without smoking, while correct steam-frying produces steady sizzling sounds.
Troubleshooting Common Problems
Soggy bottoms: Usually indicates insufficient initial frying time or excess moisture in filling. Ensure cabbage is thoroughly drained and allow adequate browning before adding water.
Burnt gyoza: Excessive heat is the culprit. Reduce temperature and ensure proper oil coverage across pan bottom.
Broken wrappers: Overfilling or rough handling causes tears. Use appropriate filling amounts and handle gently during pleating.
Frequently Asked Questions About Making Crispy Fried Gyoza at Home
Q: How do you make crispy fried gyoza at home without them sticking to the pan?
A: Use sufficient oil in a properly heated non-stick or well-seasoned pan. Avoid moving dumplings during initial browning phase, and ensure oil temperature is correct before adding gyoza.
Q: What’s the secret to getting gyoza crispy on the bottom but not burnt?
A: Control heat carefully throughout cooking. Start with medium-high heat for browning, reduce during steaming, then increase for final crisping. Listen for consistent sizzling without aggressive popping.
Q: Can you make crispy fried gyoza at home with frozen wrappers?
A: Absolutely! Thaw frozen wrappers completely at room temperature, then pat dry to remove excess moisture before filling and pleating.
Q: How long does it take to make crispy fried gyoza at home from start to finish?
A: Expect 60-90 minutes total: 20 minutes for filling preparation, 30 minutes for pleating, and 8-10 minutes per cooking batch.
Your Journey to Perfect Homemade Gyoza
Mastering how to make crispy fried gyoza at home transforms ordinary evenings into extraordinary culinary experiences. These five essential steps – preparing flavorful filling, executing proper pleating, setting up your cooking surface, mastering steam-fry technique, and serving with authentic accompaniments – form the foundation of consistently excellent results.
Remember that perfecting any worthwhile cooking skill requires practice and patience. Your initial attempts might not match restaurant presentation, but each batch teaches valuable lessons about timing, temperature, and technique.
The genuine satisfaction of creating these golden crescents in your own kitchen surpasses any convenience food alternative. Whether preparing intimate family dinners, impressing dinner party guests, or simply indulging personal cravings, these methods ensure consistently delicious outcomes.
Ready to start your gyoza-making adventure? Gather your ingredients, clear your workspace, and prepare for some serious culinary satisfaction. Your taste buds will thank you, and your friends will demand the recipe. Don’t forget to share your results – tag your crispy creations on social media and inspire others to discover the joy of homemade gyoza mastery!
