The familiar scent of fresh strawberries mingling with vanilla can transport anyone back to carefree summer afternoons spent in grandmother’s kitchen. Remember biting into that perfect spoonful where creamy sweetness meets the delicate crunch of wafers? That treasured moment needn’t remain just a memory. The remarkable harmony of strawberry pudding layered between crisp vanilla wafers creates not merely a dessert, but rather an experience worth sharing with those you cherish most.
Perhaps you’ve hesitated to attempt this classic yourself, believing such delights require culinary expertise. I’m thrilled to reveal that creating this spectacular strawberry pudding requires neither professional training nor elaborate equipment—just five straightforward steps and ingredients likely already occupying space in your pantry. Your family’s new favorite dessert tradition awaits just minutes away.
What Makes Strawberry Pudding So Irresistible?
Strawberry pudding holds a special place among beloved desserts for compelling reasons beyond mere sweetness. The natural balance between the berries’ slight tanginess and the pudding’s velvety sweetness creates a flavor profile that dances across your palate rather than overwhelming it with sugar alone.
The textural interplay proves equally enchanting—silky smooth pudding against the subtle snap of vanilla wafers that gradually soften to cake-like perfection as they absorb the surrounding moisture. This transformation creates distinct textural zones within each serving.
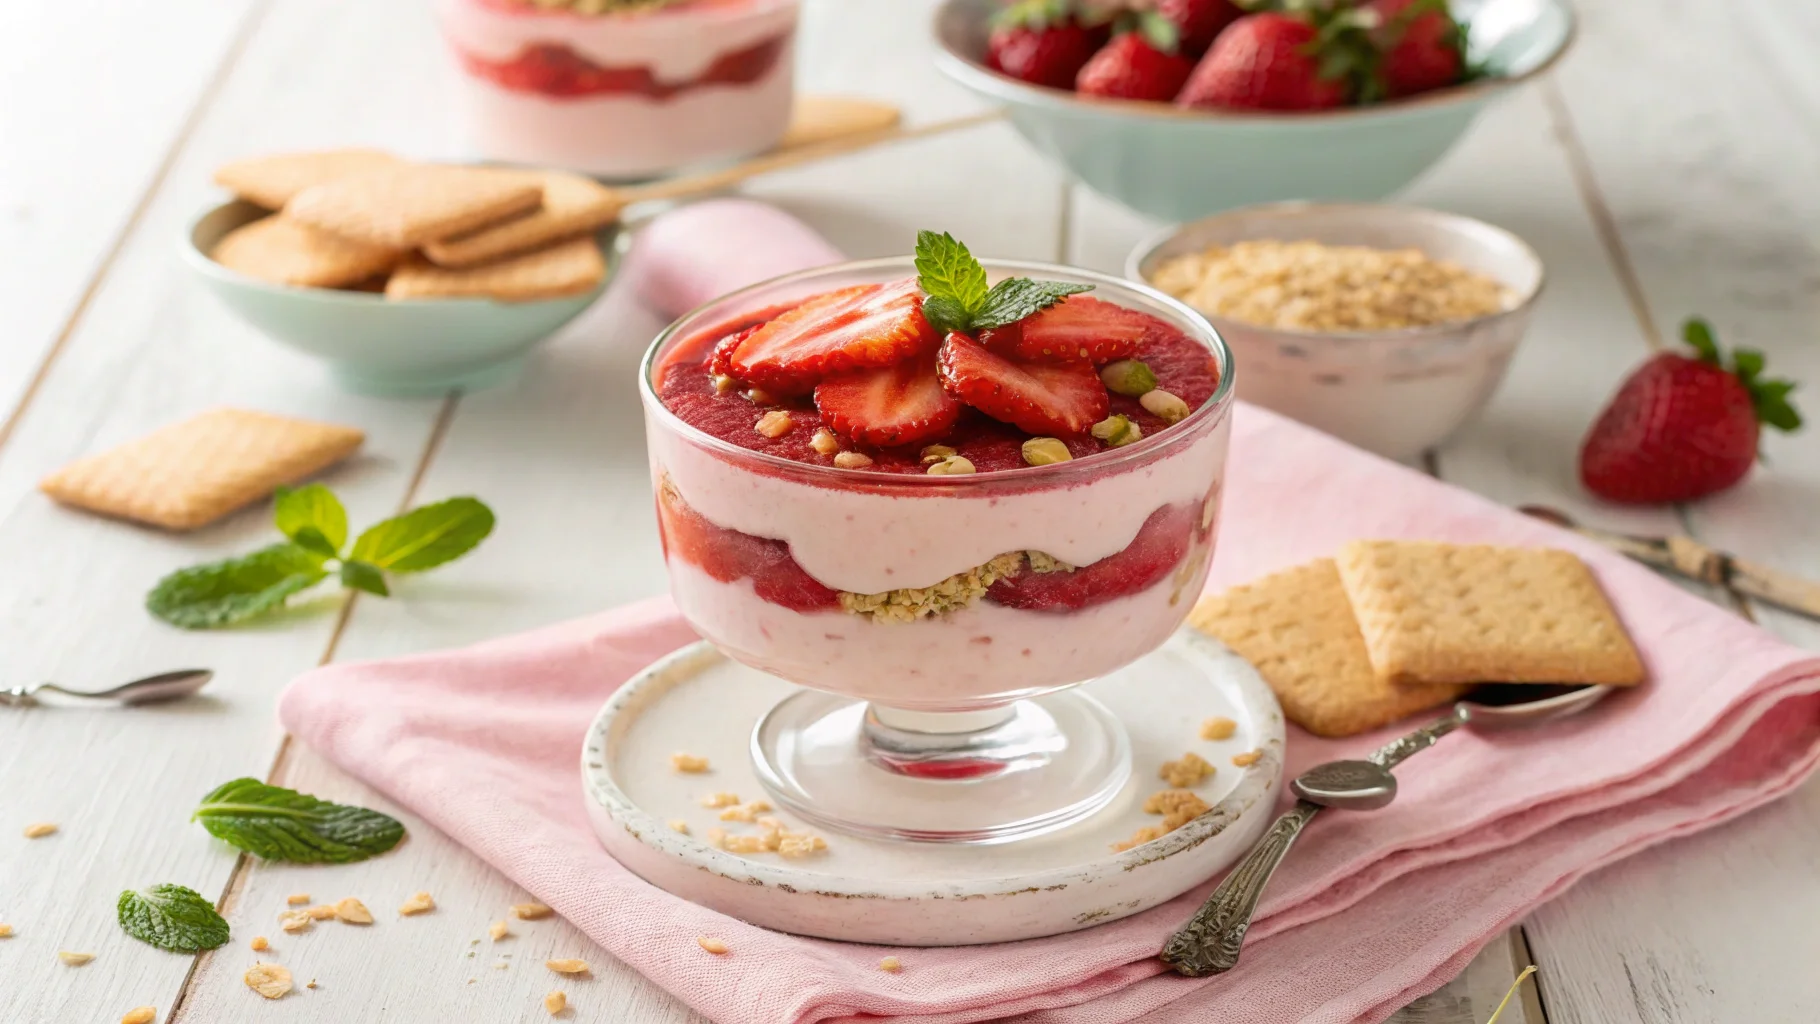
Visually, few desserts match the appeal of those vibrant red berry layers peeking through creamy pudding. The contrast creates an almost artistic presentation without requiring decorative skill. This explains why strawberry pudding appears equally appropriate at casual family gatherings and more formal celebrations.
The dessert’s roots trace back to traditional American icebox cakes and trifles, where home cooks brilliantly repurposed simple ingredients into stunning layered creations. These heritage desserts reflect cooking ingenuity—transforming basic elements into something extraordinary through thoughtful combination rather than complex technique.
Essential Ingredients for Perfect Strawberry Pudding
The Star Components

| Ingredient | Quantity | Notes |
|---|---|---|
| Fresh strawberries | 2 pounds | Choose berries with vibrant red color throughout |
| Vanilla wafers | 1 box (11 oz) | Premium brands offer better structure and flavor |
| Heavy cream | 2 cups | Ultra-pasteurized works but fresh dairy cream whips better |
| Whole milk | 1 cup | The fat content creates superior texture |
| Granulated sugar | 1/2 cup | Early-season berries may need slightly more |
| Vanilla extract | 2 teaspoons | Madagascar bourbon vanilla provides exceptional flavor |
| Cornstarch | 3 tablespoons | Pre-mix with cold liquid to prevent lumping |
| Egg yolks | 3 large | Bring to room temperature before incorporating |
| Salt | 1/4 teaspoon | Crucial for flavor enhancement |
Equipment You’ll Need
Your kitchen likely already contains everything required for this recipe:
- Large mixing bowl for combining ingredients
- Medium saucepan for cooking pudding
- Whisk for smooth blending
- Rubber spatula for gentle folding
- Trifle dish or glass serving bowl (8-inch works perfectly)
- Electric mixer (helpful but beating by hand works too)
5 Easy Steps to Make Strawberry Pudding with Vanilla Wafers
Step 1: Prepare the Fresh Strawberries
Your finished dessert’s quality depends significantly on your strawberry selection. Hunt for berries featuring deep red coloration throughout—avoid those with white shoulders as they lack full flavor development. When possible, locally grown berries picked recently offer superior taste compared to those shipped long distances.
Begin by gently rinsing berries under cool water rather than submerging them, which can waterlog their delicate flesh. Remove stems using a small paring knife, cutting at an angle to remove the hull without sacrificing excessive fruit. Slice larger berries into quarters and smaller ones in half, maintaining relatively uniform sizes for consistent texture throughout your pudding.
Reserve approximately 1/4 of your most attractive berries for decoration. These visual elements elevate your presentation dramatically, especially when arranged thoughtfully just before serving.
Step 2: Create the Homemade Strawberry Pudding Base
In your saucepan, combine milk, 1 cup of cream, and 1/3 cup sugar over medium heat. While this mixture begins warming, whisk egg yolks in a separate bowl with remaining sugar and cornstarch until the mixture appears pale yellow and slightly thickened.
When the cream mixture develops small bubbles around the edge (but before boiling), remove from heat. The critical technique: slowly add about 1/2 cup of this warm mixture into egg yolks while continuously whisking. This process, called tempering, prevents scrambling your eggs. Now gradually pour this warmed egg mixture back into the saucepan, stirring constantly.
Return to medium-low heat, stirring continuously with your whisk or wooden spoon, maintaining contact with the pan bottom to prevent scorching. When the mixture coats the back of your spoon and a finger drawn through leaves a clear path, you’ve reached proper thickness—typically 5-7 minutes. Remove immediately from heat and stir in vanilla extract.
Fold in half your prepared strawberries while the pudding remains warm. This infuses the base with vibrant berry flavor throughout rather than just in distinct layers. Allow cooling for 15 minutes, occasionally stirring to prevent skin formation.
Step 3: Whip the Cream to Perfection
Achieving proper whipped cream consistency transforms your dessert from good to exceptional. Begin with thoroughly chilled cream—consider placing your mixing bowl and beaters in the freezer for 10 minutes beforehand to maintain optimal temperature.
Beat remaining cream on medium speed until bubbles form, then increase to medium-high. Watch carefully for the magical transformation as soft peaks begin forming. The perfect stage arrives when cream holds its shape when the beater is lifted, forming gentle peaks that slightly curl at their tips but maintain structure.
Avoid over-beating, which creates butter-like texture rather than the silky consistency your pudding deserves. If making ahead, stabilize your whipped cream by dissolving 1/2 teaspoon unflavored gelatin in 1 tablespoon cold water, heating until dissolved, cooling slightly, then drizzling into cream during final beating stages.
Step 4: Assemble Your Strawberry Pudding Layers
Building your dessert resembles architectural work more than cooking—each layer contributes both structurally and flavorfully. Begin by spreading a thin layer of pudding across your serving dish bottom, creating adhesion for the first wafer layer.
Arrange vanilla wafers in a single layer, slightly overlapping edges. Don’t fret about complete coverage—small gaps contribute to the rustic charm while allowing pudding to envelop each wafer. Spread approximately 1/3 of remaining pudding evenly across wafers.
Distribute half your remaining sliced strawberries across this pudding layer, then carefully spread another third of pudding over berries. Repeat wafer arrangement for your second layer, followed by pudding, remaining sliced berries, and final pudding portion. Your layering technique influences both appearance and serving experience, so take care with evenness.
Step 5: Chill and Serve Your Masterpiece
Proper chilling transforms your assembled components into a cohesive dessert experience. While technically edible immediately, allowing 4 hours minimum refrigeration permits wafers to soften perfectly while flavors meld—overnight chilling produces absolutely optimal results.
Before serving, top with reserved fresh strawberries arranged in a pleasing pattern. Consider adding subtle dimension with mint leaves or lemon zest curls. Serve in portions that preserve your careful layering, using a serving spoon that reaches the dish bottom to capture every element.
For entertaining, prepare individual portions in clear glasses or mason jars, creating stunning single-serve presentations. Leftover pudding maintains quality for two days refrigerated, though wafers continue softening and texture evolves.
Variations to Try with Your Strawberry Pudding
Seasonal Berry Substitutions
While strawberries offer classic appeal, experimenting with seasonal alternatives creates entirely new experiences with the same basic technique:
- Mixed berry medley featuring raspberries, blueberries and blackberries creates complex flavor dimensions perfect for sophisticated gatherings
- Pure raspberry version introduces pronounced tanginess that contrasts beautifully with sweet vanilla wafers
- Blueberry adaptation provides antioxidant richness with subtler sweetness and striking purple-blue coloration
- Blackberry variation delivers deeper, wine-like notes for autumn entertaining
Dietary Adaptations
Making Strawberry Pudding Gluten-Free
Substitute traditional vanilla wafers with gluten-free alternatives now widely available. Alternatively, create crumbled layers using gluten-free shortbread or even toasted coconut flakes for tropical influence. The pudding itself contains no gluten when made as directed.
Dairy-Free Strawberry Pudding Options
Modern plant-based alternatives perform remarkably in this dessert. Full-fat coconut milk creates exceptionally rich pudding, while oat cream provides neutral backdrop that lets strawberry flavor dominate. For whipping, refrigerated coconut cream separated from its liquid achieves impressive peaks with slightly longer beating time.
Reducing Sugar Without Sacrificing Flavor
Naturally sweeter berries allow sugar reduction by up to 25% without compromise. Alternatively, monkfruit sweetener or stevia designed for baking substitute effectively in this recipe. Enhancing vanilla presence with additional extract or vanilla bean seeds counterbalances reduced sweetness while adding sophisticated flavor notes.
Common Troubleshooting Tips for Strawberry Pudding
Even experienced cooks occasionally encounter challenges with homemade pudding. Fortunately, most issues respond well to simple interventions:
If your pudding seems runny after cooling, whisk 1 tablespoon cornstarch with 2 tablespoons cold water, then whisk this slurry into 1 cup pudding in a saucepan. Heat gently while stirring until thickened, then incorporate back into remaining pudding.
Lumpy texture typically results from insufficient stirring or overheating. Strain through fine mesh sieve before adding berries to rescue the batch. Prevention comes through constant stirring and moderate heat.
Excessively soggy wafers usually indicate excessive moisture in berries or insufficient pudding thickness. Balance by adding extra wafers or reducing berry quantity in future attempts.
Should whipped cream separate during folding, gently re-whip a small amount of fresh cream and gradually fold separated mixture into it rather than attempting to re-beat the entire portion.
Why This Strawberry Pudding Recipe Stands Out
The distinguishing characteristic of this particular strawberry pudding lies in its carefully calibrated ratios. Many recipes err toward excessive pudding that overwhelms the wafers or insufficient filling that creates dry bites. The proportions recommended here create perfect balance between creamy and crisp-tender elements.
Homemade pudding fundamentally differs from instant varieties through its genuine flavor development and silky mouthfeel impossible to achieve with modified starch thickeners. While requiring slightly more effort, the qualitative difference proves immediately apparent to anyone fortunate enough to taste your creation.
Visually, the finished dessert creates a memorable impression through its distinct layering visible through glass serving dishes. This natural beauty requires no piping skills or decorative techniques—simply careful assembly and basic arrangement of reserved berries.
For entertaining advantages, few desserts match strawberry pudding’s make-ahead convenience. In fact, preparing 12-24 hours before serving actually improves both flavor and texture compared to immediate consumption.
Sharing the Joy of Homemade Strawberry Pudding
As you spoon into your completed creation, consider how this dessert connects generations through shared food experiences. The wonder in a child’s eyes seeing those beautiful layers or an elder’s appreciative nod recognizing a dessert from their own past creates moments beyond mere consumption.
Share your strawberry pudding triumph beyond your table by capturing its beauty for social connections. The dessert’s naturally photogenic appearance guarantees appreciation, while your description of the surprising simplicity may inspire others to attempt their own versions.
Consider establishing this recipe as your signature contribution to gatherings, perhaps creating seasonal variations throughout the year that friends and family come to anticipate. The basic technique adapts beautifully to occasions from casual summer cookouts to festive holiday meals.
Most importantly, embrace the opportunity to create your own strawberry pudding traditions. Perhaps you’ll add grated chocolate between layers for your children or incorporate orange zest for brunch gatherings. These personal touches transform recipes into family heritage.
Are you ready to create strawberry pudding memories in your kitchen today? Gather those fresh berries, reach for vanilla wafers, and prepare to experience the pure joy that simple ingredients, thoughtfully combined, can bring to your table and those gathered around it.
FAQ About Strawberry Pudding with Vanilla Wafers
Can I make strawberry pudding with frozen strawberries?
Yes! Frozen strawberries work wonderfully in strawberry pudding, particularly when fresh berries aren’t in season. Thaw completely first, reserving any juice that accumulates. Reduce additional liquid in your pudding recipe by approximately 2 tablespoons to account for this extra moisture. For optimal flavor intensity, choose frozen berries without added sugar and preferably those frozen at peak ripeness.
How far in advance can I make strawberry pudding with vanilla wafers?
Your strawberry pudding reaches perfect texture when prepared 12-24 hours before serving, allowing wafers to soften ideally while flavors meld beautifully. The dessert maintains excellent quality for two days refrigerated. For longer preservation, consider assembling components separately: prepare pudding, slice berries, and assemble just six hours before serving for best results.
What can I substitute for vanilla wafers in strawberry pudding?
Several alternatives create delicious variations of strawberry pudding. Graham crackers provide honey notes that complement berries beautifully. Shortbread cookies create richer, more buttery foundation. Ladyfingers produce a tiramisu-like texture particularly appreciated at elegant gatherings. Even chocolate wafers work wonderfully, creating striking visual contrast against bright strawberry layers.
Is homemade strawberry pudding healthier than instant pudding mixes?
Homemade strawberry pudding offers significant nutritional advantages over commercial mixes. Fresh strawberries provide natural vitamin C, fiber, and antioxidants largely absent from processed alternatives. You control sugar content entirely, typically reducing it significantly compared to commercial products. The absence of artificial colors, flavors, and preservatives represents another health benefit, while real dairy ingredients provide calcium and protein absent in many instant versions.
Can strawberry pudding be frozen for later consumption?
While possible, freezing strawberry pudding significantly alters its texture. If necessary, freeze pudding before adding wafers, then thaw overnight in refrigerator before assembly. Better preservation comes through freezing pudding in airtight container without berries or wafers, then thawing and assembling fresh components later. Expect slight texture changes even with these precautions, as the delicate structure that makes this dessert special doesn’t withstand freezing perfectly.
What makes strawberry pudding turn out perfectly creamy?
The science behind perfectly creamy strawberry pudding involves several factors working harmoniously. Precise cornstarch-to-liquid ratio creates proper thickening without becoming gelatinous. Egg yolks contribute emulsification properties while adding richness. Continuous stirring during cooking prevents protein coagulation that causes lumpiness. Finally, properly incorporating whipped cream requires gentle folding rather than stirring, maintaining air bubbles that create that distinctive light texture that defines exceptional strawberry pudding.
