Remember that magical evening at your favorite Polynesian restaurant when the server placed that enormous platter before your table? The excited gasps, the reaching across plates, the delightful chaos of everyone sampling crispy coconut shrimp, tender spare ribs, and golden crab rangoon – all while sharing stories and creating memories. That’s the enchanting power of a pupu platter, and here’s the beautiful secret: you can recreate that same restaurant magic right in your own kitchen.
Learning how to make a pupu platter at home transforms ordinary gatherings into extraordinary celebrations. Whether you’re planning your next dinner party or simply want to surprise your family with something spectacular, this comprehensive guide will walk you through every detail needed to craft an authentic Hawaiian-inspired feast that rivals any restaurant experience.
What Makes a Pupu Platter Special?
The term “pupu” originates from Hawaiian culture, referring to small appetizers or hors d’oeuvres meant for sharing. These weren’t just random snacks thrown together – they represented the Hawaiian spirit of hospitality, where food becomes the centerpiece of connection and community.
Traditional pupu platters combine diverse textures and flavors: crispy fried elements contrast beautifully with fresh tropical fruits, while sweet glazes balance savory proteins. This careful orchestration creates an experience that engages all your senses, making every bite an adventure.
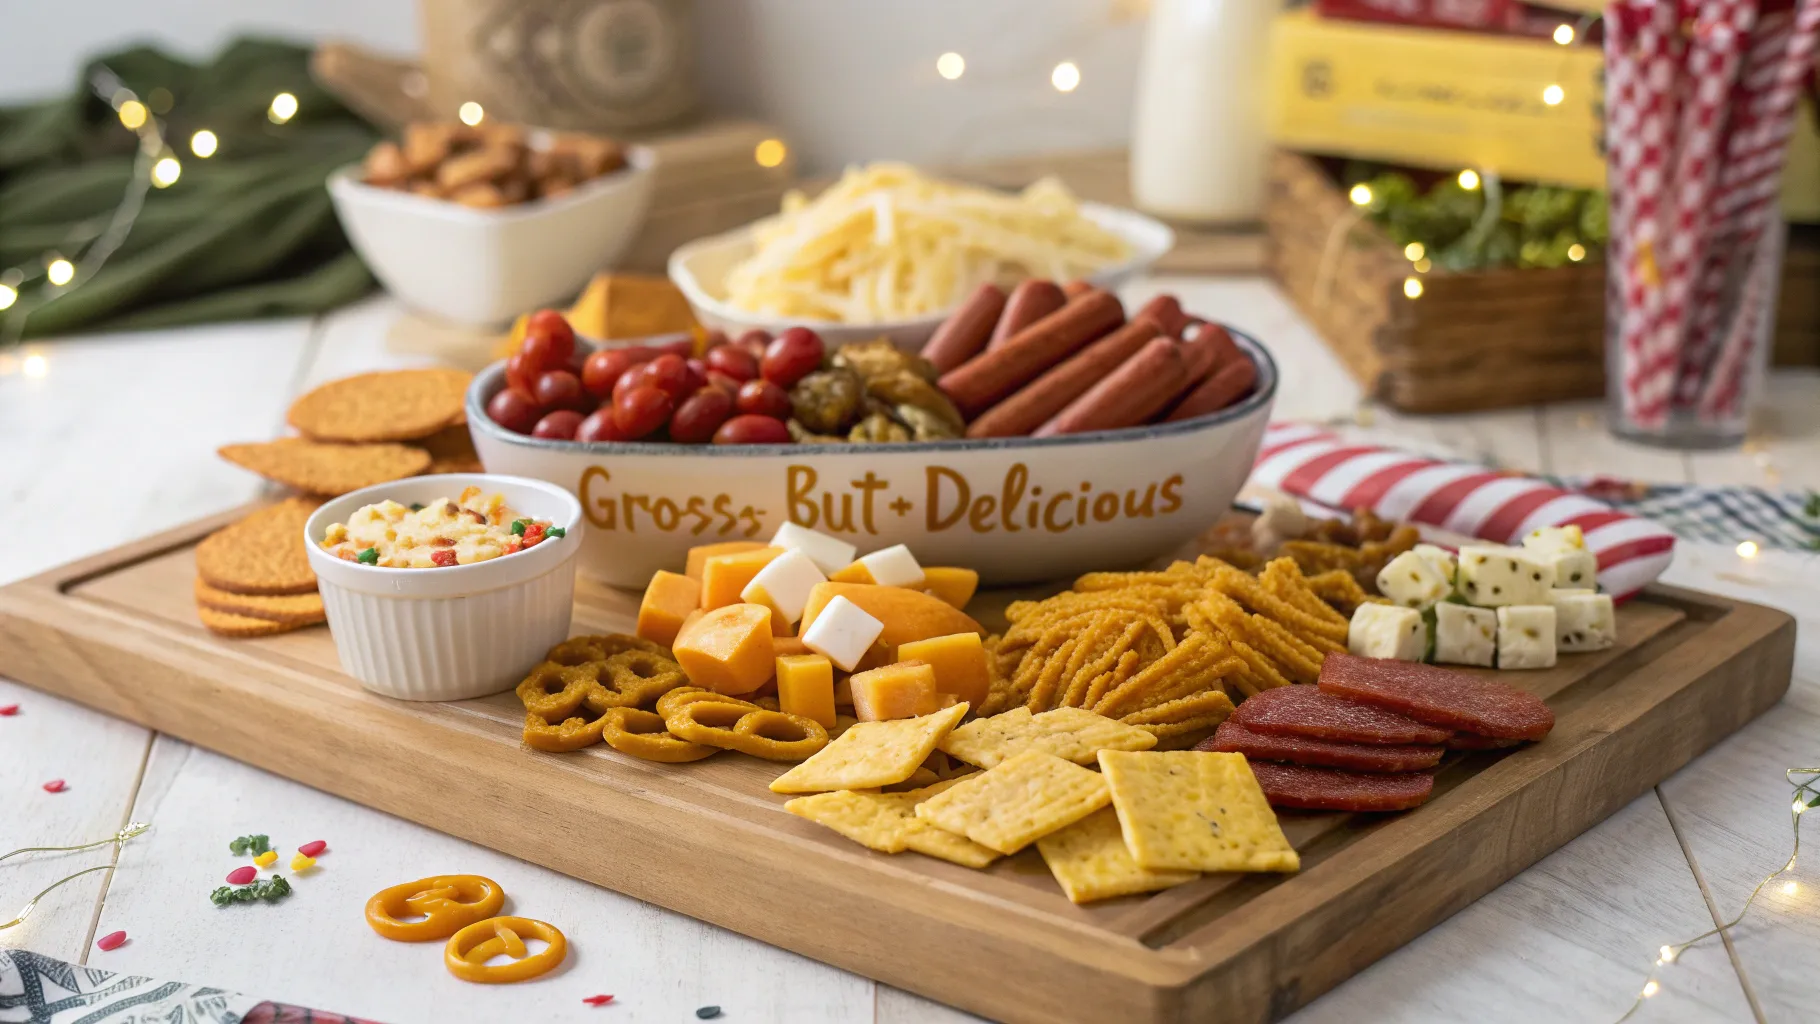
Your homemade version should include 5-7 different components, balancing hot and cold items, sweet and savory flavors, and various textures. Think of yourself as conducting a culinary symphony where each element plays its part in creating harmony.
Essential Equipment for Your Pupu Platter Journey
Before diving into recipes, gather your equipment. You’ll need a large serving platter or traditional bamboo tray as your canvas. Small bowls and plates help organize different components, while toothpicks and small serving utensils make everything guest-friendly.
Consider investing in warming trays or small chafing dishes if you frequently entertain. These keep hot items at perfect serving temperature throughout your gathering, ensuring that last bite tastes as incredible as the first.
Core Ingredients: Building Your Shopping Foundation

| Category | Essential Items | Serves 6-8 People |
|---|---|---|
| Proteins | Chicken wings, spare ribs, medium shrimp | 2 lbs, 1.5 lbs, 1 lb |
| Dairy & Eggs | Cream cheese, eggs | 8 oz, 6 large |
| Fresh Produce | Pineapple, bell peppers, garlic, ginger | 1 whole, 2 large, 1 head, 2-inch piece |
| Pantry Essentials | Soy sauce, honey, rice vinegar | 1/2 cup, 1/4 cup, 1/4 cup |
| Specialty Items | Wonton wrappers, coconut flakes | 1 package, 2 cups |
How to Make a Pupu Platter at Home: Your 5-Step Master Plan
Step 1: Strategic Planning and Ingredient Preparation (30 Minutes)
Success begins with organization. Start by selecting your 5-7 appetizers, considering cooking times and complexity. Your goal is creating a timeline where everything finishes simultaneously without overwhelming yourself.
Begin with ingredient preparation – what chefs call “mise en place.” Mince your garlic and ginger, cut vegetables into uniform pieces, and portion proteins. This front-loaded effort makes actual cooking smooth and enjoyable.
Create your cooking schedule by working backwards from serving time. Items requiring longest cooking (like spare ribs) start first, while quick-cooking elements (like stir-fried vegetables) happen last.
Step 2: Crafting Your Signature Sauces (20 Minutes)
Exceptional sauces distinguish homemade pupu platters from mediocre attempts. These four essential sauces provide the flavor foundation for your entire spread:
Classic Teriyaki Glaze: Combine 1/3 cup soy sauce, 2 tablespoons mirin, 3 tablespoons brown sugar, and 2 minced garlic cloves in a small saucepan. Simmer until slightly thickened, about 8 minutes.
Polynesian Sweet and Sour: Whisk together 1/2 cup pineapple juice, 1/4 cup rice vinegar, 3 tablespoons ketchup, and 1 tablespoon cornstarch. Cook over medium heat until glossy and thick.
Creamy Spicy Mayo: Mix 1/2 cup mayonnaise, 2 tablespoons sriracha, 1 tablespoon lime juice, and a pinch of garlic powder. Adjust heat to your preference.
Tropical BBQ Sauce: Blend 1/4 cup hoisin sauce, 2 tablespoons honey, 1 tablespoon rice vinegar, and 1 teaspoon fresh grated ginger.
| Sauce Type | Key Flavors | Best Paired With |
|---|---|---|
| Teriyaki | Sweet, umami, garlic | Chicken, beef, vegetables |
| Sweet & Sour | Tangy, fruity, bright | Fried items, pork |
| Spicy Mayo | Creamy, hot, zesty | Seafood, fried appetizers |
| BBQ Glaze | Smoky, sweet, complex | Ribs, grilled meats |
Step 3: Mastering Your Hot Appetizers (45 Minutes)
This step requires your focused attention, as timing becomes crucial. Start with items needing longest cooking time.
Glazed Spare Ribs: Cut ribs into individual pieces, season with salt and pepper, then brown in a hot skillet. Transfer to a baking dish, brush with teriyaki glaze, and bake at 350°F for 35-40 minutes, basting every 15 minutes.
Coconut Shrimp: Create three stations: flour seasoned with salt and pepper, beaten eggs mixed with coconut milk, and shredded coconut combined with panko breadcrumbs. Dredge each shrimp through all three stations, then fry in 350°F oil until golden, about 2-3 minutes.
Crab Rangoon: Mix 8 oz softened cream cheese, 1/2 cup crab meat, 2 minced green onions, 1 teaspoon garlic powder, and a dash of Worcestershire sauce. Place small spoonfuls in wonton wrapper centers, wet edges, and fold into triangles. Fry until golden and crispy.
Chicken Satay: Cut chicken thighs into strips, marinate in coconut milk, curry powder, and garlic for 30 minutes. Thread onto soaked bamboo skewers and grill until cooked through, basting with remaining marinade.
Step 4: Preparing Fresh Components (15 Minutes)
Balance your hot, rich items with fresh, vibrant elements that cleanse the palate and add visual appeal.
Cut fresh pineapple into bite-sized chunks and arrange with other tropical fruits like mango or papaya. The natural sweetness provides perfect contrast to savory elements.
Prepare quick-pickled vegetables by combining julienned carrots and cucumbers with rice vinegar, sugar, and a pinch of salt. Let sit for 10 minutes – they’ll develop tangy crunch that cuts through rich foods.
Consider adding store-bought spring rolls or fresh vegetable crudité with your homemade dipping sauces. These provide textural variety and accommodate guests with different dietary preferences.
Step 5: Artful Assembly and Presentation (10 Minutes)
Transform your individual components into a stunning centerpiece through thoughtful arrangement. Start with your largest items as anchors, then fill spaces with smaller elements.
Create height variation by using small bowls for sauces and placing some items on elevated surfaces. This technique adds visual interest and makes everything easily accessible.
Garnish strategically with fresh herbs like cilantro or mint, toasted sesame seeds, or colorful vegetable julienne. These finishing touches signal attention to detail and elevate your presentation.
Place serving utensils and plenty of small plates around your platter. Consider cocktail napkins and wet wipes – pupu platters are meant to be eaten with hands, and thoughtful hosts prepare for happy messiness.
Pro Tips for Pupu Platter Success
Temperature Management: Use warming trays, slow cookers on low heat, or oven warming drawers to maintain ideal serving temperatures. Cold items should stay chilled until the last moment.
Make-Ahead Strategy: Many components benefit from advance preparation. Marinate proteins overnight, prepare sauces up to three days ahead, and assemble fried items just before serving for optimal texture.
Dietary Accommodations: Create inclusive experiences by offering gluten-free options (use tamari instead of soy sauce), vegetarian proteins like marinated tofu, and clearly labeling items containing common allergens.
Troubleshooting Common Challenges
Timing Issues: If you’re running behind, prioritize hot items and supplement with high-quality store-bought elements like spring rolls or dumplings. Your guests will appreciate the overall experience more than perfection in every detail.
Texture Problems: Fried items becoming soggy? Drain on wire racks instead of paper towels, and consider finishing them in a hot oven for extra crispiness just before serving.
Overwhelming Complexity: Start simple with 4-5 components for your first attempt. Master the basics before adding more elaborate elements.
Creating Memorable Experiences
Your pupu platter success isn’t measured solely by technical execution – it’s about creating moments that bring people together. Encourage sharing, conversation, and exploration of new flavors.
Consider pairing your platter with tropical cocktails or Asian-inspired beverages. The complete sensory experience transforms a meal into an event that guests remember long after the last bite.
Frequently Asked Questions
Can I make a pupu platter at home without deep frying? Absolutely! Bake coconut shrimp at 425°F, use an air fryer for crab rangoon, or focus on grilled and fresh components. The variety matters more than specific cooking methods.
How do I keep everything warm during serving? Serve hot items in smaller batches, refreshing as needed. Use warming trays, chafing dishes, or even slow cookers set to “warm” for longer gatherings.
What’s the ideal serving size? Plan 8-10 pieces per person for appetizer portions, or 12-15 pieces if serving as a main meal. This ensures everyone samples each component without waste.
Your Pupu Platter Adventure Begins Now
Learning how to make a pupu platter at home opens doors to countless entertaining possibilities. Start with this foundation, then experiment with your own creative additions. Maybe you’ll discover that your family loves Korean-inspired elements, or perhaps Mediterranean flavors speak to your crowd.
The true magic happens when you see faces light up around your table, when conversations flow as freely as the shared bites, and when you realize you’ve created something far more valuable than a meal – you’ve crafted an experience.
Ready to transform your next gathering into an unforgettable celebration? Gather your ingredients, fire up your stove, and prepare to become the host everyone talks about. Your homemade pupu platter adventure starts today, and trust us – once you master these techniques, you’ll never want to order takeout again. The islands are calling, and your kitchen is ready to answer.
