Introduction: Nostalgia in Every Bite
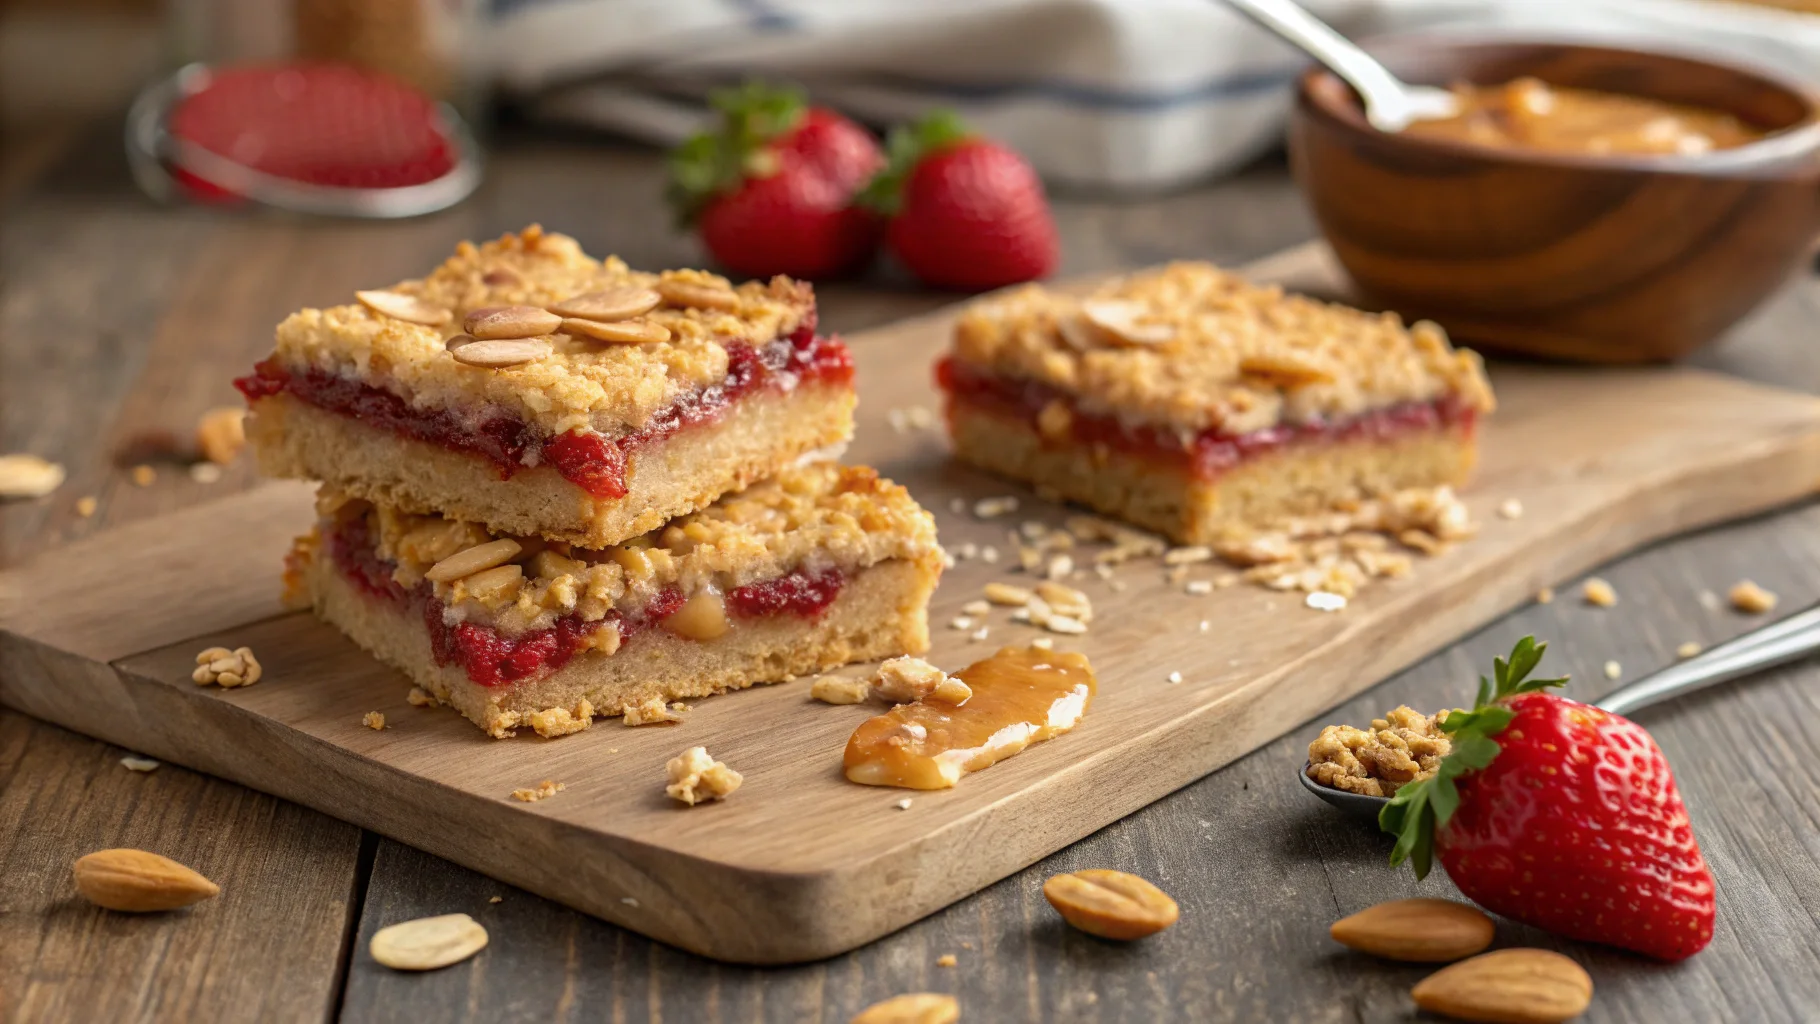
Remember those childhood lunches when opening your lunchbox to find a peanut butter and jelly sandwich felt like discovering treasure? That familiar combination of creamy peanut butter and sweet, fruity jelly created moments of pure joy that stay with us forever. Today, I’m sharing how to transform those beloved flavors into something even more indulgent – homemade peanut butter and jelly bars that will transport you back to simpler times while satisfying your grown-up sweet tooth. These bars aren’t just desserts; they’re edible memories that bring comfort with every bite. The best part? You can create these delicious peanut butter and jelly bars in just 5 simple steps, making them perfect for busy weeknights, last-minute gatherings, or whenever nostalgia comes calling.
Why You’ll Love These Peanut Butter and Jelly Bars
- Quick preparation: Just 15 minutes of active time
- Simple ingredients: Pantry staples you likely already have
- Family-friendly: Loved by kids and adults alike
- Versatile: Perfect for dessert, snacks, or lunchboxes
- Make-ahead friendly: Stays fresh for days and freezes beautifully
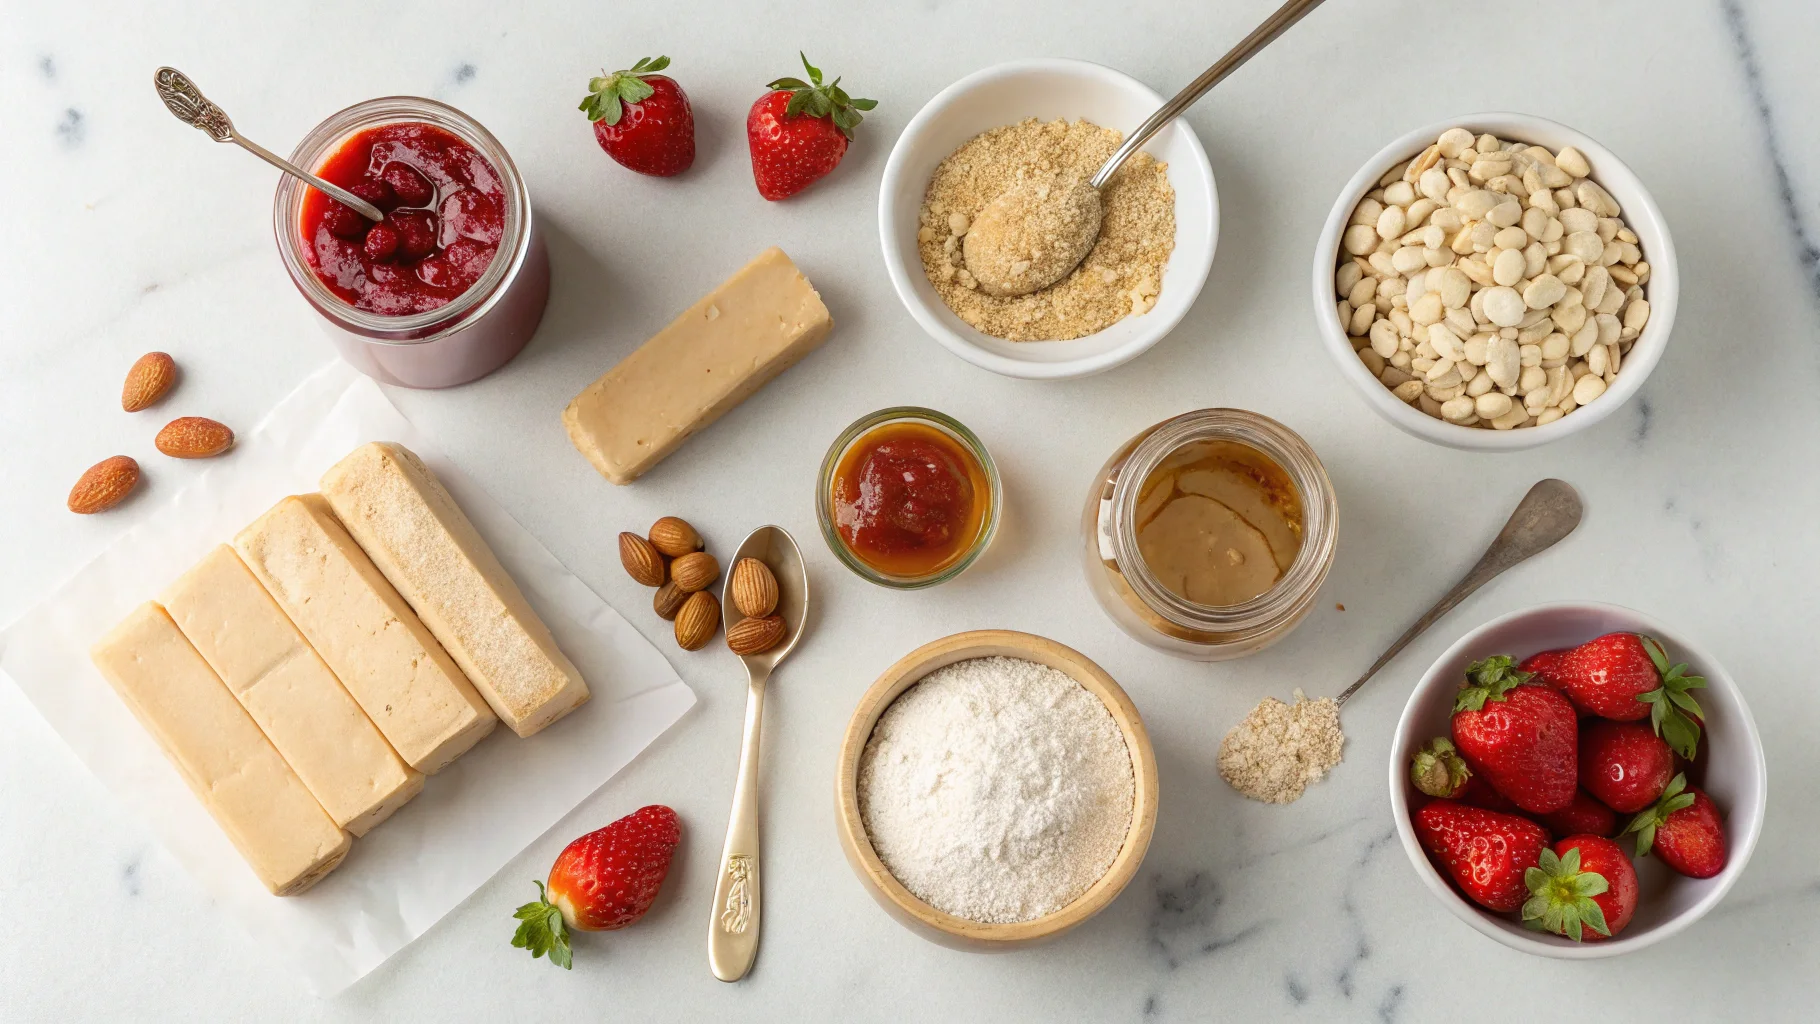
Essential Ingredients for Perfect Peanut Butter and Jelly Bars
Base and Topping Ingredients

| Ingredient | Amount | Notes |
|---|---|---|
| All-purpose flour | 2 cups | Use unbleached for best results |
| Granulated sugar | 1/2 cup | Can substitute light brown sugar |
| Light brown sugar | 1/2 cup | Adds moisture and caramel notes |
| Unsalted butter | 1 cup (2 sticks) | Room temperature |
| Creamy peanut butter | 1 1/2 cups | Natural or regular both work |
| Pure vanilla extract | 1 teaspoon | Use real vanilla, not imitation |
| Large eggs | 2 | Room temperature |
| Salt | 1/2 teaspoon | Enhances all flavors |
| Baking powder | 1 teaspoon | For perfect texture |
Filling Ingredients
| Ingredient | Amount | Notes |
|---|---|---|
| Fruit jelly or jam | 1 1/2 cups | Grape, strawberry, or raspberry work best |
| Chopped peanuts (optional) | 1/2 cup | For extra crunch |
Equipment Needed
- 9×13 inch baking pan
- Parchment paper
- Mixing bowls (large and medium)
- Electric mixer (stand or handheld)
- Measuring cups and spoons
- Rubber spatula
- Wire cooling rack
Step-by-Step Instructions to Make Peanut Butter and Jelly Bars
Step 1: Prepare Your Kitchen for Success
- Preheat your oven to 350°F (175°C)
- Line your 9×13 inch baking pan with parchment paper, leaving overhang on sides
- Gather and measure all ingredients before starting
- Allow refrigerated ingredients to reach room temperature
Pro tip: Room temperature ingredients blend more evenly, creating a better texture in your finished peanut butter and jelly bars.
Step 2: Create the Perfect Peanut Butter Base
- In a large bowl, cream together butter and both sugars until light and fluffy (about 3 minutes)
- Add peanut butter and vanilla, beating until completely incorporated
- Add eggs one at a time, mixing well after each addition
- In a separate bowl, whisk together flour, salt, and baking powder
- Gradually add dry ingredients to wet mixture, mixing just until combined
Pro tip: Don’t overmix the dough once the flour is added, or your peanut butter and jelly bars might become tough instead of tender.
Step 3: Assemble Your Peanut Butter and Jelly Bars
- Press 2/3 of the peanut butter mixture into the bottom of your prepared pan
- Spread an even layer of jelly or jam over the peanut butter base
- Drop remaining peanut butter mixture in small spoonfuls over the jelly layer
- Sprinkle with chopped peanuts if using
Pro tip: Slightly wet your hands when pressing the dough into the pan to prevent sticking.
Step 4: Bake to Golden Perfection
- Bake in preheated oven for 40-45 minutes until top is golden brown
- Look for slightly darker edges and a set center
- Remove from oven and place on wire rack
Pro tip: If the top is browning too quickly, loosely cover with aluminum foil for the last 10-15 minutes of baking.
Step 5: Cool, Cut and Enjoy Your Peanut Butter and Jelly Bars
- Allow bars to cool completely in the pan (at least 2 hours)
- Use parchment paper overhang to lift bars from pan
- Cut into 16-24 squares, depending on desired size
- Store in airtight container
Pro tip: For clean-cut bars, chill in the refrigerator for 30 minutes before cutting with a sharp knife wiped clean between cuts.
Delicious Variations to Try
Different Jelly Flavors
- Classic grape jelly: The nostalgic childhood favorite
- Strawberry jam: Sweet and slightly tangy
- Raspberry preserves: Adds sophisticated tartness
- Apricot preserves: Offers a unique fruity twist
- Mixed berry jam: Complex flavor profile
Creative Add-ins and Toppings
- Chocolate chips sprinkled over the top before baking
- Swirl of Nutella with the jelly layer
- Drizzle of white chocolate after cooling
- Crumbled bacon for a sweet-savory combination
- Sea salt flakes on top for a gourmet touch
Storage Tips for Fresh Peanut Butter and Jelly Bars
- Room temperature: Store in airtight container for up to 3 days
- Refrigerator: Keeps fresh for up to 1 week
- Freezer: Wrap individual squares in plastic wrap, then aluminum foil; freeze for up to 3 months
Why These Peanut Butter and Jelly Bars Are Perfect for Any Occasion
Family-Friendly Moments
These bars make perfect after-school snacks, lunchbox treats, or casual family desserts that everyone from kids to grandparents will love.
Special Events
Bring these to potlucks, bake sales, or holiday gatherings for a nostalgic treat that stands out from typical dessert offerings.
Gift-Giving
Package these peanut butter and jelly bars in decorative tins or boxes for heartfelt homemade gifts that truly show you care.
Nutritional Information per Serving
Based on 24 bars per recipe
| Nutrient | Amount |
|---|---|
| Calories | 275 |
| Total Fat | 15g |
| Saturated Fat | 6g |
| Protein | 5g |
| Carbohydrates | 32g |
| Fiber | 1g |
| Sugar | 21g |
| Sodium | 110mg |
Frequently Asked Questions About Peanut Butter and Jelly Bars
Can I make these peanut butter and jelly bars gluten-free?
Yes! Simply substitute the all-purpose flour with a 1:1 gluten-free flour blend. Make sure your other ingredients, especially the peanut butter, are certified gluten-free.
How do I know when my peanut butter and jelly bars are done baking?
The perfect peanut butter and jelly bars will have a golden brown top with slightly darker edges. The center should be set but still have a slight softness when touched gently.
Can I use crunchy peanut butter instead of creamy in peanut butter and jelly bars?
Absolutely! Crunchy peanut butter adds extra texture to your peanut butter and jelly bars. You may want to reduce or eliminate the optional chopped peanuts if using crunchy peanut butter.
Can I reduce the sugar in these peanut butter and jelly bars?
Yes, you can reduce the sugar by up to 1/4 cup without significantly affecting the texture. Remember that the jelly adds sweetness as well.
How can I make my peanut butter and jelly bars more nutritious?
Try using natural peanut butter without added sugars, whole wheat flour instead of all-purpose, and low-sugar fruit preserves. You can also add ground flaxseed to the dough for extra nutrition.
Conclusion: Comfort Food Reimagined
These peanut butter and jelly bars transform a beloved sandwich into a delectable dessert that’s both nostalgic and exciting. With just 5 simple steps, you can create a treat that bridges generations, bringing together classic flavors in a new, irresistible form. Whether you’re making them for a family gathering, school event, or just because it’s Tuesday, these bars deliver the perfect balance of creamy peanut butter and sweet jelly in every bite. So tie on your apron, gather your ingredients, and prepare to create not just a dessert, but a memory-making experience that will have everyone asking for your peanut butter and jelly bars recipe.

