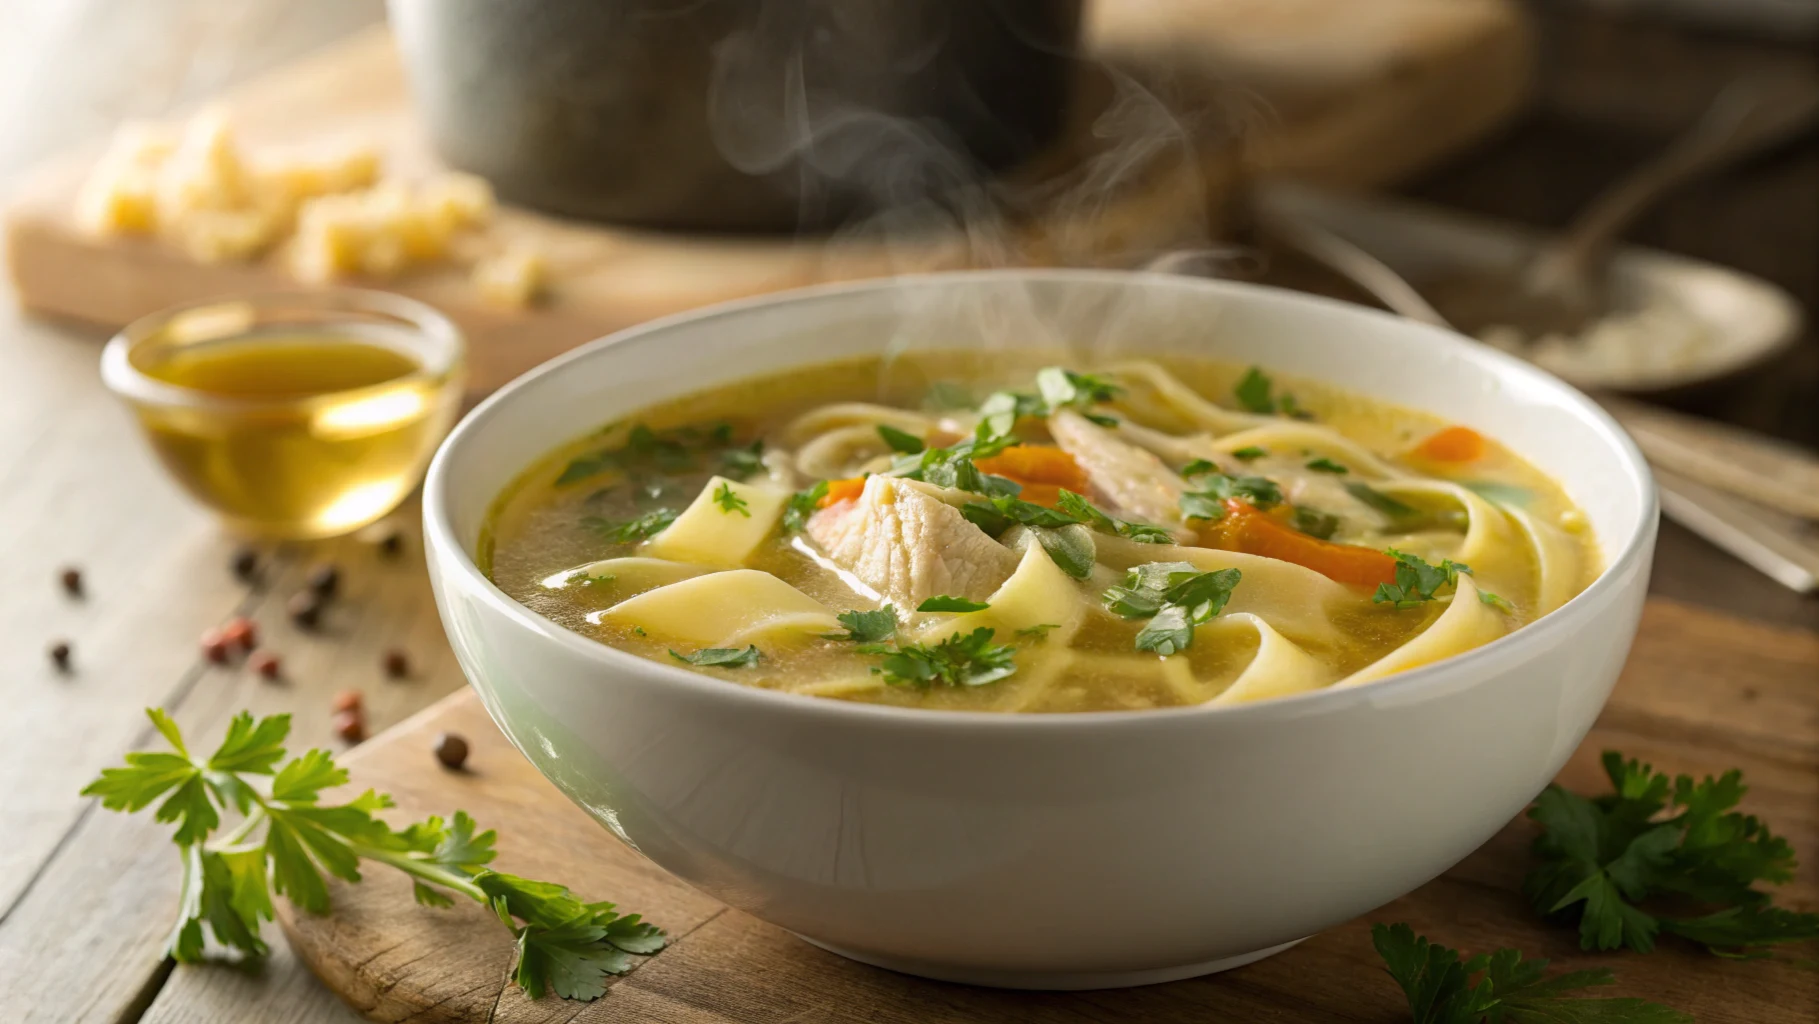
There’s something indescribably magical about the way a steaming bowl of chicken soup with handcrafted kluski noodles transports you instantly to childhood memories. For countless families, these pillowy Polish egg noodles aren’t merely an ingredient—they’re the literal thread connecting generations across kitchen tables. Perhaps you recall watching skilled hands working flour into dough, the methodical rolling, the careful cutting, and finally, that glorious moment when those fresh noodles transformed ordinary broth into something extraordinary.
- Bist Amazon Picks:
Today’s journey isn’t simply about following a recipe. It’s about embracing a culinary tradition that brings comfort with every spoonful. With the three game-changing techniques you’re about to discover, you’ll create easy kluski noodles for chicken soup that would earn approving nods from Polish grandmothers everywhere—even if you’re attempting them for the very first time.
What Are Kluski Noodles? Understanding the Heart of Polish Comfort Food
The Cultural Heritage of Kluski
Kluski (pronounced “KLOO-skee”) represents more than just noodles; they embody centuries of Polish culinary wisdom. Unlike their Italian pasta cousins, authentic kluski noodles boast a distinctive egg-forward composition that grants them remarkable texture—simultaneously tender yet substantial. This perfect balance makes them extraordinarily suited for swimming in rich chicken broth, where they absorb flavors while maintaining structural integrity.
Within Polish households, kluski-making transforms ordinary afternoons into fundamental learning experiences where techniques pass between generations. Each family typically guards their specific variations, with subtle differences becoming points of gentle rivalry between neighboring kitchens.
Traditional vs. Modern Preparation Methods
Historically, Polish homemakers prepared kluski entirely by hand, using wooden boards and simple knives. The dough was worked vigorously until achieving precisely the right elasticity before being rolled paper-thin using specialized rolling pins handed down through families. Cutting happened with lightning speed using techniques refined over decades.
Modern home cooks have adapted these methods with convenient tools like pasta machines and food processors, yet surprisingly, many families still insist on hand-cutting their kluski, believing the slightly irregular shapes create superior texture and broth absorption. This dedication to craftsmanship explains why homemade versions consistently outshine mass-produced alternatives—store-bought noodles simply cannot replicate the distinctive chew and flavor absorption of freshly prepared kluski.
Essential Ingredients for Perfect Kluski Noodles
The Basic Kluski Recipe Breakdown
Before diving into technique, understanding your core ingredients creates the foundation for success:

| Ingredient | Amount | Notes |
|---|---|---|
| All-purpose flour | 2 cups | Unbleached varieties provide superior flavor |
| Eggs | 3 large | Room temperature ensures proper incorporation |
| Salt | 1/2 teaspoon | Kosher or sea salt enhances dough elasticity |
| Water | 2-4 tablespoons | Added gradually as needed for consistency |
The Science Behind Quality Ingredients
Egg quality fundamentally determines your kluski texture. Farm-fresh eggs with vibrant orange yolks contribute richer color and more robust flavor than commercial alternatives. This subtle difference becomes immediately apparent when sampling the finished noodles.
Regarding flour, moderate protein content (around 10-12%) creates the ideal balance between structure and tenderness. While specialty flours exist, standard all-purpose varieties work beautifully for everyday kluski preparation.
The salt contribution extends beyond mere seasoning—it strengthens gluten formation while enhancing egg proteins, creating that characteristic resilient bite that distinguishes superior kluski noodles. Without proper salt levels, noodles become oddly flat-tasting regardless of your soup’s flavor complexity.
Tip #1: Perfect Dough Consistency is Your Foundation for Easy Kluski Noodles
Achieving the Ideal Kluski Dough Texture
Creating perfect kluski begins with recognizing proper dough consistency. When correctly mixed, your dough should feel slightly firmer than standard pasta dough—tacky but not sticky against your fingers. The surface should appear smooth with subtle sheen, indicating proper hydration without excessive moisture.
The definitive touch test involves pressing your thumb gently into the prepared dough. It should yield slightly before slowly springing back. This elastic response confirms you’ve developed sufficient gluten networks while maintaining necessary moisture levels.
Beginners commonly create either overly soft dough (resulting in mushy noodles) or excessively firm mixtures (creating tough, rubbery results). Finding the middle ground requires practice, but produces noodles with that distinctive resilient bite that perfectly complements hot chicken broth.
Troubleshooting Dough Problems
When your dough feels excessively wet, gradually incorporate additional flour, approximately one tablespoon at a time. Work each addition thoroughly before assessing texture again. Patience during this process prevents overcorrection.
Conversely, crumbly dough indicates insufficient moisture. The solution requires lightly moistening your hands with water (rather than adding water directly) and gently kneading until the mixture becomes cohesive. This controlled hydration method prevents sudden shifts toward stickiness.
Perhaps most crucially, allow your completed dough to rest 30-45 minutes before rolling. This resting period relaxes gluten strands, hydrates flour particles completely, and dramatically improves rolling ease. Experienced kluski makers consider this rest non-negotiable for achieving professional results.
Tip #2: Rolling and Cutting Techniques for Authentic Kluski Noodles
Tools That Make Kluski-Making Easier
While traditional methods remain respected, several tools significantly streamline modern kluski preparation:
A heavy marble rolling pin provides superior control compared to lightweight alternatives. The substantial weight naturally applies consistent pressure, reducing arm fatigue during extended rolling sessions.
Pasta machines offer precision thickness control, though purists argue the resulting texture differs subtly from hand-rolled versions. If choosing mechanical assistance, select models with adjustable thickness settings.
For those seeking budget-friendly alternatives, a wine bottle thoroughly cleaned and filled with cold water creates a serviceable improvised rolling pin. Similarly, a pizza cutter produces remarkably consistent cuts without specialized equipment.
Step-by-Step Rolling Process
- Begin by thoroughly flouring your work surface—insufficient flour guarantees sticking issues that frustrate even experienced cooks.
- Working with quarter-portions of your rested dough maintains manageability while preventing premature drying of waiting portions.
- Using firm, even pressure, roll from center outward in alternating directions, rotating the dough quarter-turns periodically to maintain circular shape.
- The correct thickness for traditional kluski measures approximately 1/8 inch—noticeably thicker than typical Italian pasta. When held up, the dough should appear slightly translucent without becoming transparent.
- For cutting, flour both sides of your rolled dough before folding loosely (never tightly) into thirds. Using a sharp knife, create clean slices approximately 1/4-inch wide, immediately separating cut noodles to prevent sticking.
Tip #3: Cooking Your Kluski Noodles to Perfection
The Secret to Perfectly Cooked Kluski for Chicken Soup
Perfect kluski cooking begins with properly salted water—it should taste distinctly salty, resembling seawater. This seasoning penetrates the noodles during cooking, enhancing their inherent flavor.
Unlike dried pasta, fresh kluski requires vigilant attention during cooking. Depending on thickness, cooking times typically range from 2-4 minutes. Rather than strictly timing, assess readiness by sampling regularly. Properly cooked kluski maintains slight resistance when bitten—marginally firmer than you might expect, as they’ll continue cooking briefly in hot soup.
Should you prepare noodles ahead, rinse immediately with cold water after cooking to halt the process. Toss lightly with a small amount of neutral oil to prevent sticking during storage. Refrigerated, properly cooled kluski remains excellent for 1-2 days.
Adding Kluski to Your Chicken Soup
The great debate among kluski enthusiasts centers on whether noodles should cook directly in broth or separately before combining. Both approaches offer distinct advantages:
Cooking directly in broth infuses noodles with intense flavor but requires precise timing to prevent overcooking. Additionally, noodles continue absorbing liquid during storage, potentially thickening leftover soup beyond recognition.
Cooking separately maintains perfect texture control and prevents broth absorption issues, though sacrifices some flavor infusion. This method particularly suits situations where immediate consumption isn’t guaranteed.
For everyday family meals, consider a hybrid approach: cook noodles separately until just under-done, then finish them briefly in simmering broth before serving. This compromise delivers flavor infusion while maintaining textural integrity.
Quick and Easy Chicken Soup Base for Your Kluski Noodles
Essential Soup Ingredients
While kluski deservedly commands attention, the surrounding broth requires equal consideration:
| Ingredient | Amount | Preparation |
|---|---|---|
| Chicken | 1 whole (3-4 lbs) | Cut into serving portions |
| Onion | 1 large | Diced into 1/2-inch pieces |
| Carrots | 3 medium | Sliced into 1/4-inch rounds |
| Celery | 2 stalks | Chopped into 1/4-inch pieces |
| Garlic | 3 cloves | Minced or pressed |
| Chicken broth | 8 cups | Homemade offers superior results |
| Fresh herbs | To taste | Parsley, dill, thyme combinations |
| Salt & pepper | To taste | Season progressively while cooking |
Time-Saving Shortcuts Without Sacrificing Flavor
Modern schedules rarely accommodate day-long soup simmering. Fortunately, several shortcuts deliver remarkable results without compromising quality:
Quality rotisserie chicken provides exceptional flavor foundation while eliminating poultry cooking time. Simply shred meat directly into finished broth shortly before serving.
Preparing double batches of both soup and noodles separately, then freezing in portion-sized containers, creates remarkable homemade “convenience food” for hectic weeknights. Simply thaw, combine, and briefly simmer before serving.
For freezing homemade kluski, arrange slightly underdone noodles in single layers on parchment-lined baking sheets until completely frozen, then transfer to freezer bags. This prevents clumping and allows portion control when retrieving.
Serving and Presentation Ideas for Kluski Chicken Soup
Traditional Garnishes and Accompaniments
Classical Polish service often includes fresh dill fronds floating atop each bowl, with accompanying rye bread for dipping. Some regions traditionally add a dollop of sour cream just before serving, creating rich swirls throughout the broth.
Throughout Poland, regional variations abound: eastern regions might include shredded beets for vibrant color and earthy sweetness, while northern coastal areas sometimes incorporate small amounts of fresh horseradish for subtle heat.
Modern Twists on the Classic
Contemporary presentations often feature microgreens or chive blossoms as garnishes, adding visual appeal while maintaining flavor compatibility. Crusty artisanal sourdough makes exceptional modern accompaniment, especially when lightly toasted and rubbed with garlic.
For gluten-sensitive diners, several alternative flours create serviceable kluski, though texture differences should be expected. Rice flour blended with tapioca starch (3:1 ratio) produces the closest approximation of traditional texture when combined with a small amount of xanthan gum for binding.
Conclusion: Mastering Easy Kluski Noodles for Chicken Soup
With these three essential tips—perfecting dough consistency, mastering rolling and cutting techniques, and cooking your noodles precisely—you’ve gained everything needed to create exceptional kluski noodles that transform ordinary chicken soup into extraordinary comfort food.
Remember that beyond technique, kluski making celebrates connection—both to cultural heritage and to those gathered around your table. Each batch improves with practice, eventually developing into your personal signature version that perhaps someday you’ll demonstrate for younger generations.
Whether preserving family traditions or establishing new ones, homemade kluski noodles represent culinary craftsmanship at its most approachable. Your efforts create not just nourishment, but meaningful food memories that comfort and sustain through changing seasons.
Why not gather your ingredients this weekend and start your own kluski tradition? Your future self—and fortunate dinner guests—will certainly thank you.
FAQ: Everything You Need to Know About Easy Kluski Noodles for Chicken Soup
What makes kluski noodles different from regular egg noodles?
Kluski noodles for chicken soup contain significantly higher egg content than standard egg noodles, creating uniquely rich flavor and distinctively dense texture. Their substantial body stands up beautifully in hot chicken soup without disintegrating, while their slightly irregular shapes hold broth exceptionally well.
Can I make easy kluski noodles in advance for my chicken soup?
Absolutely! Prepare your easy kluski noodles up to 24 hours ahead by allowing them to dry slightly after cutting, then storing in airtight containers with light flour dusting between layers. Alternatively, partially dry them before freezing flat on baking sheets, then transfer to freezer bags for longer storage.
Why are my kluski noodles turning out tough?
Tough kluski noodles typically result from overworking your dough. For perfectly tender easy kluski noodles for chicken soup, combine ingredients just until integrated and handle dough gently throughout rolling. Additionally, insufficient resting time before rolling contributes to toughness—always allow minimum 30-minute rest periods.
Can I freeze homemade kluski noodles for chicken soup?
Definitely! After cutting your easy kluski noodles, dust them generously with flour and arrange in single layers on parchment-lined baking sheets. Freeze completely before transferring to freezer storage bags. When cooking from frozen, add approximately 1-2 additional minutes to normal cooking time without thawing first.
What’s the best thickness for traditional kluski noodles?
Authentic easy kluski noodles for chicken soup should measure approximately 1/8 inch thick—noticeably thicker than Italian pasta varieties. This specific thickness creates perfect balance between substantial mouthfeel and tender bite, while allowing proper cooking without becoming mushy.
How do I prevent my kluski noodles from clumping together?
Keep your easy kluski noodles separate by generously dusting with flour immediately after cutting. When cooking, add noodles to vigorously boiling water and stir gently but continuously during the first minute of cooking. If preparing ahead, toss cooked noodles with tiny amounts of neutral oil while still warm.
