Picture yourself sitting in a sun-drenched courtyard in Guadalajara, watching an elderly Mexican grandmother carefully tend to clay pots bubbling in her wood-fired oven. The aroma of cinnamon and vanilla dances through the air as she creates magic with just a handful of simple ingredients. That first spoonful of her jericalla – silky, caramelized, and utterly divine – changes everything you thought you knew about dessert.
This moment doesn’t have to remain just a beautiful memory. Today, you’ll discover how to recreate that same enchanting experience in your own kitchen. Learning how to make jericalla at home connects you with centuries of Mexican culinary tradition while filling your house with the most incredible aromas. Your family and friends will be amazed when you present them with this restaurant-quality dessert that speaks directly to the soul.
What Makes Jericalla Mexico’s Best-Kept Dessert Secret?
Jericalla represents one of Mexico’s most treasured culinary gems, yet it remains surprisingly unknown outside its homeland. This heavenly custard dessert originated in the colonial period when Spanish nuns in Guadalajara adapted European pudding recipes using local ingredients and techniques.
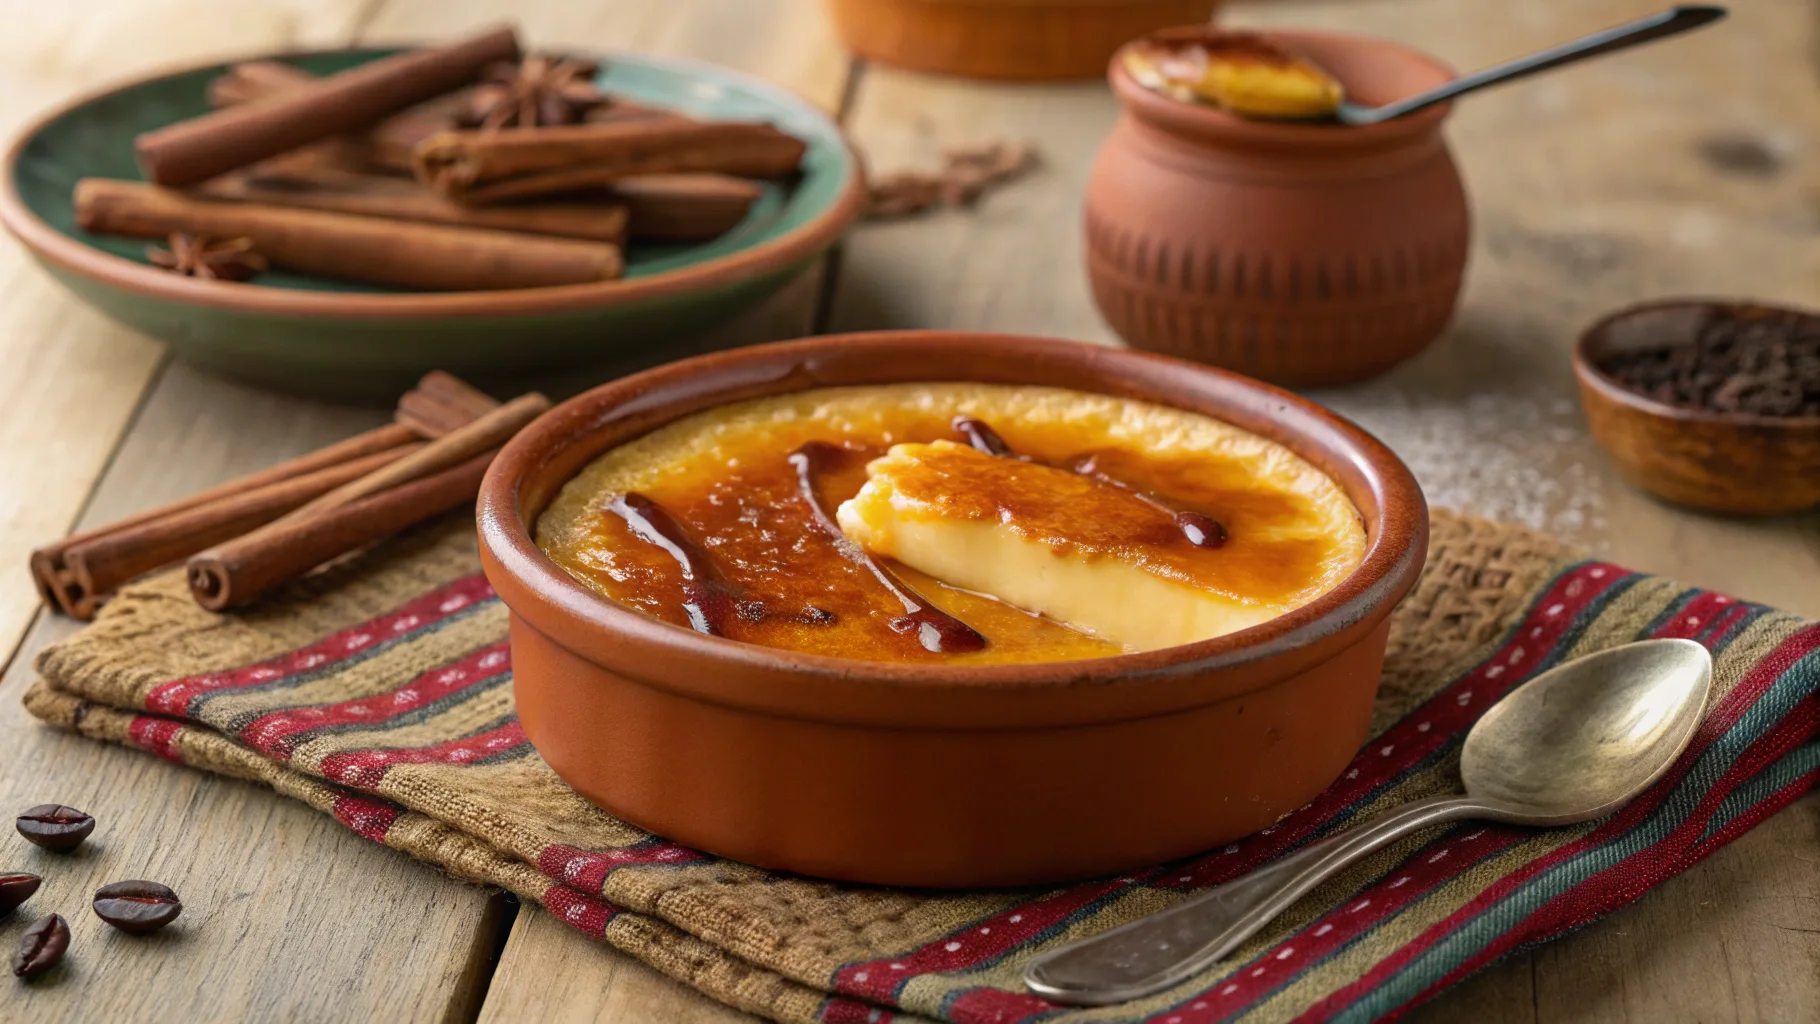
Unlike its French cousin crème brûlée, jericalla develops its signature caramelized top naturally during the baking process. The texture strikes a perfect balance – creamy enough to melt on your tongue, yet substantial enough to satisfy. Traditional Mexican families have passed down their jericalla recipes through generations, each adding their own special touches.
The magic happens when whole milk, fresh eggs, and aromatic spices transform into something greater than the sum of their parts. Your kitchen becomes a portal to Mexican heritage as you follow time-tested methods that have delighted countless families across Mexico.
Essential Ingredients for Authentic Jericalla Success
Creating authentic jericalla at home requires just six simple ingredients, but their quality makes all the difference in your final result.

| Ingredient | Quantity | Why It Matters |
|---|---|---|
| Whole milk | 4 cups | Creates rich, creamy base |
| Large egg yolks | 6 pieces | Provides thickening power |
| Granulated sugar | ¾ cup | Sweetens and caramelizes |
| Pure vanilla extract | 2 teaspoons | Adds aromatic depth |
| Ground cinnamon | 1 teaspoon | Traditional Mexican flavor |
| Salt | ¼ teaspoon | Enhances all other flavors |
Your ingredient selection directly impacts the final taste. Choose whole milk over low-fat alternatives – the extra richness creates that luxurious mouthfeel you’re seeking. Fresh egg yolks from free-range chickens provide superior binding properties and deeper color.
Mexican vanilla offers the most authentic flavor profile, though high-quality Madagascar vanilla works beautifully too. Avoid imitation vanilla at all costs, as it creates harsh, artificial notes that clash with jericalla’s delicate nature.
Step-by-Step Guide: How to Make Jericalla at Home
Preparation Phase: Setting Yourself Up for Success
Begin by gathering your equipment: six to eight ramekins, a heavy-bottomed saucepan, fine-mesh strainer, whisk, and a large baking dish for your water bath. Preheat your oven to 350°F (175°C) – consistent temperature control proves crucial for perfect results.
Separate your egg yolks carefully, ensuring no white sneaks in. Even tiny amounts of egg white can prevent proper custard formation. Let your eggs reach room temperature for easier mixing.
Creating Your Custard Base: The Foundation of Excellence
Pour your milk into the heavy-bottomed saucepan and add half your sugar along with the cinnamon. Heat this mixture over medium-low heat, stirring occasionally to prevent scorching. You’re looking for tiny bubbles around the edges – not a rolling boil that would ruin your milk’s delicate proteins.
While your milk heats, whisk the egg yolks with the remaining sugar until the mixture lightens in color. Add your vanilla extract and salt, whisking until completely smooth. This step requires patience – rushing leads to lumpy custard.
The tempering process separates amateur cooks from masters. Remove your heated milk from the stove and let it cool for two minutes. Then, add it to your egg mixture one ladle at a time, whisking constantly. This gradual process prevents the eggs from cooking instantly and creating scrambled egg bits in your custard.
Strain your completed mixture through the fine-mesh strainer twice. This extra step eliminates any lumps and ensures silky smoothness in every spoonful.
Baking Techniques That Guarantee Perfect Results
Divide your strained custard among your ramekins, filling each about three-quarters full. Place them in your large baking dish and carefully pour hot water around them until it reaches halfway up the sides. This water bath, called “baño maría” in Spanish, provides gentle, even heat distribution.
Bake for 45 to 55 minutes, checking at the 40-minute mark. Your jericalla is perfectly done when the centers still jiggle slightly but the edges are set. The tops should display beautiful golden-brown caramelization – this natural browning creates jericalla’s signature appearance.
Remove from the oven and let cool in the water bath for 15 minutes before transferring to your refrigerator. This gradual cooling prevents cracking and maintains smooth texture.
Professional Secrets for Restaurant-Quality Results
Mexican chefs guard certain techniques that transform good jericalla into extraordinary jericalla. Temperature control ranks as the most critical factor – too hot, and your custard curdles; too cool, and it never properly sets.
The vanilla infusion technique elevates your flavor dramatically. Split a vanilla bean lengthwise and scrape the seeds into your heating milk. Add the empty pod for double vanilla intensity, removing it before straining.
Watch for these visual cues during baking: the surface should develop light golden spots that gradually deepen to caramel brown. If your tops aren’t browning after 45 minutes, increase your oven temperature to 375°F for the final 10 minutes.
Your cooling process affects final texture significantly. Never rush this step by placing hot jericalla directly in the refrigerator – the sudden temperature change creates condensation that dilutes flavors and creates watery textures.
Troubleshooting Common Jericalla Challenges
Even experienced cooks encounter occasional setbacks when learning how to make jericalla at home. Understanding these common issues helps you achieve consistent success.
| Problem | Root Cause | Your Solution |
|---|---|---|
| Grainy texture | Overheated milk or inadequate straining | Keep milk below 180°F, strain twice |
| Watery consistency | Insufficient baking time | Extend baking by 10-15 minutes |
| Cracked surface | Rapid temperature changes | Cool gradually in water bath |
| Bland flavor | Poor ingredient quality | Use fresh spices, real vanilla |
Curdled custard represents the most frustrating failure. This happens when eggs cook too quickly from excessive heat. Prevention beats correction – maintain gentle temperatures throughout your process and temper gradually.
If your jericalla lacks the signature caramelized top, your oven temperature might be too low, or you’re removing it too early. Mexican grandmothers often finish their jericalla under the broiler for 2-3 minutes to achieve deeper caramelization.
Creative Variations to Personalize Your Jericalla
Traditional jericalla provides the perfect foundation for creative experimentation. Coffee lovers can substitute strong espresso for one cup of milk, creating café jericalla with sophisticated flavor depth.
Chocolate enthusiasts should try adding three tablespoons of cocoa powder to the milk mixture, whisking thoroughly to prevent lumps. This creates rich chocolate jericalla that satisfies the most demanding sweet tooth.
Seasonal fruit additions work beautifully too. Puree fresh strawberries or mango into your custard base for tropical variations that celebrate Mexico’s abundant fruit harvests.
For special occasions, consider rum or tequila additions – just two tablespoons per batch adds adult sophistication without overwhelming the delicate custard base.
Serving and Storage: Maximizing Your Jericalla Experience
Serve your jericalla chilled, ideally after at least four hours of refrigeration. The flavors meld and intensify during this resting period, creating more complex taste profiles.
Traditional presentation uses clay ramekins that add rustic charm, though ceramic or glass dishes work equally well. Garnish simply – a light dusting of cinnamon or a few fresh berries complements without competing.
Your homemade jericalla stays fresh for up to four days when properly covered in the refrigerator. Never freeze jericalla, as the custard texture suffers irreversible damage from ice crystal formation.
Frequently Asked Questions About Making Jericalla at Home
How long does the complete jericalla-making process take? Plan for approximately three hours total: 30 minutes preparation, 50 minutes baking, and two hours cooling and chilling time.
Can you make jericalla without specialized equipment? Absolutely! Standard kitchen equipment works perfectly. You don’t need traditional clay pots – any oven-safe ramekins produce excellent results.
What distinguishes jericalla from similar custard desserts? Jericalla’s unique characteristics include its natural caramelized top, cinnamon spicing, and slightly denser texture compared to French custards.
Why does my jericalla sometimes turn out differently each time? Oven temperature variations, ingredient freshness, and timing differences all affect your final product. Consistency improves with practice and careful attention to detail.
Your Journey to Jericalla Mastery Begins Now
Learning how to make jericalla at home transforms you from casual cook to keeper of Mexican culinary tradition. This beautiful dessert connects you with generations of Mexican families who have shared love through simple, perfect ingredients.
Your first batch might not achieve absolute perfection – embrace this as part of your learning journey. Each attempt teaches valuable lessons about temperature control, timing, and the subtle art of custard creation. Soon, you’ll develop the intuitive understanding that separates good cooks from great ones.
The satisfaction of presenting restaurant-quality jericalla to your loved ones cannot be overstated. Their surprised delight when they taste your creation makes every minute of preparation worthwhile.
Start your jericalla adventure today. Gather your ingredients, preheat your oven, and prepare to fill your kitchen with the magical aromas of Mexico. Your family will thank you, your taste buds will celebrate, and you’ll carry forward a beautiful culinary tradition that spans centuries.
Don’t wait for the perfect moment – create it yourself with a batch of homemade jericalla that brings the warmth and soul of Mexico directly to your dinner table.
