Introduction: A Love Letter to Perfect Garlic Fries
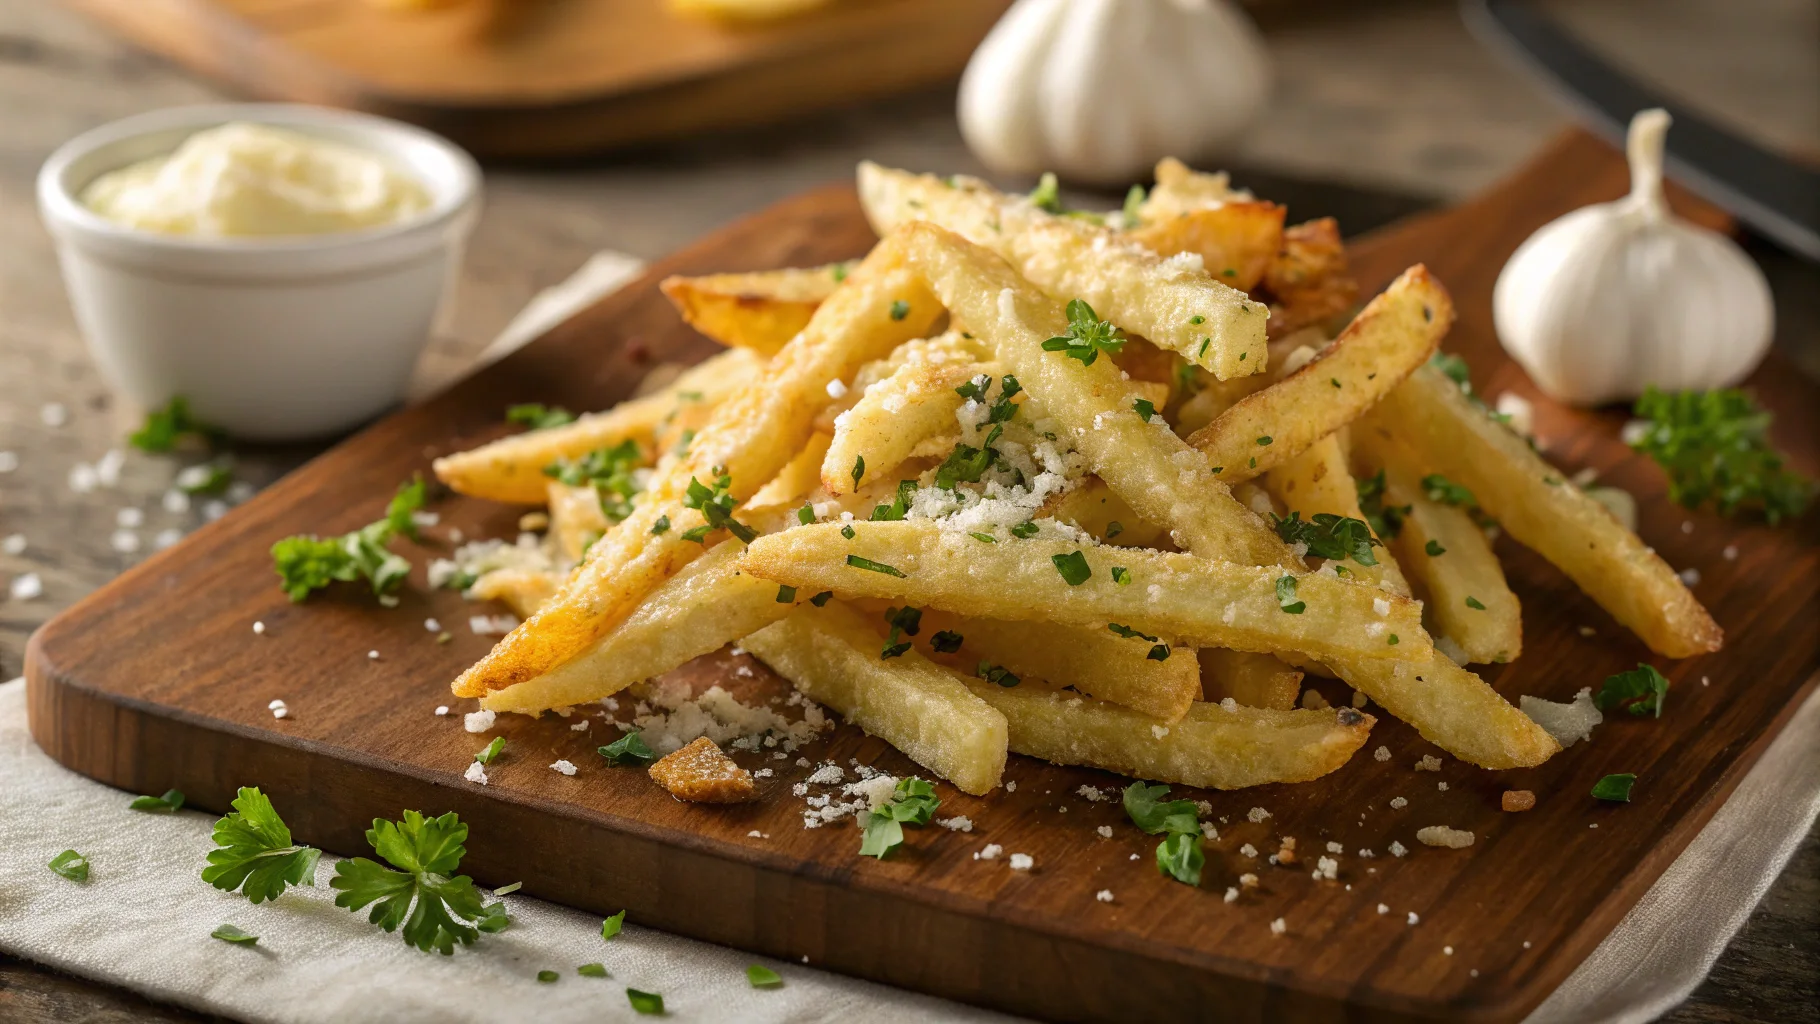
There’s something magical about that first bite of perfectly crispy garlic fries—the satisfying crunch giving way to a fluffy interior, the pungent aroma of fresh garlic, and the salty, nutty finish of aged parmesan cheese. I still remember the first time I tasted truly exceptional garlic fries at a small bistro in San Francisco. The memory of that perfect balance of flavors has haunted me for years, driving me to perfect my own recipe through countless attempts. Today, I’m sharing my foolproof method for creating restaurant-quality garlic fries right in your own kitchen—no deep fryer needed. These aren’t just any garlic fries; they’re a game-changing side dish that might just steal the spotlight from your main course.
Why This Garlic Fries Recipe Stands Above the Rest
Before diving into the recipe, let’s talk about what makes these garlic fries truly special:
- Double-cooking technique ensures maximum crispiness without sogginess
- Fresh garlic infusion method that prevents burning while maximizing flavor
- Perfect parmesan integration that creates a delicate crust rather than clumpy cheese
- Simple ingredients that you likely already have in your pantry
- Oven-baked approach that’s healthier than traditional deep-fried versions
The Science Behind Perfectly Crispy Garlic Fries
The perfect garlic fry isn’t just about good ingredients—it’s about understanding the science of crispiness. When potatoes are properly prepared, the starch molecules on the surface gelatinize during cooking and then dehydrate, creating that irresistible crispy exterior. Our method maximizes this process without requiring specialized equipment or advanced cooking skills.
What You’ll Need: Ingredients and Equipment
Ingredients for Perfect Garlic Parmesan Fries
| Ingredient | Amount | Notes |
|---|---|---|
| Russet potatoes | 4 large (about 2 lbs) | Best for frying due to high starch content |
| Olive oil | 3 tablespoons | Extra virgin for more flavor |
| Fresh garlic | 6-8 cloves | Minced finely |
| Parmesan cheese | 1/2 cup | Freshly grated, not pre-packaged |
| Fresh parsley | 2 tablespoons | Finely chopped |
| Salt | 1 teaspoon | Kosher or sea salt recommended |
| Black pepper | 1/2 teaspoon | Freshly ground |
| Garlic powder | 1/2 teaspoon | For extra garlic flavor depth |
| Optional: red pepper flakes | 1/4 teaspoon | For heat lovers |
Essential Equipment
- Baking sheets (2 large ones for optimal results)
- Parchment paper or silicone baking mats
- Sharp knife or mandoline for consistent cutting
- Large mixing bowl for tossing fries
- Small saucepan for garlic infusion
- Wooden spoon for stirring
- Metal spatula for flipping
Step 1: Preparing the Perfect Potato Base

The foundation of great garlic fries begins with proper potato selection and preparation. This crucial first step sets you up for crispy success.
- Choose the right potatoes (russets are ideal due to their high starch content)
- Wash and scrub thoroughly, leaving skins on for extra texture and nutrition
- Cut into even 1/4-inch strips for consistent cooking
- Soak cut potatoes in ice-cold water for 30 minutes to remove excess starch
- Pat completely dry with clean kitchen towels before proceeding
- Pre-heat your oven to 425°F (220°C)
Pro tip: Cutting potatoes to a consistent size ensures they’ll cook evenly. Too thin, and they’ll burn; too thick, and they’ll be soggy in the middle.
Step 2: The First Bake – Creating the Foundation
This initial cooking phase is crucial for developing the right internal texture while preparing the exterior for maximum crispiness.
- Toss dried potato strips with 2 tablespoons olive oil in a large bowl
- Arrange in a single layer on parchment-lined baking sheets (avoid overcrowding!)
- Bake at 425°F for 20 minutes
- Remove and flip each fry carefully with a metal spatula
- Return to oven, rotating baking sheets, for another 10-15 minutes
Expert insight: If your fries aren’t crisping properly, your oven temperature may be inaccurate. Consider using an oven thermometer for precision.
Step 3: Preparing the Garlic Infusion
While the fries undergo their first bake, create the aromatic garlic oil that will transform ordinary fries into an extraordinary culinary experience.
- Combine remaining 1 tablespoon olive oil with minced garlic in a small saucepan
- Heat over very low heat for 3-4 minutes, stirring constantly
- Remove from heat when garlic just begins to turn golden
- Add garlic powder and stir to combine
- Allow to cool slightly while fries complete their first bake
Critical warning: Never let the garlic brown or burn, as it will become bitter and ruin your dish.
Step 4: The Final Bake – Creating the Perfect Crunch
The second baking phase is where the magic happens—transforming your fries into the crispy garlic-infused delights you’re craving.
- Remove fries from oven after their first bake
- Drizzle with the garlic oil mixture and toss gently to coat
- Return to oven for a final 5-8 minutes until edges are golden brown and crispy
- Monitor closely during this final phase to prevent burning
Secret technique: For extra crispiness, turn off the oven after the final bake but leave the fries inside with the door cracked open for 5 additional minutes.
Step 5: The Perfect Finish – Cheese and Seasoning
The final touch elevates these garlic fries from delicious to unforgettable with the perfect balance of cheese, herbs, and seasonings.
- Remove fries from oven and immediately sprinkle with:
- Freshly grated parmesan cheese (while still hot so it slightly melts)
- Salt and freshly ground black pepper
- Finely chopped fresh parsley
- Optional red pepper flakes
- Toss gently one final time to ensure even distribution
- Serve immediately for the optimal experience
Presentation tip: Serve in a paper-lined basket or cone for an authentic bistro experience, with a small dish of your favorite dipping sauce on the side.
Taking Your Garlic Fries to the Next Level: Variations and Pairings
Exciting Variations to Try
- Truffle Garlic Fries: Add 1 teaspoon of truffle oil to the garlic infusion
- Herbs de Provence Garlic Fries: Mix in 1 teaspoon of herbs de Provence with the parmesan
- Spicy Garlic Fries: Increase red pepper flakes to 1/2 teaspoon and add 1/4 teaspoon cayenne
- Garlic Ranch Fries: Sprinkle with 1 tablespoon dry ranch seasoning before the final bake
Perfect Pairings for Your Garlic Fries
- Classic burgers with all the trimmings
- Grilled steak or roast chicken
- Craft beer or a glass of crisp white wine
- Creamy aioli or sriracha mayo dipping sauce
Storage and Reheating Tips for Leftover Garlic Fries
While these fries are best enjoyed immediately, sometimes we make extra. Here’s how to store and revive them:
- Store in an airtight container in the refrigerator for up to 2 days
- Reheat in a 400°F oven for 5-7 minutes (never microwave!)
- Add a light sprinkle of fresh parmesan after reheating for renewed flavor
Troubleshooting: Common Garlic Fry Problems and Solutions
| Problem | Likely Cause | Solution |
|---|---|---|
| Soggy fries | Inadequate drying or overcrowding | Ensure potatoes are completely dry and properly spaced |
| Burnt garlic taste | Overheating garlic | Use lower heat and constant stirring when preparing garlic oil |
| Inconsistent crispiness | Uneven cutting or oven hot spots | Cut fries uniformly and rotate baking sheets during cooking |
| Bland flavor | Insufficient seasoning | Season while hot and consider adding more salt or garlic powder |
Conclusion: Perfect Garlic Fries Are Just the Beginning
Mastering these crispy garlic fries with parmesan cheese isn’t just about creating a delicious side dish—it’s about understanding fundamental cooking techniques that you can apply to countless other recipes. The methods of proper preparation, temperature control, and flavor infusion you’ve learned here will serve you well in many culinary adventures to come. Now that you have this foolproof method in your cooking arsenal, you’ll never need to go out for great garlic fries again. Your friends and family will be amazed at what you can create with simple ingredients and a bit of know-how.
Remember, cooking is both a science and an art—so don’t be afraid to experiment with your own variations once you’ve mastered the basics. I’d love to hear how your garlic fries turn out and what personal touches you add to make them your own!
Frequently Asked Questions About Garlic Fries
Can I make these garlic fries ahead of time?
While garlic fries are best served immediately after preparation, you can pre-cut and soak the potatoes up to 24 hours in advance. Store them in cold water in the refrigerator until you’re ready to dry and bake them.
Why are my garlic fries not getting crispy?
The most common reasons for non-crispy garlic fries are insufficient drying after soaking, overcrowding on the baking sheet, or an oven that isn’t hot enough. Make sure potatoes are completely dry before baking and that there’s space between each fry on the baking sheet.
Can I use a different type of potato for garlic fries?
Russet potatoes are ideal for crispy garlic fries due to their high starch content. Yukon Gold potatoes can work but will give you a slightly less crispy exterior with a creamier interior. Avoid waxy potatoes like red potatoes, as they won’t crisp properly.
Is there a way to make these garlic fries healthier?
Yes! These garlic fries are already healthier than deep-fried versions. For an even healthier option, you can use less oil, reduce the amount of cheese, or try an air fryer if you have one. Sweet potatoes can also be substituted for a different nutritional profile.
What’s the best way to prevent the garlic from burning?
The key to preventing burnt garlic is using low heat and constant stirring when creating your garlic infusion. Removing the garlic oil from heat as soon as the garlic becomes fragrant and just barely golden will ensure perfect flavor without bitterness.
Can I make these garlic fries without parmesan cheese?
Absolutely! While parmesan adds wonderful flavor, you can omit it for dairy-free garlic fries that are still delicious. Consider adding nutritional yeast for a similar umami flavor profile if you’re avoiding dairy products.
How do I know when my garlic fries are perfectly done?
Perfect garlic fries should be golden brown with crispy edges. You can test one by allowing it to cool for 30 seconds—if it maintains its crispiness, they’re done. If it becomes limp, continue baking for a few more minutes.
