When my grandmother passed away last spring, the days that followed blurred together in a haze of grief, paperwork, and family gatherings. Yet amid the sadness, one unexpected comfort appeared on the buffet table at the reception: funeral sandwiches. These warm, savory ham and cheese sliders weren’t just food—they embodied tradition, comfort, and love, all nestled between buttery rolls.
For generations, these beloved sandwiches have nourished families during difficult moments, bringing people together when connection matters most. Whether you call them funeral sandwiches, Hawaiian roll sliders, or party sandwiches, these simple yet delicious treats have transcended their origins to become essential at gatherings across America—from somber occasions to joyful celebrations.
- Bist Amazon Picks:
Today, I’m sharing six expert tips to elevate your funeral sandwiches from merely good to absolutely unforgettable. These techniques will transform an already beloved classic into something your family and friends will request time and again.
What Are Funeral Sandwiches?
Funeral sandwiches earned their somewhat solemn name because they traditionally appear at post-funeral gatherings, where their make-ahead convenience and crowd-pleasing flavors make them ideal for feeding mourning friends and family. The name might sound morbid to the uninitiated, but anyone who’s experienced the comfort these sandwiches provide understands they represent care and community during life’s most challenging moments.
These sandwiches have since transcended their original purpose to become favorites at potlucks, game days, and family reunions. Their versatility, ease of preparation, and irresistible flavor profile have earned them a permanent place in America’s collective recipe box.
The Classic Funeral Sandwich Recipe
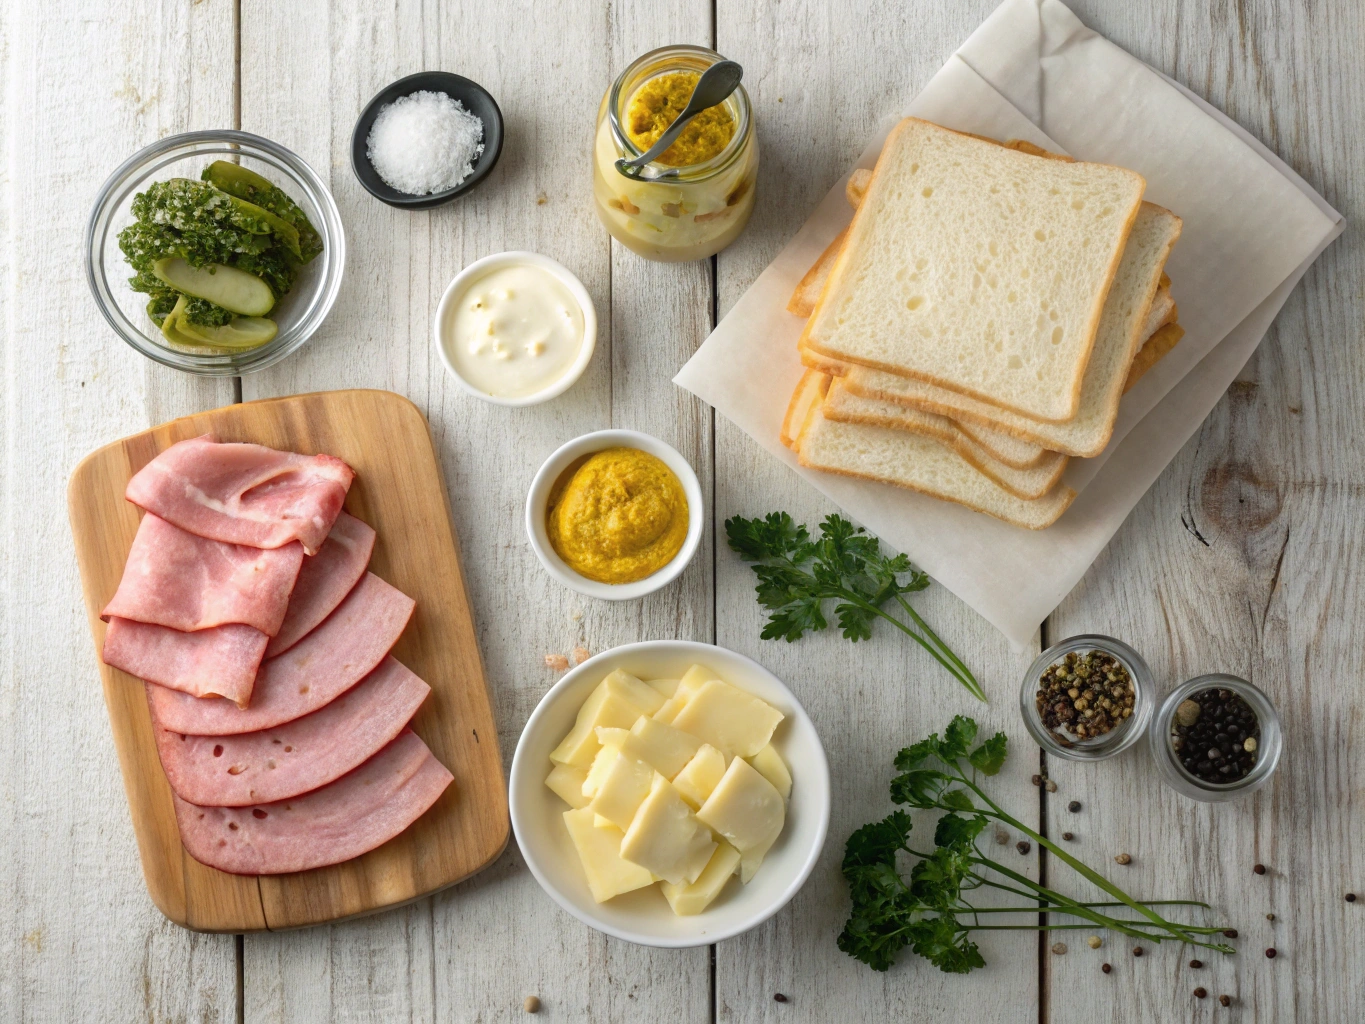
Before diving into our tips for improvement, let’s establish what makes a traditional funeral sandwich. At its core, the classic version consists of:

| Ingredient | Amount |
|---|---|
| Hawaiian sweet rolls | 24-count package |
| Ham (thinly sliced) | 1 pound |
| Swiss cheese (sliced) | 12 ounces |
| Butter (melted) | 1/2 cup |
| Dijon mustard | 1 tablespoon |
| Worcestershire sauce | 1 tablespoon |
| Dried minced onion | 1 tablespoon |
| Poppy seeds | 1 tablespoon |
| Brown sugar | 2 teaspoons |
This foundation has sustained grieving families for generations, but with our six expert tips, you’ll transform this classic into something truly exceptional.
Tip #1: Choose the Right Bread for Your Funeral Sandwiches
While Hawaiian sweet rolls remain the traditional choice for funeral sandwiches, your bread selection dramatically impacts the final result. The perfect roll should achieve three critical qualities:
- Maintain structural integrity when sliced horizontally
- Offer a gentle sweetness that complements savory fillings
- Possess a soft texture that toasts beautifully without becoming dry
“The slightly sweet dough in Hawaiian rolls creates the perfect counterpoint to savory ham and melted cheese,” explains Sarah Mitchell, head baker at Family Traditions Bakery. “That contrast between sweet and savory keeps people coming back for seconds—and thirds!”
Best Bread Options for Funeral Sandwiches:
While King’s Hawaiian sweet rolls remain the gold standard, consider these worthy alternatives:
- Brioche slider buns (richer, with more butter content)
- Potato rolls (softer texture, subtle flavor)
- Mini pretzel buns (for a more savory orientation)
- Homemade sweet dinner rolls (for the ambitious baker)
When selecting your bread, remember that the rolls should remain connected during preparation. This interconnectedness allows the marinade to seep into the crevices while maintaining clean edges for serving.
Tip #2: Layer Your Funeral Sandwich Ingredients Strategically
The difference between adequate funeral sandwiches and exceptional ones often comes down to assembly technique. Strategic layering prevents the dreaded soggy-bottom syndrome while ensuring every bite delivers maximum flavor.
Follow this layering sequence for optimal results:
- Slice the entire sheet of rolls horizontally (keeping them connected)
- Apply a thin layer of mayonnaise or additional condiments on the bottom half (this creates a moisture barrier)
- Place cheese directly on the bottom layer (another moisture barrier)
- Arrange meat in the middle (folding creates texture and air pockets)
- Add second cheese layer (for optimal melting characteristics)
- Brush butter mixture on the underside of the top bun section
This methodical approach ensures proper moisture distribution, structural integrity, and flavor balance. The cheese-meat-cheese strategy particularly helps prevent soggy bread by creating protective barriers above and below the meat layer.
For club-style variations, consider adding a thin layer of lettuce between the meat and top cheese layer—the lettuce will wilt slightly during baking but adds both texture and flavor while absorbing excess moisture.
Tip #3: Master the Marinade for Extra Flavorful Funeral Sandwiches
The signature buttery topping isn’t merely a finishing touch—it’s the transformative element that elevates ordinary ham and cheese sliders into authentic funeral sandwiches. This savory-sweet butter sauce infuses every bite with complex flavor notes that keep people reaching for “just one more.”
Classic Funeral Sandwich Marinade Elevated
While the traditional marinade works beautifully, consider these upgrades for an even more memorable experience:
| Ingredient | Traditional Amount | Elevated Version |
|---|---|---|
| Butter | 1/2 cup melted | 1/2 cup browned butter |
| Dijon mustard | 1 tablespoon | 2 tablespoons whole grain mustard |
| Worcestershire | 1 tablespoon | 1 tablespoon + dash of soy sauce |
| Dried onion | 1 tablespoon | 1 tablespoon caramelized minced onions |
| Poppy seeds | 1 tablespoon | 1 tablespoon toasted seeds |
| Brown sugar | 2 teaspoons | 1 tablespoon maple syrup |
For maximum flavor development, prepare your marinade at least 30 minutes before assembly, allowing the dried herbs and spices to hydrate fully. After assembling your sandwiches, pour the marinade evenly across the tops, using a pastry brush to ensure complete coverage. Then cover the baking dish with foil and refrigerate for at least four hours—though overnight marination yields the most flavorful results.
“The magic happens during that rest period,” notes Chef Thomas Keller. “The flavors meld together and penetrate the bread while the butter firms up, creating pockets of flavor that will melt during baking.”
Tip #4: Upgrade Your Meat and Cheese Selections
Traditional funeral sandwiches feature basic ham and Swiss cheese, but experimenting with premium ingredients can transform these humble sandwiches into something extraordinary without losing their comforting essence.
Elevated Meat Options:
Consider these upgrades over basic deli ham:
- Black Forest ham (more robust smoke flavor)
- Honey-glazed spiral ham (leftover holiday ham works perfectly)
- Smoked turkey (lighter alternative)
- Prosciutto (used sparingly as an accent)
- Roast beef (particularly with horseradish-infused butter)
Cheese Pairings That Shine:
While Swiss cheese remains the classic choice, these alternatives offer interesting flavor profiles:
- Gruyère (adds nutty depth and superior melting)
- Havarti (exceptional creaminess)
- Sharp cheddar (bold flavor that stands up to strong meats)
- Provolone (mild but distinctive)
- Pepper jack (adds gentle heat)
When mixing different meats and cheeses, follow this ratio: 2/3 traditional ingredients (ham/Swiss) to 1/3 specialty ingredients. This approach honors tradition while introducing new flavor dimensions.
For an exceptional experience, consider using three thin layers instead of standard thick slices—this creates more surface area for the marinade to penetrate while ensuring even melting.
Tip #5: Perfect Your Baking Technique

Even with premium ingredients and careful assembly, improper baking can undermine your funeral sandwiches. The ideal result features golden-brown tops, melted (but not dried-out) cheese, and bread that maintains structural integrity while absorbing the flavorful marinade.
The Perfect Baking Method:
- Preheat your oven to 350°F (175°C)
- Remove marinated sandwiches from refrigerator 15 minutes before baking
- Cover baking dish with foil for the first 20 minutes (this traps steam and allows even heat distribution)
- Remove foil for final 5-10 minutes to achieve golden-brown tops
- Allow sandwiches to rest for 5 minutes before serving (this redistributes juices and prevents burned mouths)
If you notice excessive butter pooling at the bottom of your baking dish, don’t fret. This butter becomes a dipping sauce that many guests consider a hidden treasure. Serve small dishes of this flavorful butter alongside your sandwiches for bread-dipping.
Troubleshooting Common Baking Issues:
- Too dry: Reduce baking time or increase initial covered baking time
- Too soggy: Extend the uncovered baking portion or reduce marinade quantity
- Burning on top: Lower oven rack position or reduce temperature to 325°F
- Uneven doneness: Rotate baking dish halfway through cooking
Remember that different ovens behave uniquely. Your first batch may require slight adjustments to achieve perfection in your specific kitchen environment.
Tip #6: Make-Ahead and Storage Secrets for Funeral Sandwiches
One of funeral sandwiches’ greatest virtues is their make-ahead convenience. When prepared correctly, they develop even more flavor when assembled the day before serving, making them perfect for busy hosts.
Make-Ahead Timeline:
- 24 hours ahead: Optimal assembly and marinating time
- 8 hours ahead: Minimum marinating time for good flavor development
- 3 days ahead: Maximum refrigeration time before quality suffers
For longer storage, freezing becomes your ally:
- Assemble sandwiches completely, including marinade
- Cover tightly with plastic wrap, then foil
- Freeze for up to 3 months
- Thaw overnight in refrigerator before baking
- Add 5-7 minutes to covered baking time
These make-ahead capabilities make funeral sandwiches perfect for meal preparation during times of crisis or celebration. Having a batch ready in your freezer provides security knowing you can feed unexpected guests with minimal effort.
Storage and Reheating:
For leftovers (if you’re fortunate enough to have any):
- Refrigerate: Wrap tightly in foil or plastic wrap for up to 3 days
- Freeze: Store in airtight containers up to 3 months
- Reheat: Place in 300°F oven for 10-15 minutes from refrigerated, 20-25 minutes from frozen
Avoid microwave reheating, which creates unpleasantly soggy bread and rubbery cheese. The gentle warmth of a low oven revitalizes these sandwiches beautifully.
Variations on Traditional Funeral Sandwiches
While classic ham and Swiss funeral sandwiches will always hold a special place in our collective hearts, these variations offer delicious alternatives for different occasions and preferences.
Popular Funeral Sandwich Variations:
| Variation | Meat | Cheese | Special Additions |
|---|---|---|---|
| Italian | Salami, pepperoni | Provolone | Italian seasoning, banana peppers |
| Turkey Club | Roasted turkey | Cheddar | Bacon, avocado spread |
| Breakfast | Canadian bacon | American | Thin egg omelet layer |
| Vegetarian | Portobello mushrooms | Swiss/Gruyère | Roasted red peppers, pesto |
| BBQ | Pulled pork | Smoked gouda | BBQ sauce instead of mustard |
When adapting the classic recipe, maintain the same bread-to-filling ratio while adjusting your marinade to complement the new flavor profile. For example, Italian variations benefit from oregano and garlic in the butter mixture, while breakfast versions shine with a touch of maple syrup.
Serving Suggestions and Side Dishes
Funeral sandwiches shine as the centerpiece of a buffet table, but thoughtful accompaniments elevate the entire meal experience. Consider these complementary side dishes:
- Light green salads with vinaigrette dressing (the acidity balances the rich sandwiches)
- Classic potato chips (the salty crunch offers textural contrast)
- Dill pickle spears (their brightness cuts through the richness)
- Fresh fruit platters (particularly grapes and berries)
- Simple vegetable soup (especially welcome during cooler months)
When presenting funeral sandwiches on a buffet table, consider slicing the entire sheet into individual sandwiches, but keep them grouped together rather than scattered. This maintains their signature appearance while making them easier to serve. A small card noting “Funeral Sandwiches” along with a brief description helps uninitiated guests understand this special tradition.
Conclusion
Funeral sandwiches may have earned their name from somber beginnings, but they’ve evolved into a symbol of caring, community, and comfort food at its finest. By incorporating these six tips into your recipe, you’ll create sandwiches that don’t just feed a crowd—they provide the comforting warmth people need during life’s most challenging moments and most joyous celebrations alike.
The next time you’re called upon to provide nourishment for those you love, remember that these humble sandwiches carry with them a legacy of care that transcends their simple ingredients. After all, the most memorable food is never just about the flavor—it’s about the love we share when we gather around the table, supporting one another through life’s transitions, both difficult and joyful.
Perhaps that’s why funeral sandwiches have transcended their namesake occasion to become celebration food as well. They remind us that coming together over good food helps heal wounds, build memories, and strengthen bonds—whether we’re saying goodbye or celebrating new beginnings.
Frequently Asked Questions About Funeral Sandwiches
Why are they called funeral sandwiches?
Funeral sandwiches earned their name because they became a traditional offering at post-funeral gatherings and receptions across many American communities. Their make-ahead nature and ability to feed a crowd made them practical for such occasions, while their comforting flavors provided solace during difficult times.
Can funeral sandwiches be made vegetarian?
Absolutely! Funeral sandwiches adapt beautifully to vegetarian preparations. Try substituting the ham with grilled portobello mushrooms, roasted vegetables, or plant-based deli slices. Many meat alternatives work wonderfully with the classic butter marinade, maintaining that authentic funeral sandwich flavor without animal products.
How far in advance can I make funeral sandwiches?
Funeral sandwiches actually benefit from being assembled up to 24 hours before baking. This marinating time allows flavors to meld and intensify. For longer storage, you can freeze unbaked funeral sandwiches for up to 3 months, making them perfect for emergency meal preparation or advance party planning.
What makes Hawaiian rolls special for funeral sandwiches?
The slightly sweet flavor profile of Hawaiian rolls creates the perfect contrast to the savory ham and cheese in traditional funeral sandwiches. Their soft texture absorbs the butter marinade beautifully while still holding together when sliced and filled. The subtle sweetness balances the salty meats and rich cheeses perfectly.
Are funeral sandwiches only for funerals?
Despite their name, funeral sandwiches have become popular for all types of gatherings including game days, potlucks, family reunions, and holiday parties. Their crowd-pleasing nature and make-ahead convenience make them perfect for any occasion where you need to feed a group with minimal day-of preparation.
What’s the best way to reheat leftover funeral sandwiches?
To reheat leftover funeral sandwiches, place them in a 300°F oven for 10-15 minutes until warmed through. Cover with foil to prevent over-browning. Avoid microwave reheating, which can make the bread soggy and the cheese rubbery, diminishing the special texture that makes these sandwiches so beloved.
Ready to transform your next gathering with these irresistible treats? Start by gathering quality ingredients and prepare to create a new tradition your friends and family will request time and again. The humble funeral sandwich proves that sometimes the simplest foods carry the most meaning—and with these tips, yours will be unforgettable.

