Introduction: The Simple Joy of Perfect Marble Potatoes
The tantalizing aroma of roasted potatoes drifting through your kitchen creates an atmosphere of homey comfort unlike anything else. Remember discovering marble potatoes for the first time? Those adorable, bite-sized gems that transform into culinary magic when kissed by oven heat. Perhaps you’ve struggled, as many home cooks do, with achieving that perfect balance – crispy exteriors giving way to tender, fluffy centers.
After countless kitchen experiments and minor mishaps, these three foolproof methods emerged as game-changers. Whether you’re whipping up a quick weeknight side or planning to impress weekend dinner guests, mastering how to cook marble potatoes in the oven will elevate your cooking prowess with surprisingly little effort. These diminutive spuds deliver flavor intensity that belies their humble appearance, and you’re about to discover techniques that will transform you from potato novice to roasting virtuoso.
What Are Marble Potatoes and Why They’re Perfect for Oven Roasting
What Makes Marble Potatoes Special
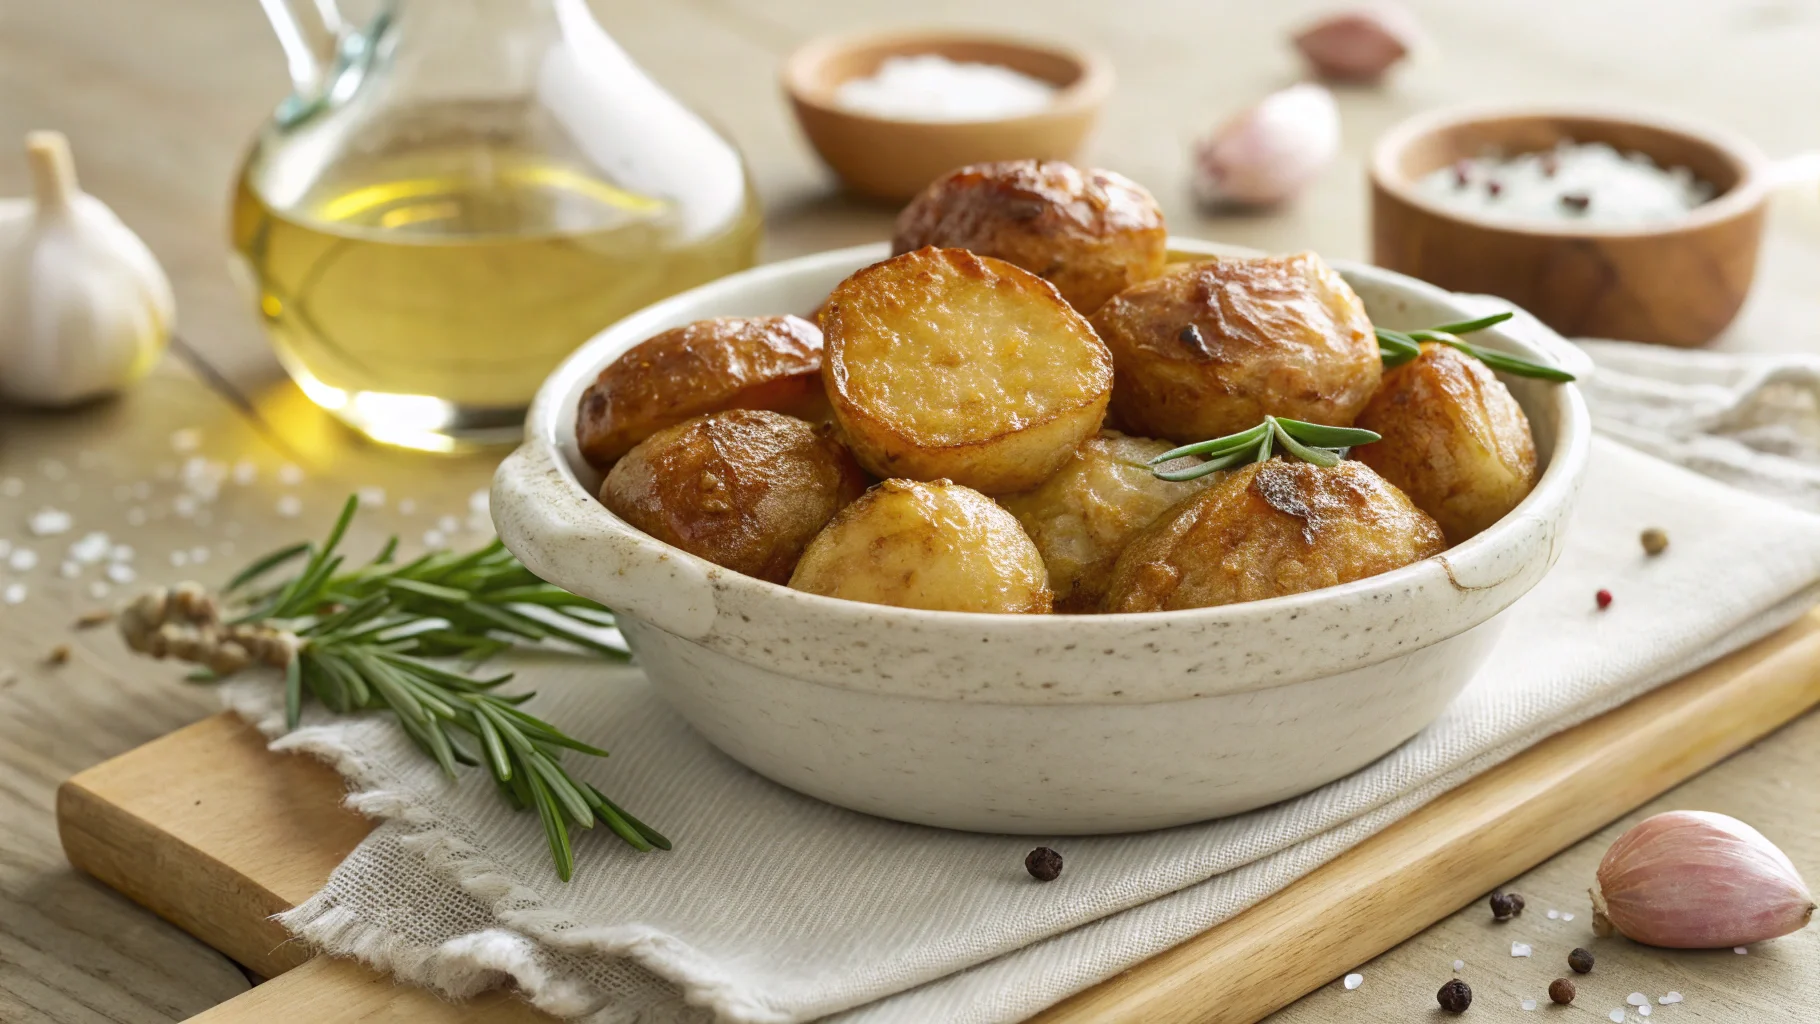
Before diving into cooking techniques, let’s understand what makes these tiny tubers worth seeking out. Marble potatoes, typically measuring around an inch in diameter, boast creamy interiors surrounded by delicate, thin skins that crisp beautifully when roasted. Their naturally buttery flavor carries subtle sweetness, making them distinctly different from larger potato varieties.
Perhaps their most admirable quality? Marble potatoes maintain their shape wonderfully during the roasting process, resulting in picture-perfect presentation every time. Their small size creates an ideal surface-to-interior ratio, allowing flavors to penetrate thoroughly while ensuring consistent texture throughout.
Benefits of Oven Roasting These Tiny Treasures
Oven roasting stands out as the superior cooking method for marble potatoes for several compelling reasons. The dry, circulating heat promotes even cooking from all sides, developing concentrated flavors as natural sugars caramelize. This technique creates the textural contrast potato lovers crave – that coveted crispy exterior surrounding a cloud-like interior.
The hands-off nature of oven roasting allows you to focus on other meal components while your potatoes transform into golden perfection. No constant stirring or monitoring required – simply prep, season, and let your oven work its magic.
Essential Preparation: Getting Your Marble Potatoes Ready for the Oven
Selecting the Best Marble Potatoes

Your culinary journey begins at the market, where choosing the right potatoes makes all the difference. Look for specimens with smooth, unblemished skins and firm texture – avoid any showing signs of sprouting, softness, or green discoloration.
Size consistency matters tremendously when roasting these petite potatoes. Selecting similar-sized tubers ensures they’ll finish cooking simultaneously, preventing the frustration of some potatoes becoming overdone while others remain underdone.
Marble potatoes frequently come in striking color varieties – creamy whites, vibrant reds, and purple-hued options each bring subtle flavor variations. Red-skinned varieties often deliver slightly sweeter notes, while purple types offer earthy undertones. White marble potatoes provide classic potato flavor with buttery richness.
Proper Cleaning and Preparation Techniques
Proper preparation lays the foundation for roasting success. Begin by thoroughly rinsing your marble potatoes under cool running water, gently rubbing away any soil or debris. For particularly dirty specimens, a soft vegetable brush helps remove stubborn soil without damaging delicate skins.
The often-overlooked secret to achieving maximum crispiness? Thorough drying. After rinsing, spread potatoes across a clean kitchen towel and pat completely dry. Moisture is the enemy of crispness – any remaining water will steam rather than roast your potatoes.
The age-old question of whether to halve these tiny tubers depends entirely on your chosen cooking method. For classic roasting, leaving them whole showcases their natural shape and promotes even cooking. The Parmesan-crusted method benefits from halving, creating more surface area for that delicious cheesy coating to adhere. The smashed technique requires leaving them whole initially, then flattening after par-boiling.
Essential Tools and Ingredients for Perfect Roasted Marble Potatoes
Before heating your oven, gather these kitchen essentials:
| Essential Items | Purpose |
|---|---|
| Rimmed baking sheet | Prevents potatoes from rolling off during cooking |
| Parchment paper/silicone mat | Ensures even browning and prevents sticking |
| Mixing bowl | For tossing potatoes with seasonings |
| Instant-read thermometer (optional) | To check for doneness if uncertain |
The beauty of roasted marble potatoes lies in their versatility – they welcome countless flavor variations while requiring just a few pantry staples. Quality olive oil, fresh herbs, garlic, and sea salt form the foundation of most recipes, but don’t hesitate to experiment with your favorite seasonings.
Method 1: Classic Herb and Garlic Roasted Marble Potatoes
Ingredients Table
| Ingredients | Amount | Notes |
|---|---|---|
| Marble potatoes | 1.5 pounds | Rinsed and dried thoroughly |
| Olive oil | 2 tablespoons | Extra virgin preferred for flavor depth |
| Fresh rosemary | 2 sprigs | Roughly chopped |
| Fresh thyme | 3-4 sprigs | Leaves removed from woody stems |
| Garlic | 4 cloves | Minced or thinly sliced |
| Sea salt | 1 teaspoon | Kosher salt works beautifully too |
| Black pepper | ½ teaspoon | Freshly cracked for maximum flavor |
Step-by-Step Instructions
This classic approach celebrates the natural flavors of marble potatoes with minimal interference. Begin by preheating your oven to 425°F (220°C) – this temperature strikes the perfect balance between developing crisp exteriors without risking burnt herbs.
In a generously sized mixing bowl, drizzle olive oil over your thoroughly dried potatoes, tossing until each potato glistens with a light coating. Add your minced garlic, fresh herbs, salt, and pepper, then toss again until seasonings distribute evenly across all surfaces.
Arrange your seasoned potatoes across a parchment-lined baking sheet, ensuring they form a single layer with small spaces between each potato. This spacing allows hot air to circulate freely, promoting even browning on all sides rather than steaming.
Roast for 20-25 minutes, turning the potatoes halfway through cooking to ensure even coloration. You’ll know they’re perfectly done when the exterior develops a golden-brown crust and a fork easily pierces through to the center, revealing fluffy, tender interiors.
Pro Tips for Perfect Classic Roasted Marble Potatoes
Take your classic roasted potatoes from good to extraordinary with these chef-inspired tweaks. After removing from the oven, try adding a light squeeze of fresh lemon juice – this brightens flavors and cuts through richness beautifully. Don’t limit yourself to rosemary and thyme – sage pairs wonderfully with brown butter, oregano brings Mediterranean flair, and fresh dill adds unexpected brightness.
For truly memorable crispiness, resist the temptation to overcrowd your baking sheet. Each potato needs approximately half an inch of space around it for proper heat circulation. If cooking for a crowd, use multiple baking sheets rather than crowding a single one.
Method 2: Parmesan Crusted Marble Potatoes
Ingredients Table
| Ingredients | Amount | Notes |
|---|---|---|
| Marble potatoes | 1.5 pounds | Halved for this method |
| Olive oil | 3 tablespoons | Divided use |
| Garlic powder | 1 teaspoon | Not garlic salt |
| Italian seasoning | 1 teaspoon | Store-bought or homemade blend |
| Parmesan cheese | ½ cup | Freshly grated for superior melting |
| Panko breadcrumbs | ¼ cup | For exceptional crunch factor |
| Salt and pepper | To taste | Adjust according to Parmesan saltiness |
Step-by-Step Instructions
For this indulgent variation, begin by preheating your oven to a slightly lower 400°F (200°C). This temperature allows the cheese to develop golden color without burning before the potatoes cook through.
After halving your marble potatoes lengthwise, toss them with two tablespoons of olive oil and garlic powder until evenly coated. In a separate bowl, combine your Parmesan cheese, panko breadcrumbs, and Italian seasoning. Drizzle the remaining tablespoon of oil into this mixture and use your fingertips to work it through until the mixture feels slightly moistened – this helps it adhere better and promotes browning.
Now comes the hands-on part – press each potato half, cut-side down, into the cheese mixture, applying gentle pressure to ensure good adherence. Arrange these cheese-crusted halves on your prepared baking sheet, ensuring the cheese-coated side faces upward.
Roast for 25-30 minutes until the cheese forms a golden, crispy crust and the potatoes yield easily when pierced with a fork. The extended cooking time compensates for the insulating effect of the cheese coating.
Why This Method Creates the Perfect Crispy-Creamy Texture
This technique creates textural magic through several culinary principles. Halving the potatoes exposes more interior surface area to direct heat, promoting exceptional browning. The Parmesan creates a savory, umami-rich crust that crisps beautifully while protecting the potato interior from drying out.
The lower oven temperature proves crucial here – it allows the cheese to develop complexity through the Maillard reaction without burning, while the breadcrumbs add delightful textural contrast against the silky potato flesh. The resulting bite delivers an irresistible combination of crispy exterior and creamy interior that will have dinner guests requesting your secret.
Method 3: Smashed Marble Potatoes with Herbs and Spices
Ingredients Table
| Ingredients | Amount | Notes |
|---|---|---|
| Marble potatoes | 1.5 pounds | Whole |
| Olive oil | ¼ cup | High-quality for best flavor |
| Butter | 2 tablespoons | Melted |
| Garlic | 3 cloves | Minced |
| Fresh herbs | 2 tablespoons | Mixture of parsley, chives, dill |
| Paprika | ½ teaspoon | Sweet or smoked variety |
| Red pepper flakes | ¼ teaspoon | Optional, for gentle heat |
| Salt and pepper | To taste | Be generous with both |
Two-Stage Cooking Process
This method represents the ultimate potato transformation, requiring a two-stage cooking approach that delivers unparalleled texture. Begin by placing your whole marble potatoes in a pot of cold, generously salted water. Starting with cold rather than boiling water ensures even cooking throughout.
Bring the water to a gentle boil, then reduce to a simmer until potatoes are fork-tender – typically about 15 minutes, though timing varies with potato size. Drain thoroughly and allow potatoes to steam-dry for 5 minutes; this critical step removes excess moisture that would otherwise prevent proper crisping.
While your potatoes dry, preheat your oven to a hotter 450°F (230°C) and prepare your baking sheet with a generous coating of olive oil. Arrange your par-boiled potatoes across the sheet, leaving ample space between each. Using a fork, potato masher, or the bottom of a glass, gently press each potato to flatten to approximately ½-inch thickness. The potato should spread and crack around the edges but remain intact in the center.
In a small bowl, combine your melted butter with olive oil and minced garlic. Brush this aromatic mixture across the smashed surfaces, allowing it to collect in the cracks and crevices. Sprinkle with your fresh herbs, paprika, optional red pepper flakes, and a generous seasoning of salt and pepper.
Roast for 20-25 minutes until the edges develop deep golden crispy edges that contrast beautifully with the tender centers. The result? Potato perfection that combines multiple textures in each bite.
Why This Method Creates the Ultimate Crispy-Fluffy Texture
The genius of this approach lies in combining two different cooking methods. Pre-boiling ensures completely tender interiors while smashing creates maximum surface area for crisping. The higher oven temperature rapidly dehydrates and caramelizes the exposed potato flesh, creating exceptionally crunchy edges.
This two-stage process develops deeper flavor complexity than either method alone. The initial boiling allows seasonings to penetrate deeply, while the concentrated roasting intensifies these flavors through caramelization. The textural contrast between shatteringly crisp edges and cloud-like centers makes these potatoes utterly irresistible.
Troubleshooting Guide: Common Issues When Cooking Marble Potatoes in the Oven
Why Aren’t My Potatoes Crispy?
Even experienced cooks occasionally encounter the disappointment of less-than-crispy potatoes. Three common culprits typically cause this issue. Overcrowding your baking sheet forces potatoes to steam rather than roast – always maintain spacing between each potato. Insufficient drying after washing introduces unwanted moisture, preventing proper crisping. Finally, oven temperature problems – many home ovens run cooler than their displayed temperature, so consider using an oven thermometer for accuracy.
Dealing with Uneven Cooking
Uneven cooking frustrates even skilled cooks. Size inconsistency represents the most common cause – sorting potatoes by size before cooking and roasting similar sizes together solves this issue. Poor air circulation within your oven creates hot and cold spots; using an appropriate baking sheet that allows heat circulation helps tremendously. Rotating your pan halfway through cooking ensures every potato receives equal heat exposure.
Perfect Pairings: What to Serve with Your Oven-Roasted Marble Potatoes
Main Dish Suggestions
Your perfectly roasted marble potatoes deserve equally delicious companions. They partner beautifully with grilled or roasted meats – try herb-crusted chicken, perfectly seared steak, or a succulent pork tenderloin. For seafood lovers, these potatoes complement baked fish or grilled shrimp exquisitely. Vegetarians needn’t miss out – stuffed peppers, roasted portobello mushrooms, or a hearty vegetable Wellington all make excellent pairings.
Complementary Dipping Sauces and Toppings
Elevate your potato experience further with these thoughtfully paired accompaniments:
| Sauce/Topping | Flavor Profile | Best Paired With |
|---|---|---|
| Garlic aioli | Creamy, pungent | Classic herb method |
| Sriracha mayo | Spicy, tangy | Parmesan crusted |
| Chimichurri | Herbaceous, bright | Smashed potatoes |
| Truffle butter | Earthy, luxurious | Any method |
Conclusion: Mastering the Art of Oven-Roasted Marble Potatoes
Discovering how to cook marble potatoes in the oven unlocks countless possibilities for elevating your meals. These three distinctive methods – classic herb roasted, Parmesan crusted, and smashed – each deliver unique textures and flavor profiles while remaining accessible to cooks of all skill levels. The forgiving nature of marble potatoes means even kitchen novices can achieve impressive results with minimal effort.
Whether you’re preparing a quick family dinner or assembling a sophisticated dinner party menu, these diminutive potatoes deserve regular rotation in your cooking repertoire. Remember the fundamentals: start with quality ingredients, control your cooking temperature, and embrace experimentation with different flavor combinations. Your perfectly roasted marble potatoes await!
Ready to elevate your potato game? Pick up some marble potatoes during your next shopping trip and try the smashed technique this weekend – your dinner guests will be requesting the recipe before dessert arrives. Share your roasting success stories or any creative adaptations you discover in the comments below!
FAQ: Everything You Need to Know About Cooking Marble Potatoes in the Oven
What temperature is best for cooking marble potatoes in the oven?
The ideal temperature range falls between 400°F and 450°F (200°C to 230°C), depending on your chosen method. Higher temperatures create crispier exteriors, while slightly lower temperatures allow more even cooking throughout the potato. For classic roasting, 425°F works perfectly, while Parmesan crusting benefits from 400°F to prevent cheese burning, and smashed potatoes require 450°F for maximum edge crispiness.
How long does it take to cook marble potatoes in the oven?
Whole marble potatoes typically require 20-30 minutes in a 425°F oven. Several factors influence exact timing: potato size, whether they’re halved or smashed, and your desired crispiness level. Larger specimens naturally require longer cooking, while halved or smashed versions often cook more quickly due to increased surface exposure. Trust your fork more than your timer – perfectly cooked potatoes should offer minimal resistance when pierced.
Do I need to boil marble potatoes before roasting them in the oven?
Pre-boiling is only necessary for the smashed potato method. Classic roasting and Parmesan crusting require no par-boiling, saving you time and preserving more nutrients. The boiling step in smashed potatoes serves a specific purpose – creating a tender interior that contrasts with the crispy exterior after smashing and roasting.
Can I make oven-roasted marble potatoes ahead of time?
Yes! Prepare marble potatoes up to 24 hours ahead by cleaning, drying, and tossing with oil and seasonings, then refrigerating before cooking. Alternatively, roast them up to 4 hours ahead and reheat at 350°F for 10 minutes before serving. Note that reheated potatoes may lose some crispness, though they’ll still taste delicious. For maximum texture, fresh-roasted potatoes always deliver superior results.
What’s the difference between marble potatoes and baby potatoes when cooking in the oven?
Marble potatoes typically measure around 1 inch in diameter with exceptional size consistency, while baby potatoes often show more size variation. This uniformity gives marble potatoes an advantage when roasting – they cook more evenly without requiring sorting. The cooking methods remain interchangeable between varieties, though cooking times may require slight adjustment based on size differences.
How do I know when my marble potatoes are perfectly cooked in the oven?
Perfectly roasted marble potatoes should yield easily to a fork or knife with minimal resistance. Their exteriors should display golden-brown coloration with crispy edges, depending on your chosen method. The interior should remain fluffy and tender – never hard or dry. Visual cues help too – look for slight wrinkling of the skin and small cracks appearing as moisture escapes during roasting.
What are the best oils to use when cooking marble potatoes in the oven?
While olive oil remains the favorite for its rich flavor profile, several alternatives work beautifully. Avocado oil withstands high heat exceptionally well with a neutral flavor. Grapeseed oil offers another high-heat option with minimal flavor impact. For special occasions, duck fat creates unparalleled crispiness with luxurious flavor. Each option imparts slightly different characteristics – experiment to discover your preference!
